Your dishwasher isn’t draining. The cause is almost always one of four things: a blocked filter, a problem at the garbage disposal connection, a kinked drain hose, or a blocked air gap.
Working through them in the order below tells you something at each step. If the filter isn’t the problem, moving to the next check tells you where it actually is.
Cleaning the filter when the real blockage is downstream fixes nothing and wastes your time.
What a Clogged Dishwasher Is Actually Telling You
The dishwasher drain system connects directly to your home’s plumbing.
Standing water in the tub doesn’t always mean the clog is inside the dishwasher. The problem could be in the garbage disposal the drain hose feeds into, or further downstream in the shared sink drain line. Before you disassemble anything, you need to know which system is actually failing.
Signs Your Dishwasher Is Actually Clogged
The symptom tells you something about where the blockage is located.
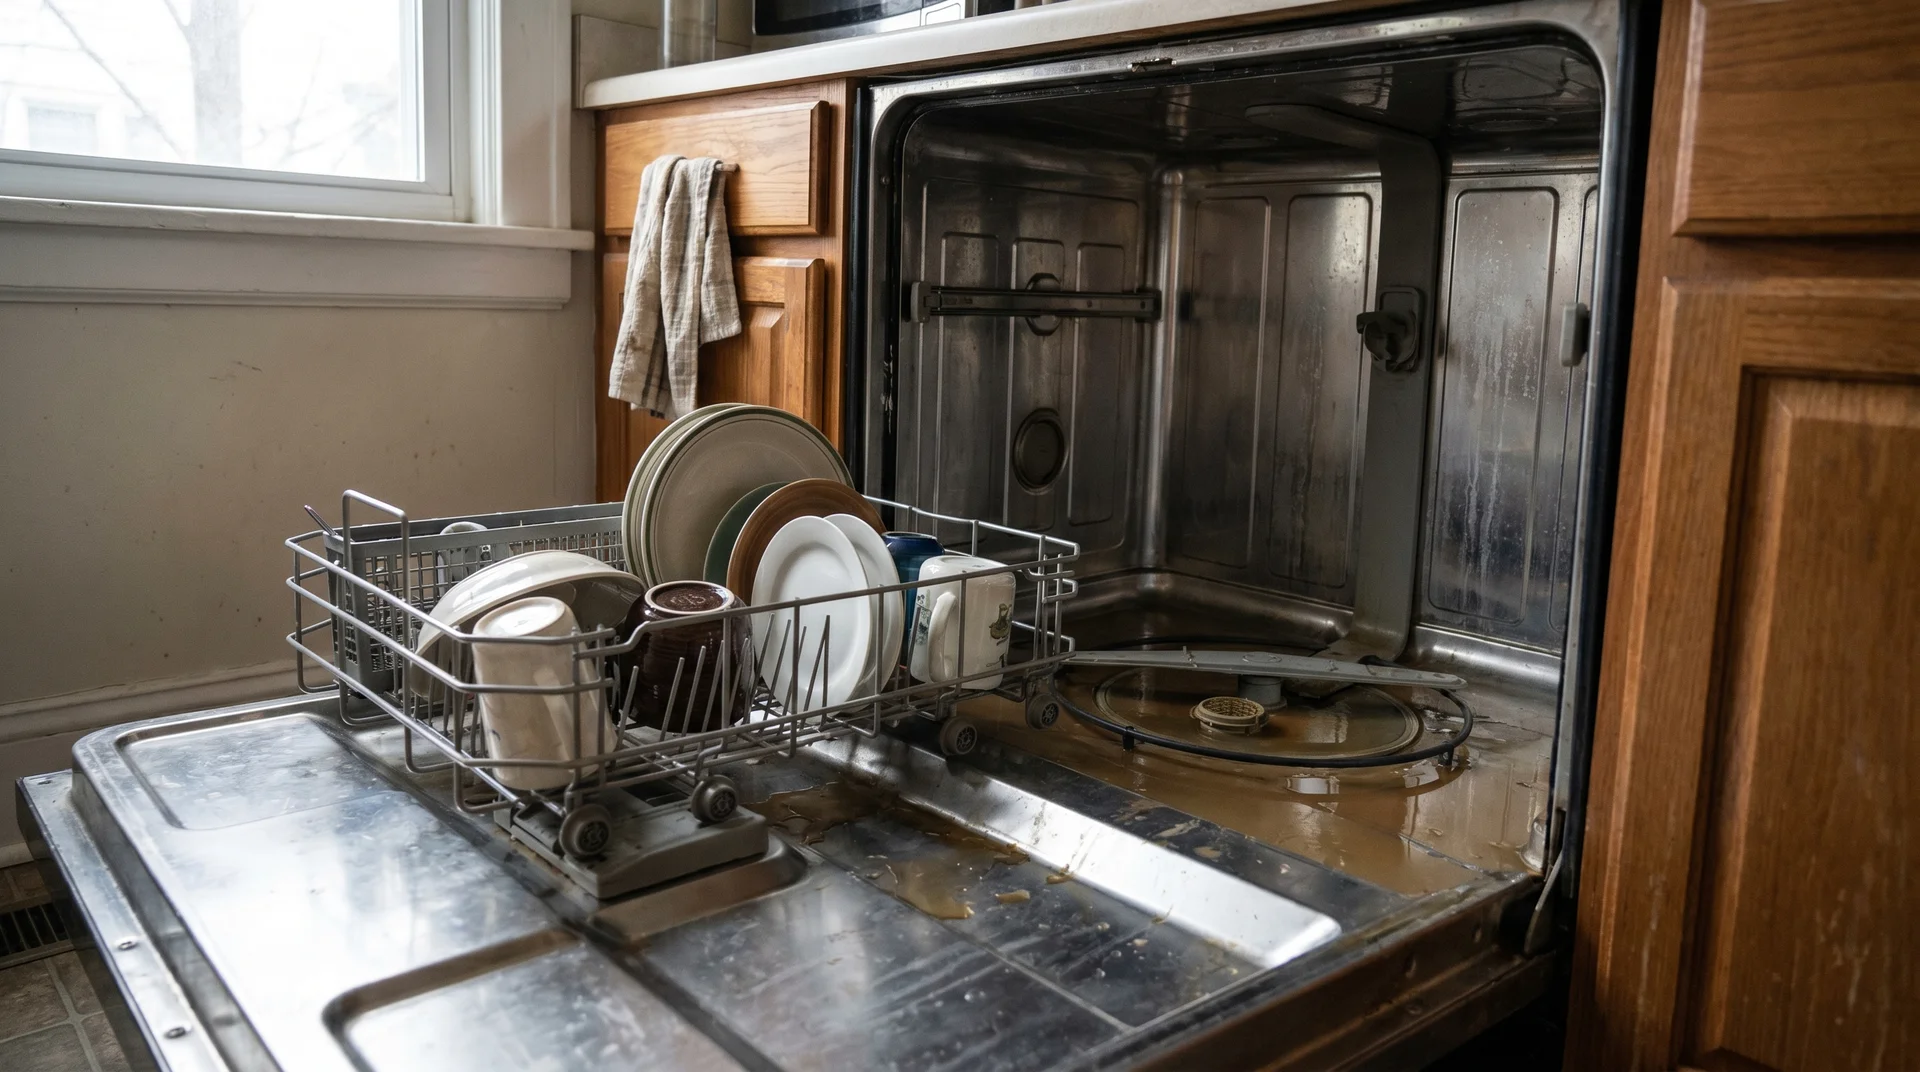
- Standing water after a full cycle: an inch or more of water remaining in the tub after the cycle ends. This is the most common reason people end up here.
- Slow drainage: no obvious pooling, but a visible waterline or small puddle after every cycle.
- Gurgling sounds during or after a cycle: the drain pump is working against a partial blockage somewhere in the line.
- Greasy film or food residue on dishes after washing: this symptom points to blocked spray arms, not the drain pathway. The dishwasher is draining. That is a different problem and a different article.
Before You Touch Anything
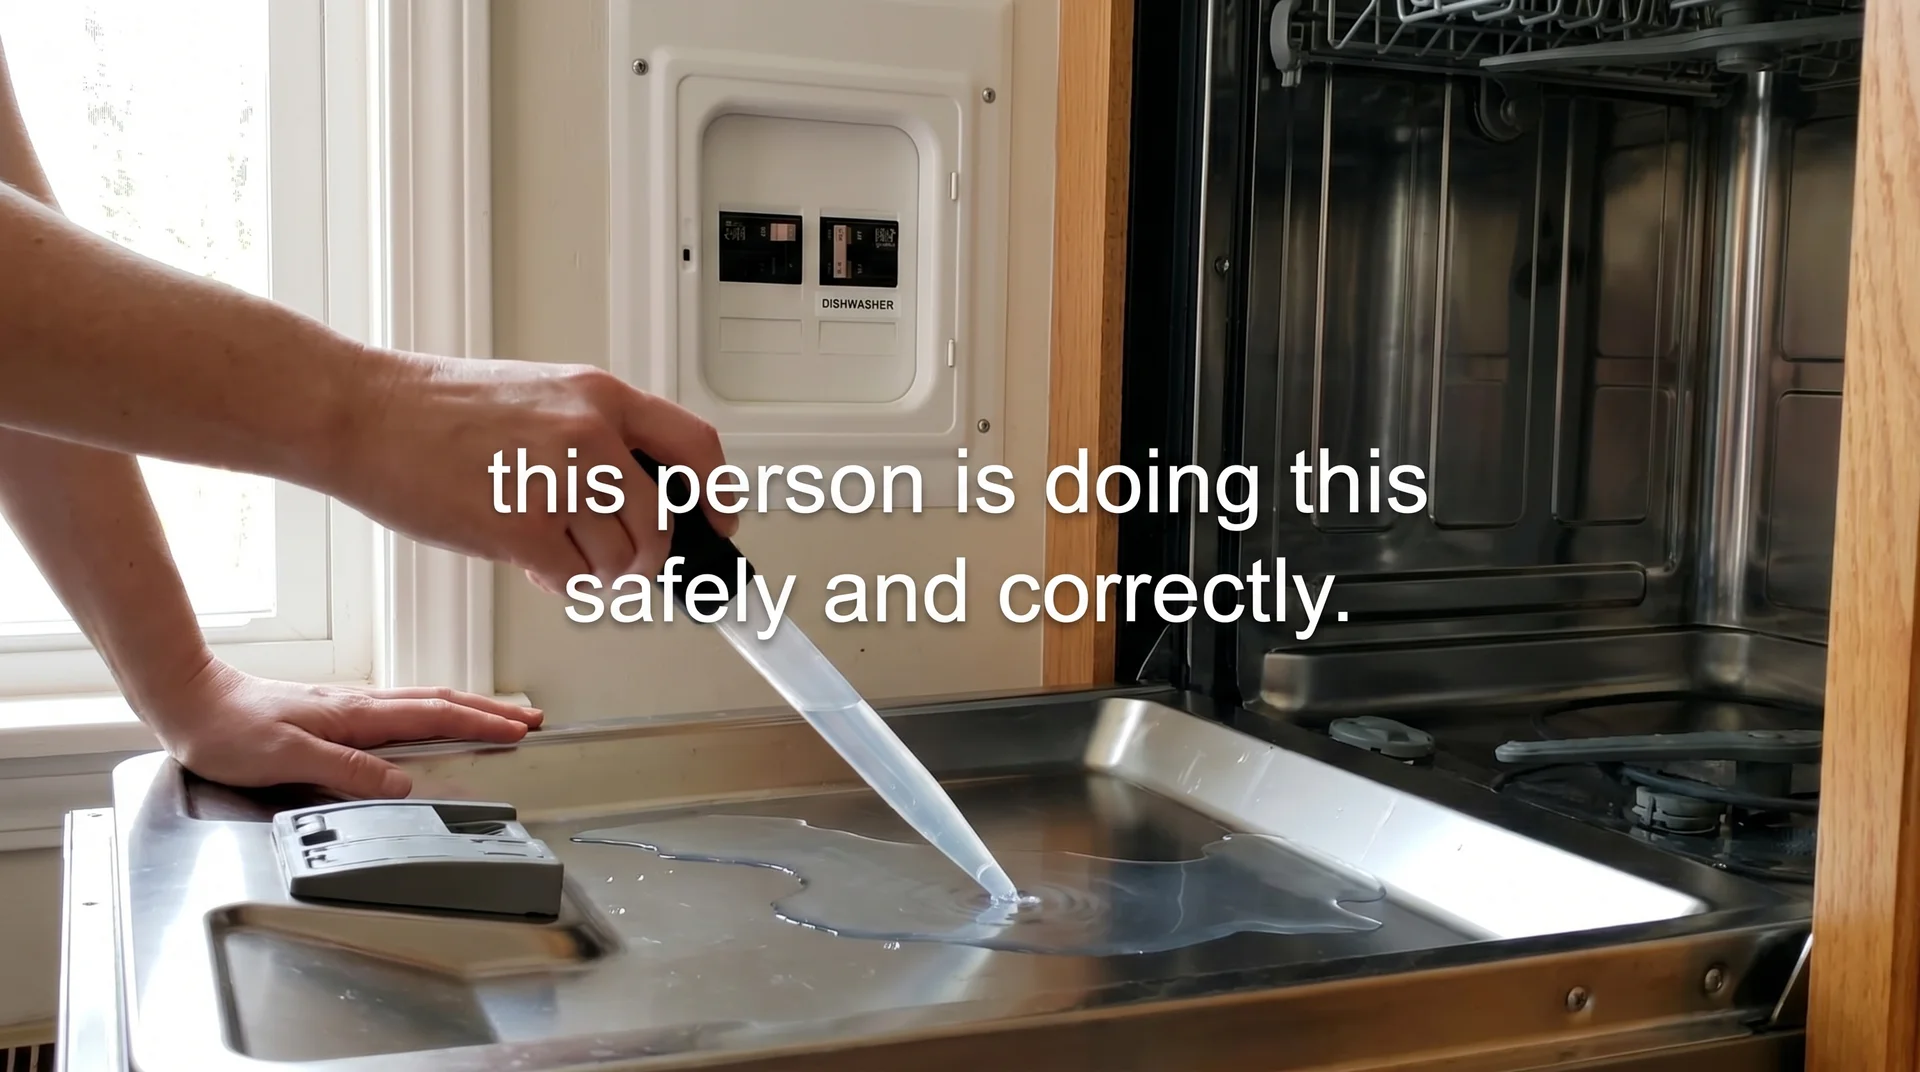
Cut power to the dishwasher before opening it for any inspection.
Flip the circuit breaker for the dishwasher circuit, or unplug the unit directly. Then remove the standing water from the tub.
- Use a measuring cup, turkey baster, or ladle to scoop out the bulk
- Finish with absorbent towels pressed into the remaining water
- A wet/dry vacuum is faster if you have one
The Upstream Test: Check This Before Opening the Dishwasher
Run your kitchen sink for 30 seconds before doing anything else. If the sink drains slowly or backs up while running, the problem is in your home’s drain line rather than the dishwasher.
No amount of filter cleaning fixes a blockage in the shared pipe under your sink. Stop here and call a plumber.
If the sink drain is normal, then do this.
While you’re at the sink, run the garbage disposal for ten full seconds and clear it completely. A disposal loaded with food debris can restrict the dishwasher’s drain path directly.
Steps for Fixing the Clogged Dishwasher Easily
Most dishwasher drainage failures resolve at one of four points.
Before checking any of them, cut power to the dishwasher at the circuit breaker and remove standing water from the tub with a cup or turkey baster. Both steps matter before you reach inside.
Work through the steps below in order. If one resolves the drainage, stop there. If it doesn’t, the next step tells you something about where the actual problem is.
Step 1: Clean the Dishwasher Filter
This is where most clogs begin, and cleaning it correctly means more than a quick rinse under the faucet.
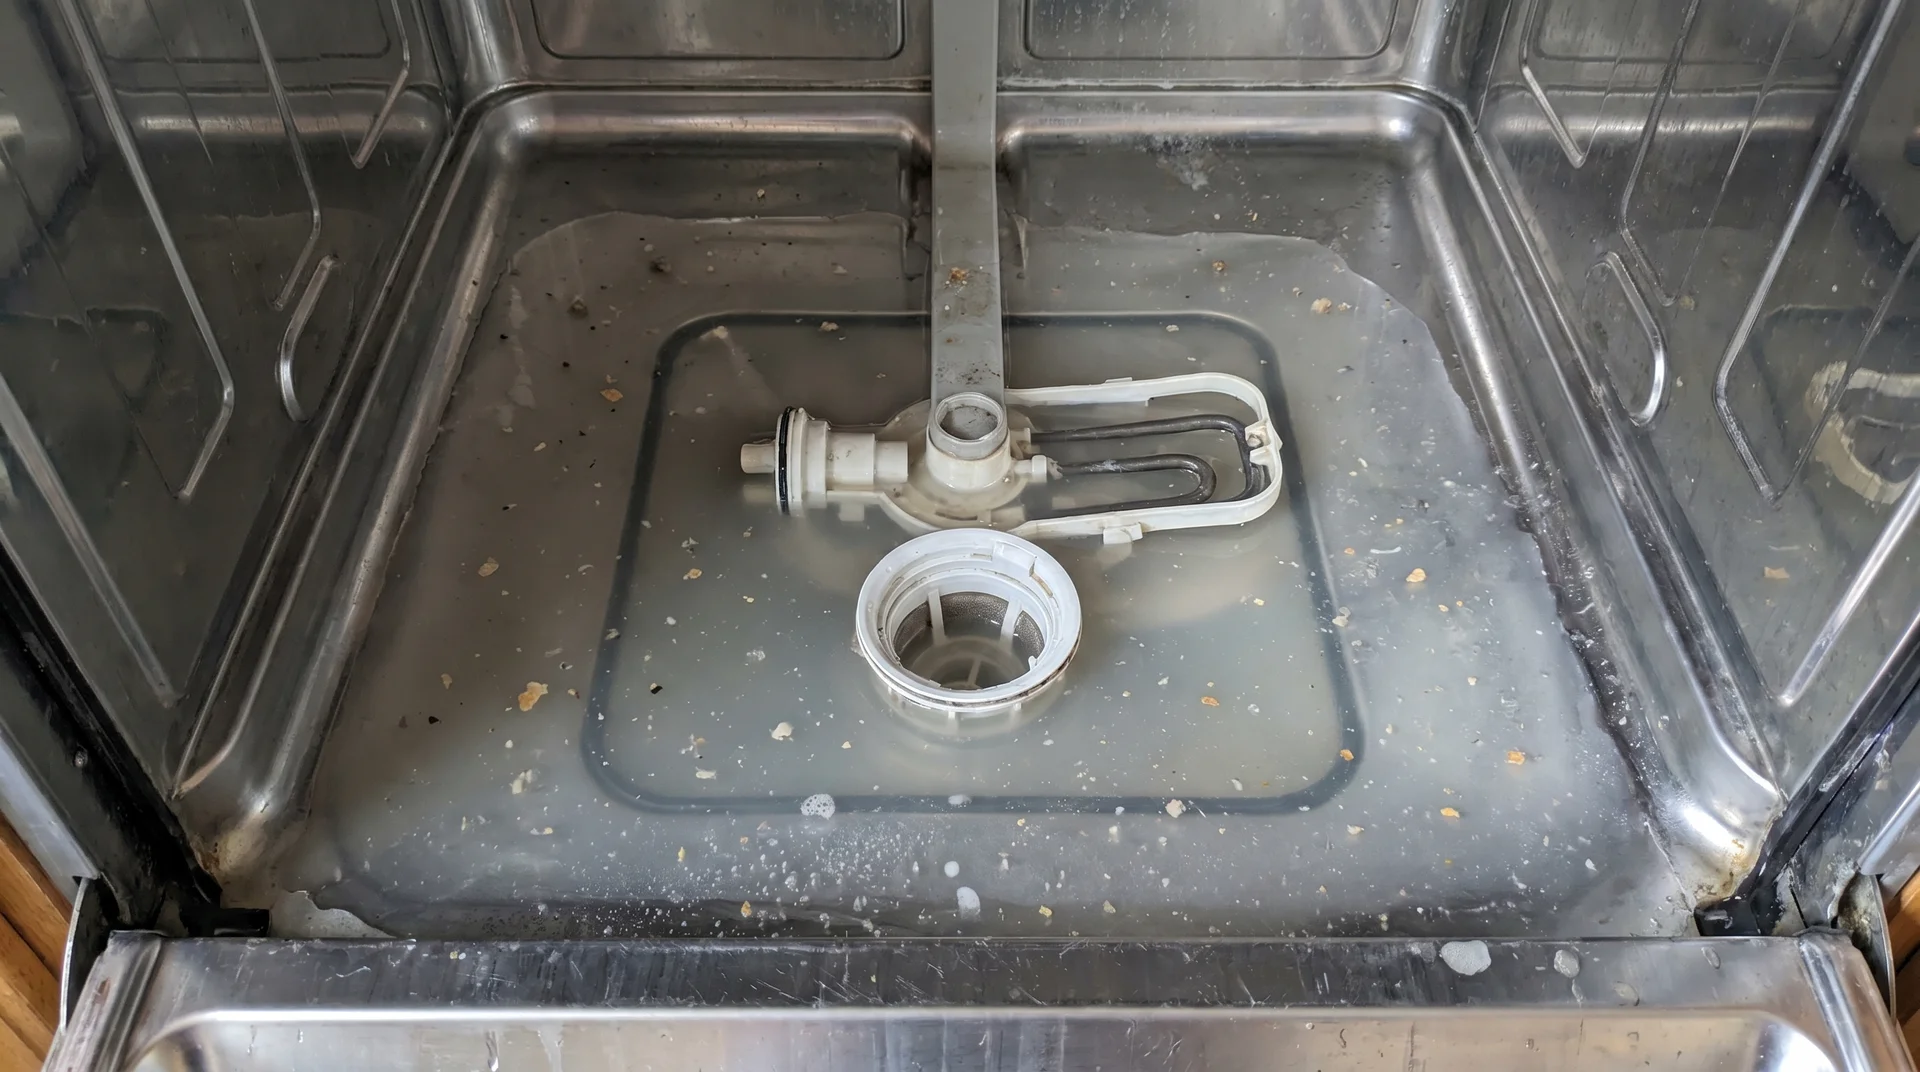
The filter assembly sits at the bottom center of the dishwasher tub. Most models have two components: a cylindrical inner filter and a flat outer mesh screen.
Both need attention. Many people remove only the cylindrical filter and rinse it. That addresses half the filter system.
To remove: twist the cylindrical filter counterclockwise and lift it out, then lift the flat mesh screen from beneath it. Your owner’s manual shows the exact configuration for your model.
Cleaning sequence, in order:
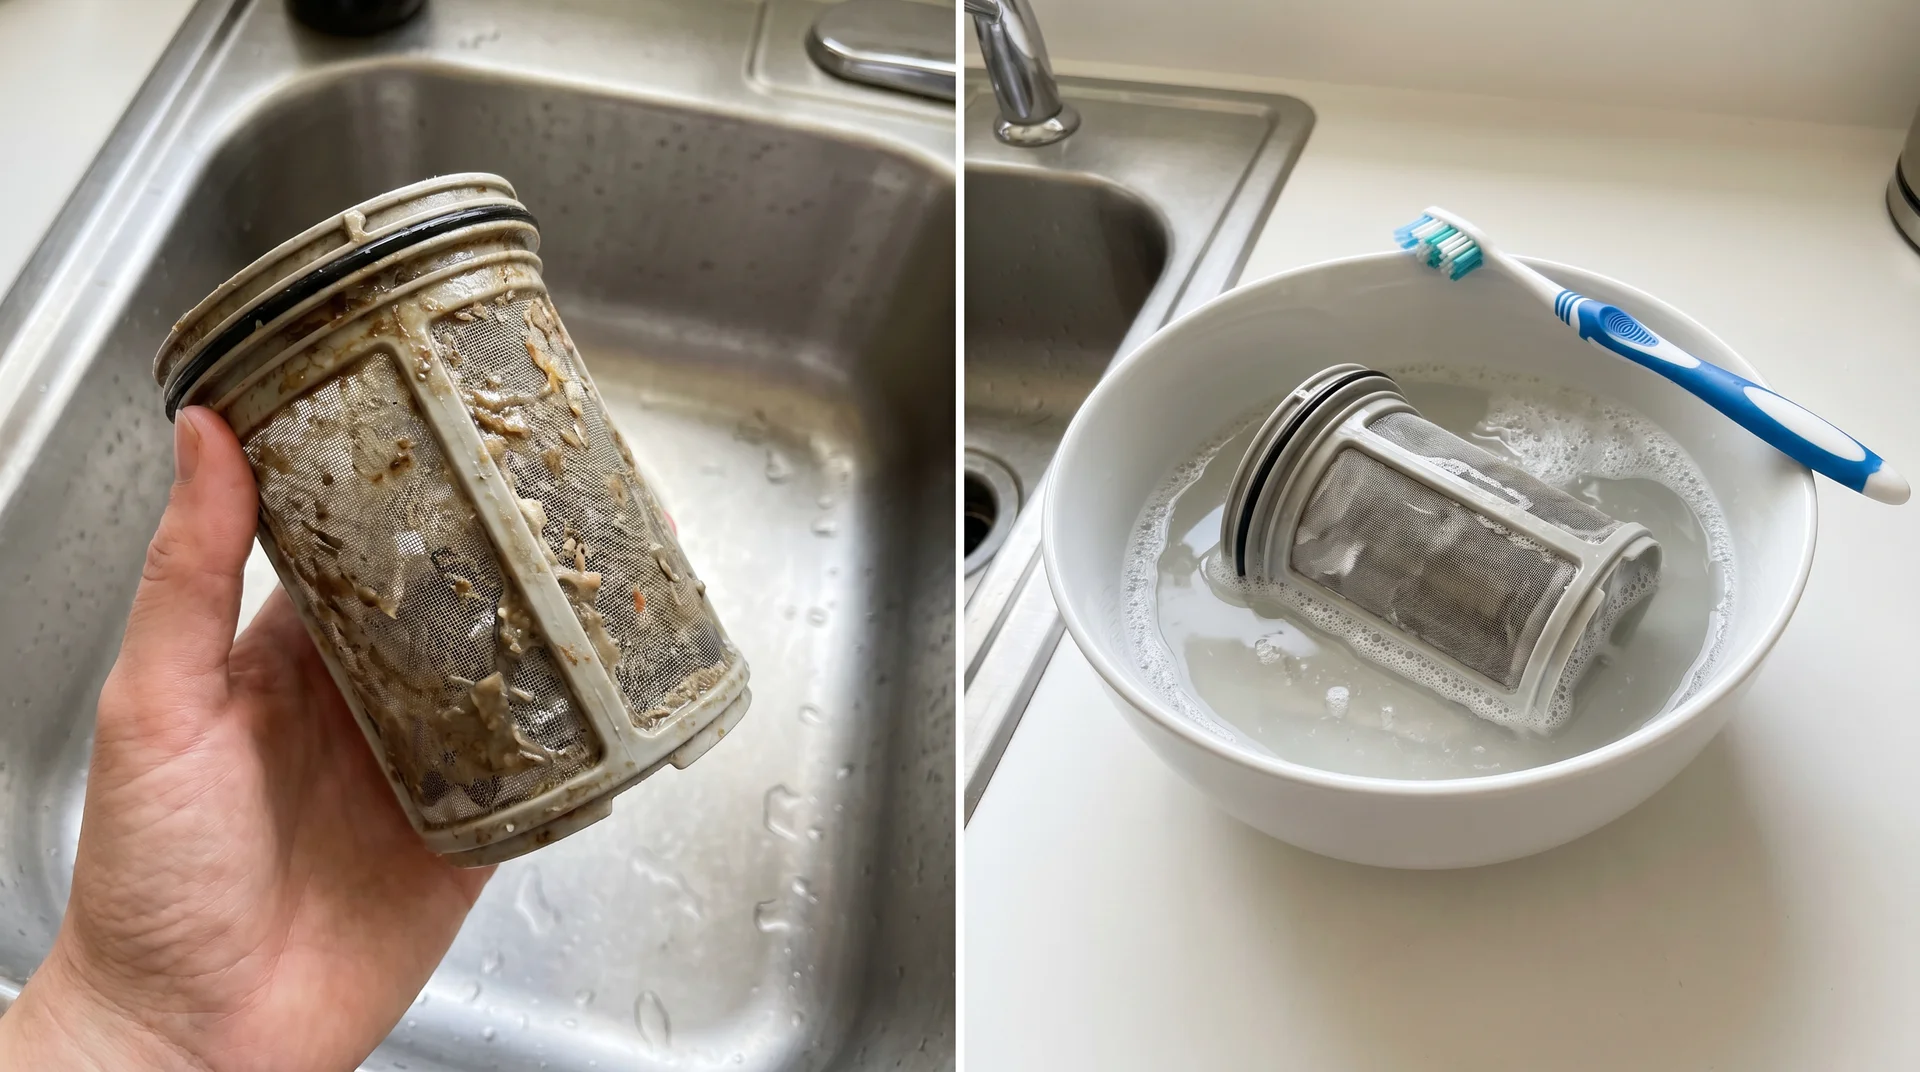
- Rinse both components under warm running water to remove loose debris.
- Soak in warm soapy water for a minimum of 15 minutes. That contact time matters. A quick rinse under the tap will not clear the grease film that builds up on the fine mesh between cleanings.
- Scrub with a soft brush on the mesh surface and the underside of the cylindrical filter. An old toothbrush is the right tool. Do not use an abrasive pad.
- If you see white chalky deposits, that is mineral scale from hard water. Soak those components in undiluted white vinegar for 15 to 20 minutes before scrubbing. Mineral scale requires acid contact time, not just rinsing.
- Rinse both components thoroughly before reinstalling. The flat mesh screen goes in first, the cylindrical filter second, turning clockwise until it seats firmly.
What happens if you skip the soak: a filter rinsed without enough contact time looks cleaner than it is. The grease film on fine mesh needs time in soapy water to release. You’ll reinstall a still-restricted filter, run a test cycle, and get an inconclusive result.
Run an empty hot cycle after reinstalling the filter. If the dishwasher drains completely, stop here. If standing water returns, read Step 2.
Step 2: Check the Garbage Disposal Connection

If your garbage disposal was recently installed or replaced, check this step before the filter, before anything else.
The dishwasher’s drain hose connects to an inlet on the side of the garbage disposal. When the dishwasher drains, water travels through that connection before exiting through the drain line.
Two specific failures happen here, and they have nothing to do with each other.
The knockout plug. New garbage disposals leave the factory with a plastic knockout plug installed in the dishwasher drain inlet. The installer must remove it. If they don’t, the dishwasher has no drain outlet. Water pumps against a sealed port and pools in the tub. This is one of the most fixable and most overlooked causes of new dishwasher drainage failure.
Disposal buildup. A disposal that isn’t fully cleared before each dishwasher cycle accumulates food debris at the inlet connection. Over time, this restricts the drain path.
You can fix this by simply running the disposal for ten to fifteen seconds with water flowing before starting every dishwasher cycle.
My father spent thirty years inspecting commercial kitchens for Baltimore City. His standing advice on garbage disposals is to run them more often. He is not entirely wrong. He is also not entirely right, and the distinction between those two positions is what I write about.
A full clearing cycle with water running before every dishwasher starts is what produces consistent results.
Step 3: Inspect the Drain Hose
The drain hose fails in two ways: it kinks, or it clogs from accumulated grease and food debris.
Access it under the sink. The hose runs from the dishwasher pump to the garbage disposal inlet or the sink drain line. Trace it from end to end before disconnecting anything.
Kink check: look for sharp bends near connection points or anywhere the hose makes a tight turn under the cabinet. A kinked hose reduces drain pressure and produces standing water the same way a clogged filter does. Straighten any kinks and secure the hose so it holds the corrected routing.
Clog check: disconnect the hose at the sink connection. Place a bucket underneath first; there will be water. Once disconnected, blow gently through the hose from the sink end. If air passes freely, the hose is clear. If you feel resistance, use a long, flexible brush or a straightened wire coat hanger to work through the blockage.
Do not use a drain snake on a dishwasher drain hose. Most residential hoses can’t handle the sharp metal coils. A coat hanger or narrow drain brush is the right tool here.
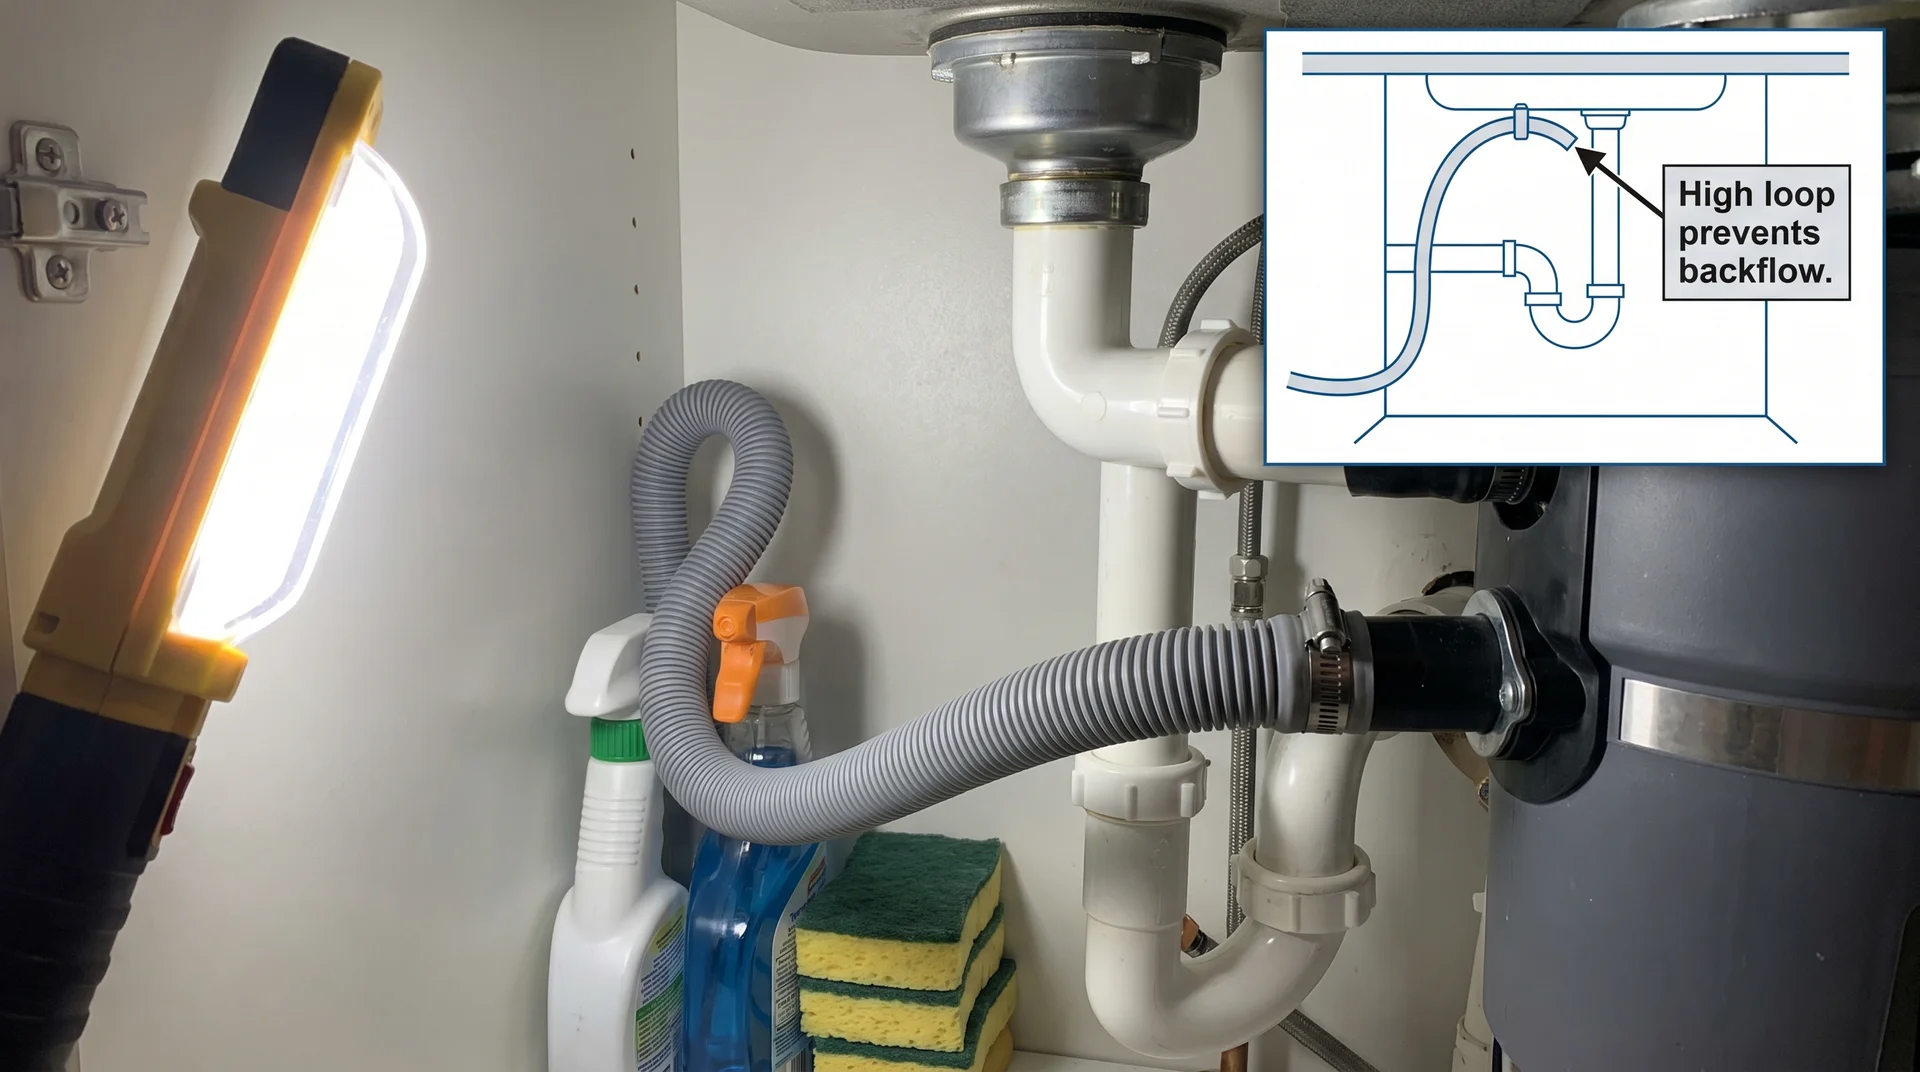
High loop and air gap: your drain hose should route upward before connecting to the sink drain. This happens through an air gap device mounted on the counter, or through a high loop, where the hose rises close to the underside of the counter before coming back down.
Both prevent dirty sink water from siphoning back into the dishwasher. The same cross-connection principle that governs institutional kitchen drain systems applies here: water moves toward its source when pressure fails.
Without a high loop or air gap, contaminated water from the sink can move backward into the appliance between cycles.
Step 4: Clean the Air Gap
Not every kitchen has an air gap. If there’s no small cylindrical cap near your faucet, your system uses a high loop instead, and you can skip this step.
The air gap sits on the countertop or sink deck and looks like a small chrome or plastic cylinder.
- Remove the decorative outer cap, then unscrew or lift the inner cap beneath it.
- Look into the center tube for debris, grease, or mineral buildup.
- Clean with a stiff brush under running water, replace both caps, and
- Run a test cycle to confirm drainage has cleared.
An air gap that’s never been inspected is one of the more consistent findings when I trace a recurring drainage complaint. It just slows drainage gradually until cycles start leaving water behind.
Why Baking Soda and Vinegar Won’t Fix a Dishwasher Drain Clog
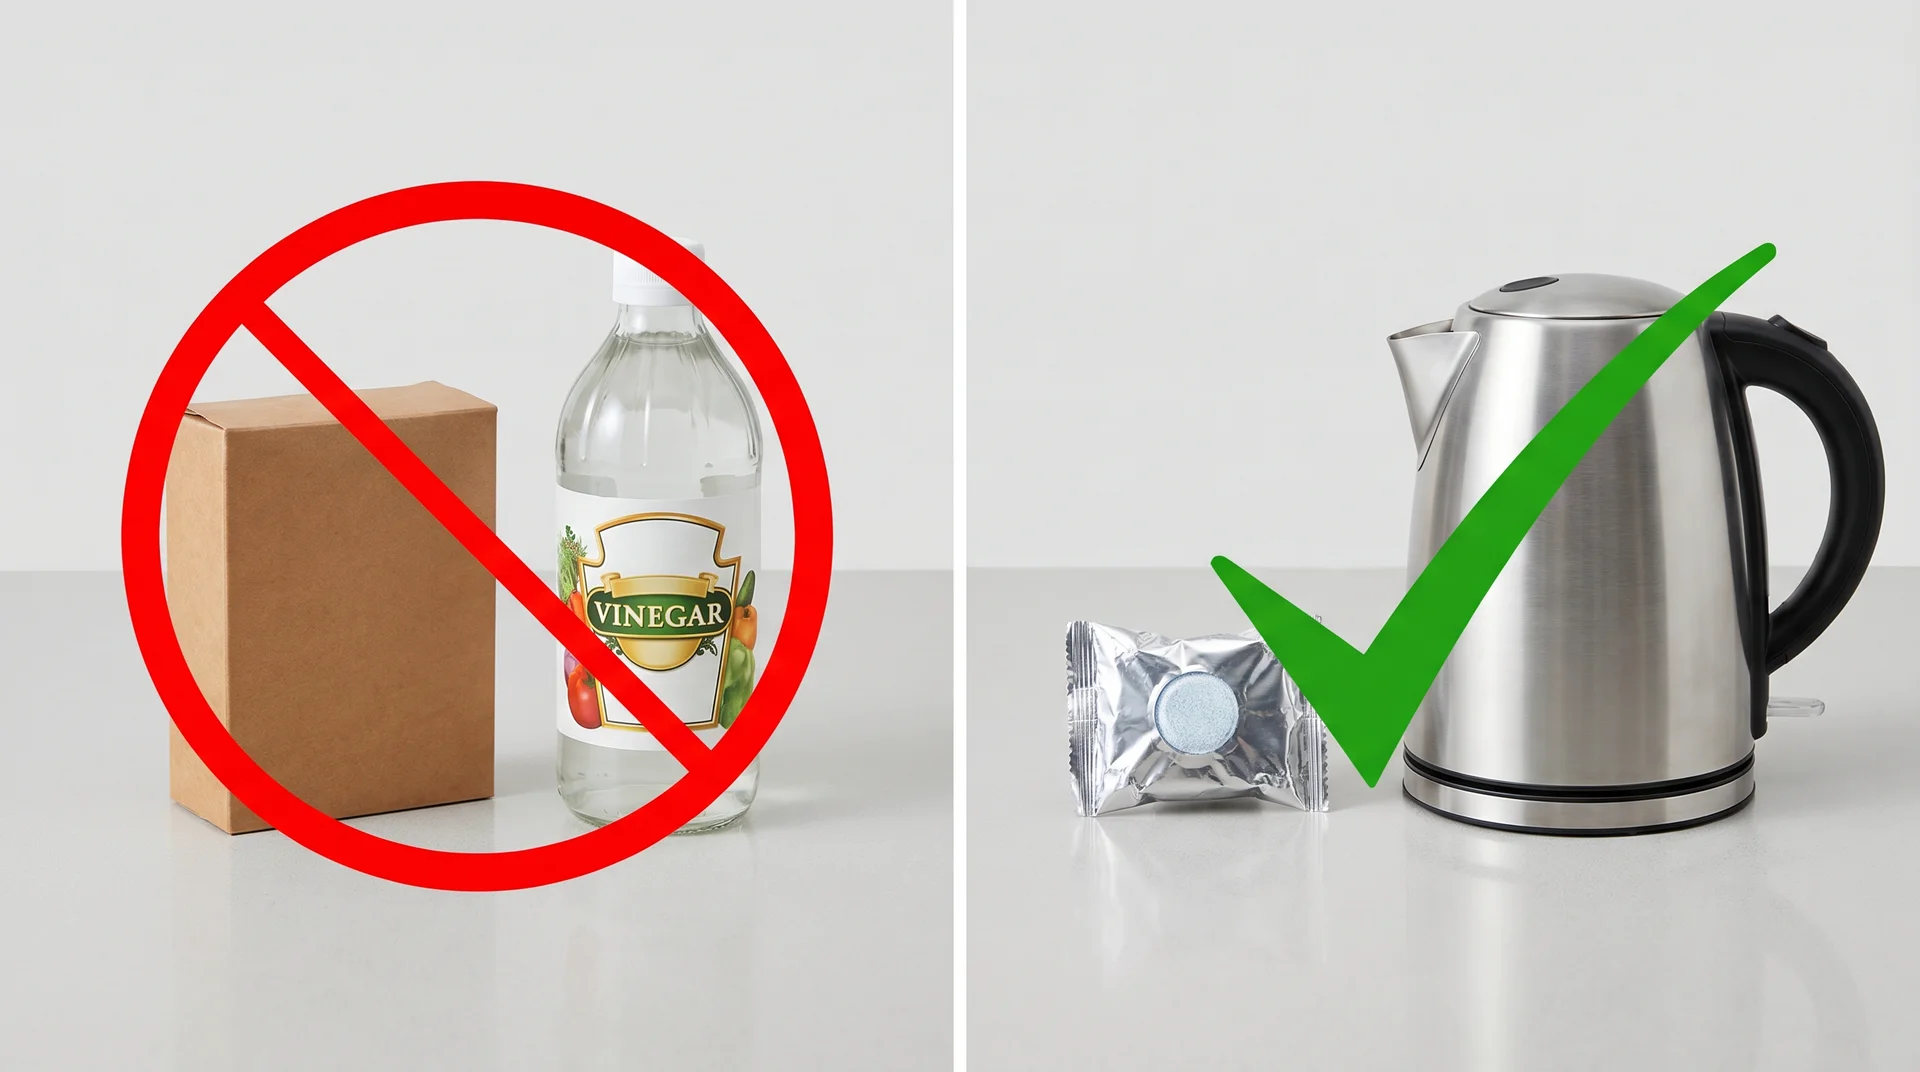
Baking soda and vinegar will not dissolve a dishwasher drain clog.
Mixing the two produces carbon dioxide and water. The fizzing looks like something useful is happening.
What’s actually happening is a neutralization reaction between acetic acid (vinegar) and sodium bicarbonate (baking soda). The carbon dioxide escapes into the air.
The label says natural cleaning action. What the chemistry shows is a base reacting with an acid to produce CO2 and water. That is not a degreasing mechanism. Those two things are not the same.
This myth persists because the fizzing is convincing and the ingredients cost almost nothing. It fails consistently on grease-based drain blockages, which are the most common kind in a residential dishwasher.
There is one place where vinegar is appropriate in a dishwasher: dissolving mineral scale from a removed component that’s been soaking for fifteen to twenty minutes.
That’s what was covered in Step 1 above. It works there because of what vinegar actually does chemically, not because of the fizzing.
What actually does something useful:
- Hot water flush: pour a kettle of near-boiling water directly into the drain basket after clearing the filter. Hot water softens and moves grease buildup where cold water won’t. Whether one kettle is sufficient depends on how long the buildup has been accumulating.
- Enzyme-based drain cleaners: these break down organic matter, including food residue and cooking grease, through biological action rather than chemical neutralization. They are compatible with dishwasher hose materials when used as directed.
- Dedicated dishwasher cleaner tablets: products like Affresh or Finish Dishwasher Cleaner, run through an empty hot cycle, clear grease film from interior walls and the filter housing. These are maintenance products, not emergency clog removers. Monthly use prevents the buildup that causes most drainage failures.
Do not put Drano or any caustic drain cleaner in a dishwasher. Pump seals and hose materials in most residential units are not rated for caustic compounds.
When the Filter Is Clean, and the Dishwasher Still Won’t Drain
If the filter is clean and the dishwasher still won’t drain, the blockage is in the sump or the drain pump.
The sump is the cavity beneath the filter assembly, where the drain pump sits.
Small debris that passes through the filter accumulates here over time: bone fragments, broken glass, seeds, and produce stickers. The filter keeps large items away from the pump, but the sump still requires periodic clearing.
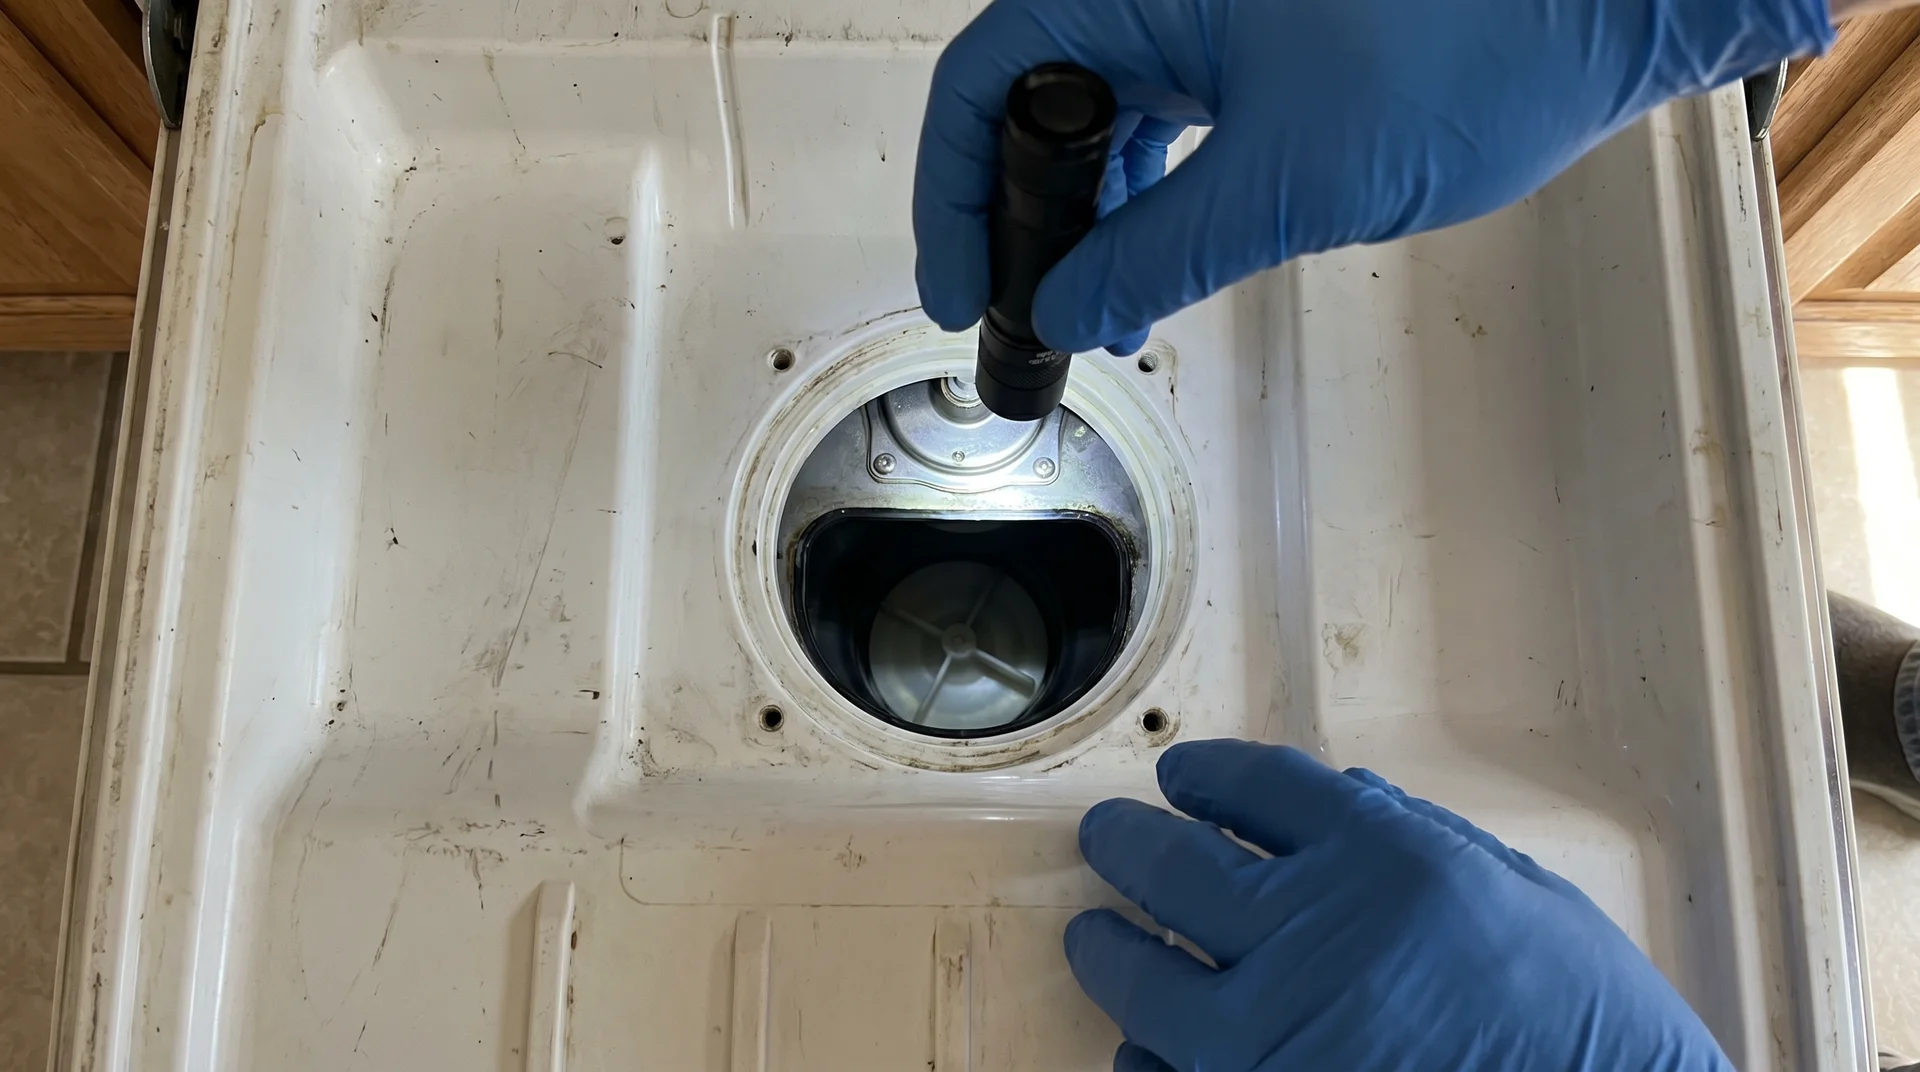
Before reaching into the sump, use a flashlight to look first. Dishwashers break glass. A visual inspection before your hand goes in is not optional. Wear gloves.
Remove the filter assembly completely to expose the sump. Look for debris near the pump impeller, the small rotating component that moves water through the drain system.
A piece of glass or plastic lodged against the impeller stops drainage even when the pump motor is fully functional. Clear visible debris with long-nose pliers or a narrow brush.
Reassemble, restore power, and run a short cycle. If drainage normalizes, the problem is resolved.
If the impeller spins freely and drainage still fails, the pump motor may have an electrical fault. At that point, you’ve moved past a cleaning protocol into appliance repair. Whether that repair makes sense relative to the appliance’s age is a different calculation, and a different article.
Keeping Your Dishwasher from Clogging Again
Almost every dishwasher clog is the result of deferred maintenance.
The filter doesn’t fail overnight. It accumulates food debris and grease to a threshold, then crosses it. Most of what this diagnostic sequence covers exists because the filter wasn’t cleaned on schedule, or the disposal connection was never checked, or both.
Four habits that prevent most of what this article covers:
- Scrape plates before loading. Modern dishwashers handle food-soiled dishes. They don’t need pre-rinsed ones. What they need is the removal of large food scraps: bones, pits, produce labels, and solid food chunks belong in the trash before loading.
- Use only dedicated dishwasher detergent. Standard dish soap and laundry detergent create suds inside a dishwasher. Suds block drainage. Using dish soap even once can leave enough foam to cause standing water in the next cycle.
- Run the garbage disposal before every dishwasher cycle. Ten to fifteen seconds, with water flowing. This is the single most consistent habit that prevents the Step 2 failure mode covered above. A clear disposal keeps the drain connection open for the dishwasher.
- Treat hard water scale separately from food debris. If you live in a hard water area, mineral deposits accumulate in the filter, spray arms, and door seal over time. Clearing mineral scale requires an acid soak on the removed components, not drain clearing. Treating it the same as a food-based clog won’t work.
Maintenance Schedule of Dishwashers

Each interval reflects how quickly that failure point accumulates, not how convenient it is to check.
| Frequency | Task | Why It Matters |
|---|---|---|
| Monthly | Remove and clean the filter: 15-minute soapy soak, soft brush, thorough rinse | Grease and food debris accumulate faster than most people expect. Monthly cleaning prevents the threshold buildup that causes standing water. |
| Every 3 months | Run an empty hot cycle with a dedicated dishwasher cleaner tablet | Clears grease film from interior walls, door seal, and filter housing. Addresses recurring odor at the same time. |
| Every 3 months | Inspect spray arm holes for blockage | Blocked holes don’t cause drainage failure, but they leave residue on dishes. A toothpick clears each hole in under a minute. |
| As needed | Inspect and clean the air gap if your sink has one | If drainage slows after a clean filter, the air gap is the next component to check. |
| Before every cycle | Run the garbage disposal for 10 to 15 seconds with water flowing | Keeps the drain connection clear before the dishwasher pumps water toward it. The most consistently neglected habit in this list. |
How quickly the filter reaches the point of causing drainage problems varies by household. A family of four loading without scraping will see buildup faster than a household of two that scrapes consistently.
Monthly is a reasonable starting point. It is not a guarantee that it’ll always be sufficient for every kitchen.
I track surface cleaning dates on a whiteboard in my kitchen. It started as a professional habit from my years in the hospital facilities. Most people clean their dishwasher filter less often than they think.
Ask yourself when you last cleaned it before you check a calendar. The gap between those two answers is usually worth noting.
When to Stop and Call a Professional
A dishwasher that still won’t drain after filter cleaning, disposal inspection, hose check, and air gap clearing has a mechanical or electrical fault beyond cleaning.
Two situations require a professional:
- Pump motor failure: the impeller spins freely, but the pump doesn’t activate, or continuity testing shows no electrical path through the motor. Pump replacement typically runs $150 to $350, depending on model and market.
- Deep drain line blockage: if your kitchen sink also drains slowly when the dishwasher runs, the blockage is in the shared drain line. That is plumbing work, not appliance repair. A plumber locates and clears it faster than any DIY approach will.