

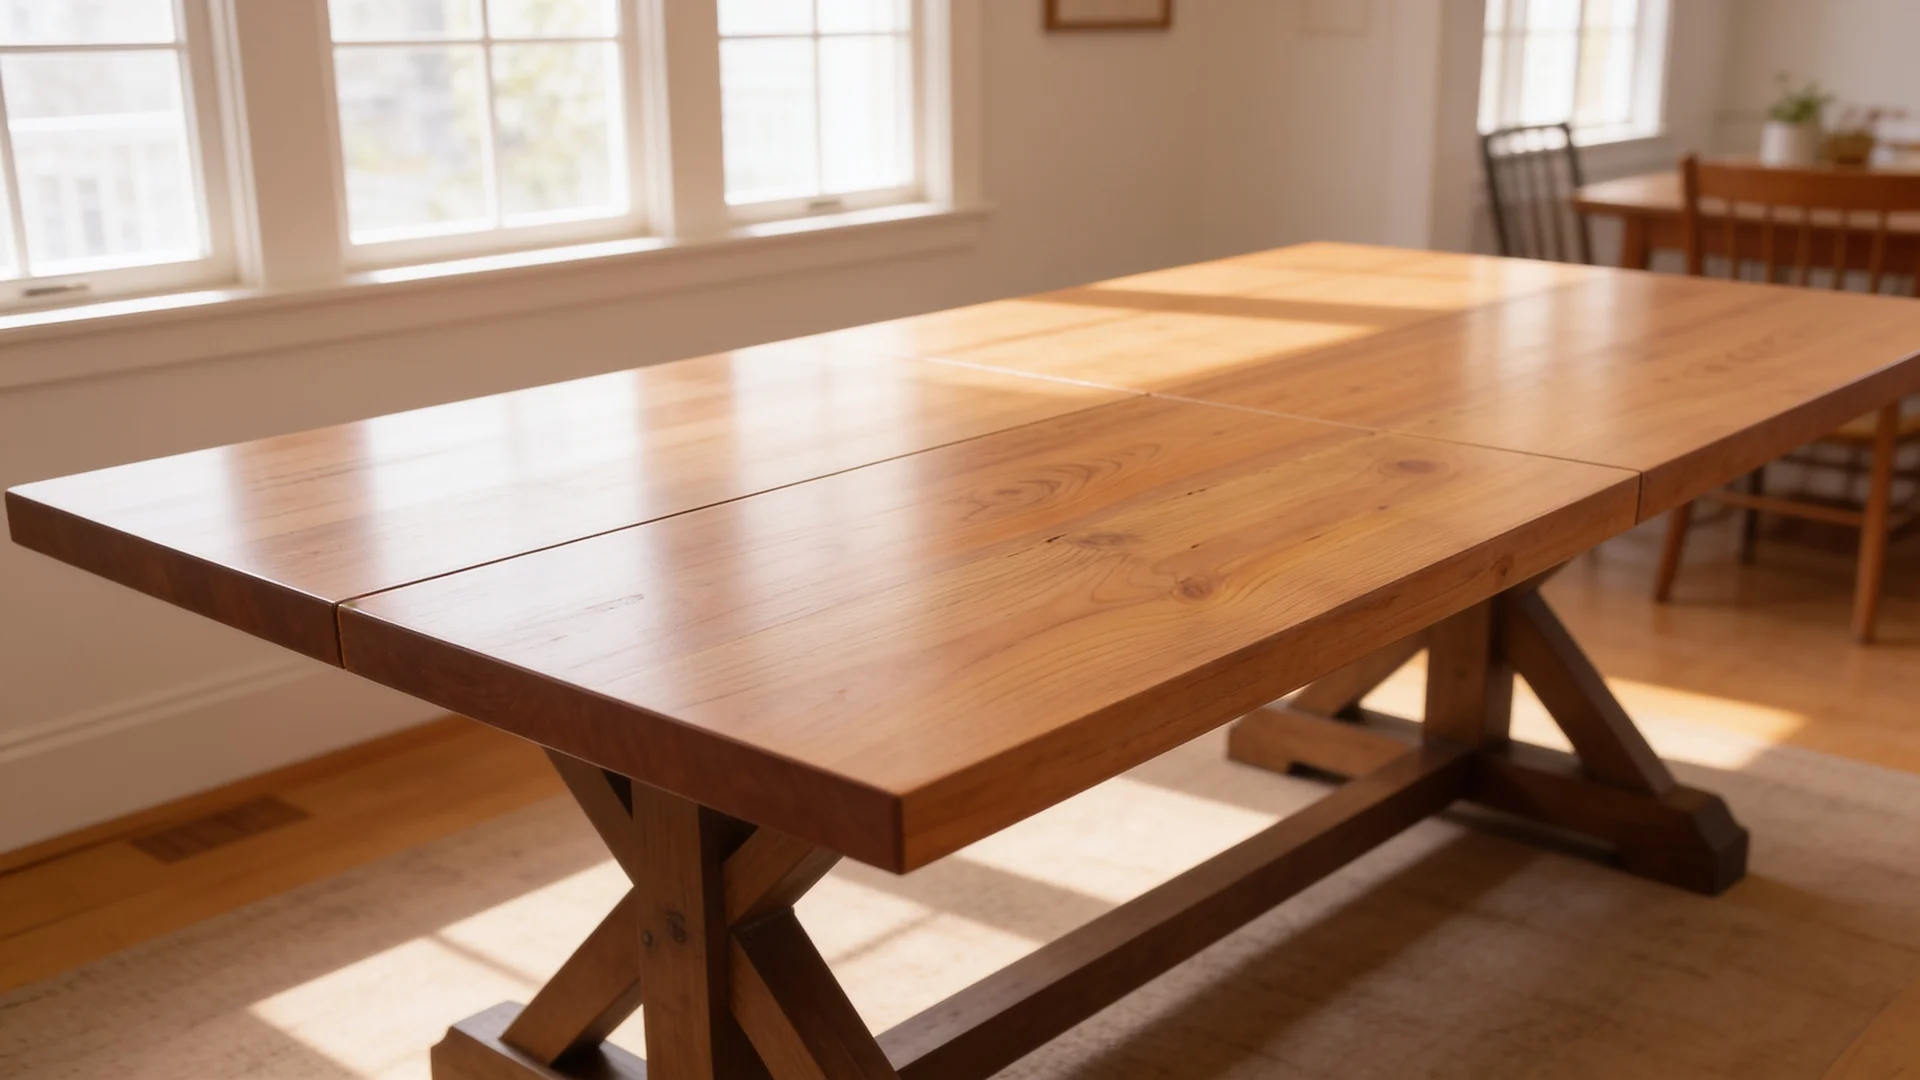
The finished tabletop either reads as a single surface or it doesn’t. That outcome gets decided in the first hour, before a clamp goes on.
This article walks through the full process of gluing up a solid-wood dining table top from individual boards. You should be able to follow it at the workbench.
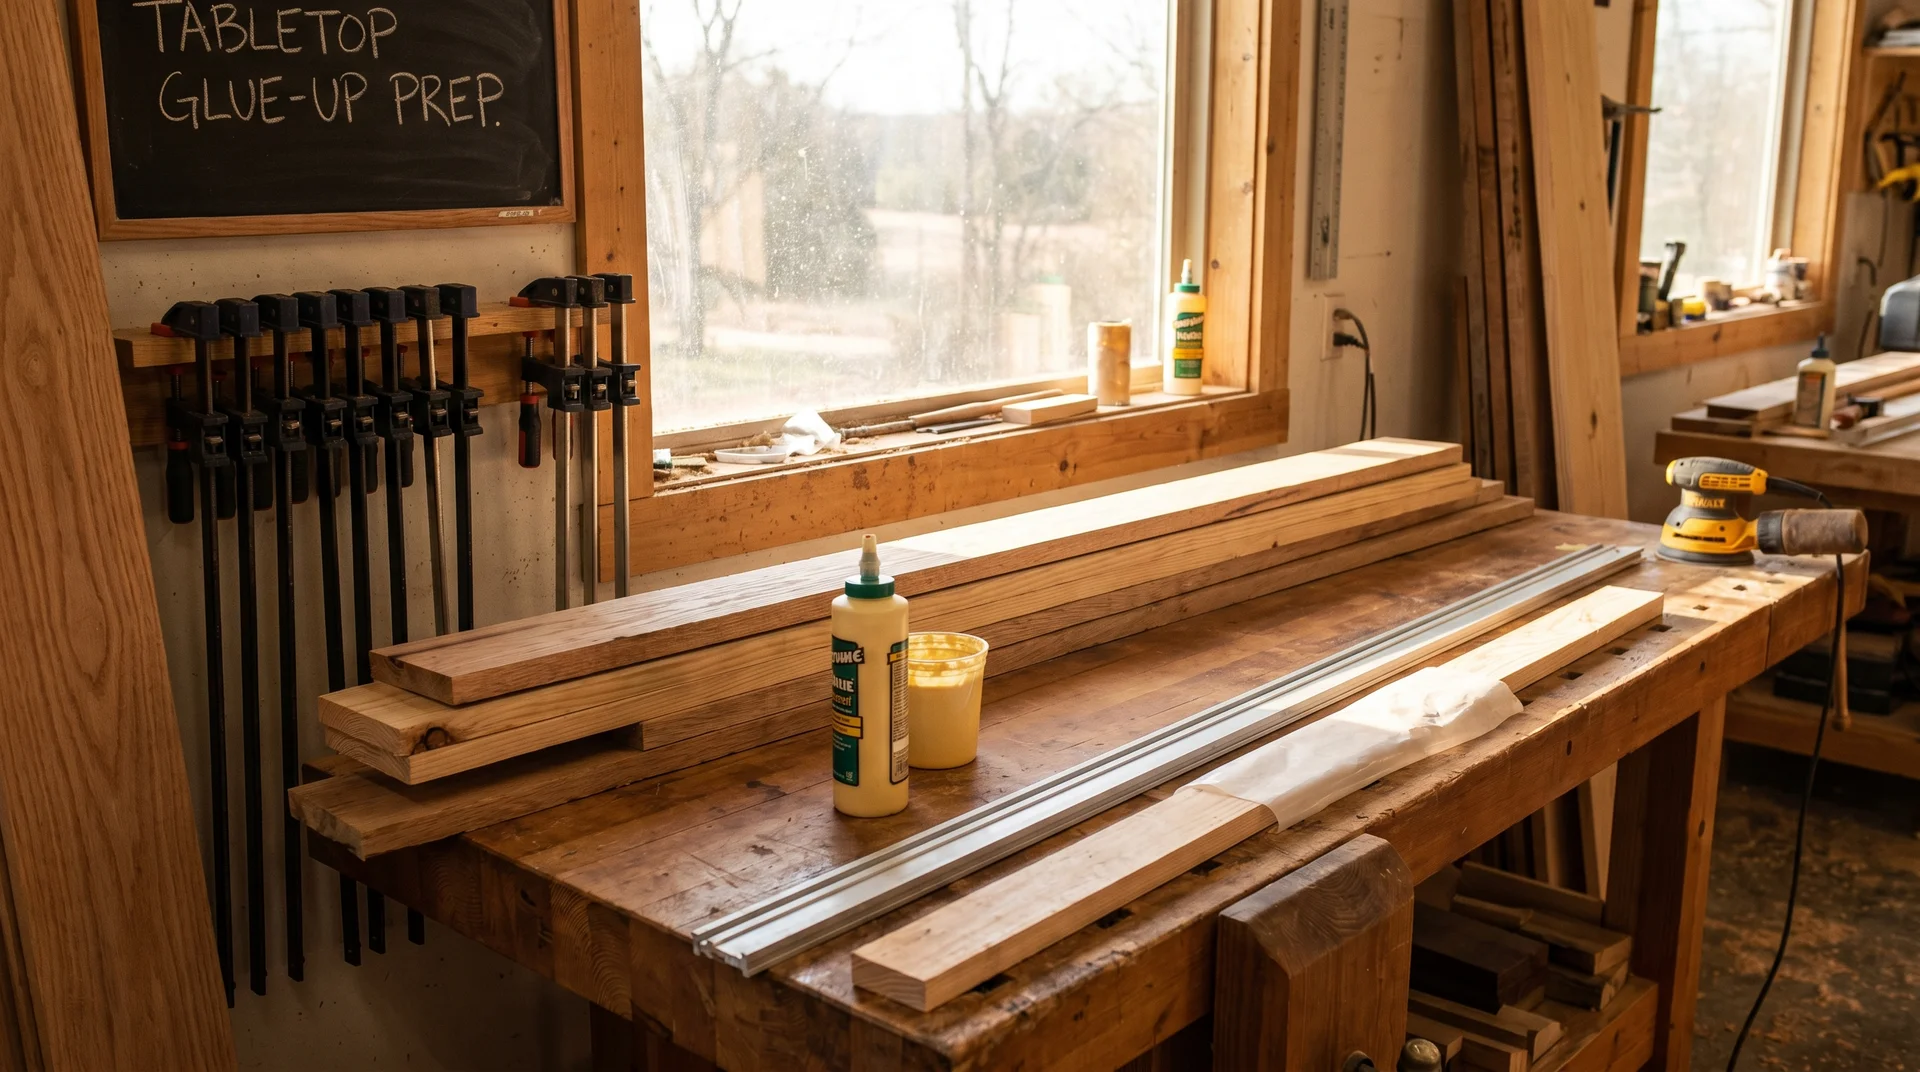
What You Need Before You Start
Gather everything before you open the glue.
Wood glue begins to set in 10 to 15 minutes. It doesn’t wait while you look for a clamp or clear a space on the floor.
Here’s what you need for a standard six-to-eight-person rectangular top:
- Lumber: Boards to your chosen species and dimensions, plus 10 to 15 percent extra for waste
- Wood glue: Standard PVA wood glue (Titebond II or equivalent); one 16 oz bottle handles most tabletop glue-ups
- Clamps: Parallel bar clamps or pipe clamps, one for every 10 to 12 inches of table width (a 36-inch-wide top needs at least three, ideally four)
- Table saw or jointer: For squaring the long edges before gluing
- Orbital sander and belt sander: For flattening after the glue cures
- Long straightedge or level: For checking flat during and after sanding
- Cauls: Two straight boards clamped perpendicular across the top to prevent bowing under clamp pressure (optional but useful)
Set up your clamps on the floor at roughly the right width before you touch the glue.
Choosing and Arranging Your Boards
Arrangement is the most underrated step in a tabletop glue-up.
Most guides move straight to the mechanical process. The visual decisions that happen on the floor before any glue is applied are what actually determine how the top looks once it’s in the room. Get those wrong, and no amount of perfect clamping fixes them.
How Many Boards and What Width
Fewer, wider boards mean fewer glue joints and a cleaner-looking top.
A 36-inch-wide top built from four 1×10 boards has three joints. The same top built from six 1×6 boards has five. Every joint is a line someone’s eye can find.
That said, wide boards move more seasonally than narrow ones.
A single 12-inch board moves more across its width than two 6-inch boards glued together. For most dining tables in normal indoor conditions, boards between 6 and 10 inches wide are a good balance.
Buy one more board than you think you need. You’ll use the extra to find the best arrangement.
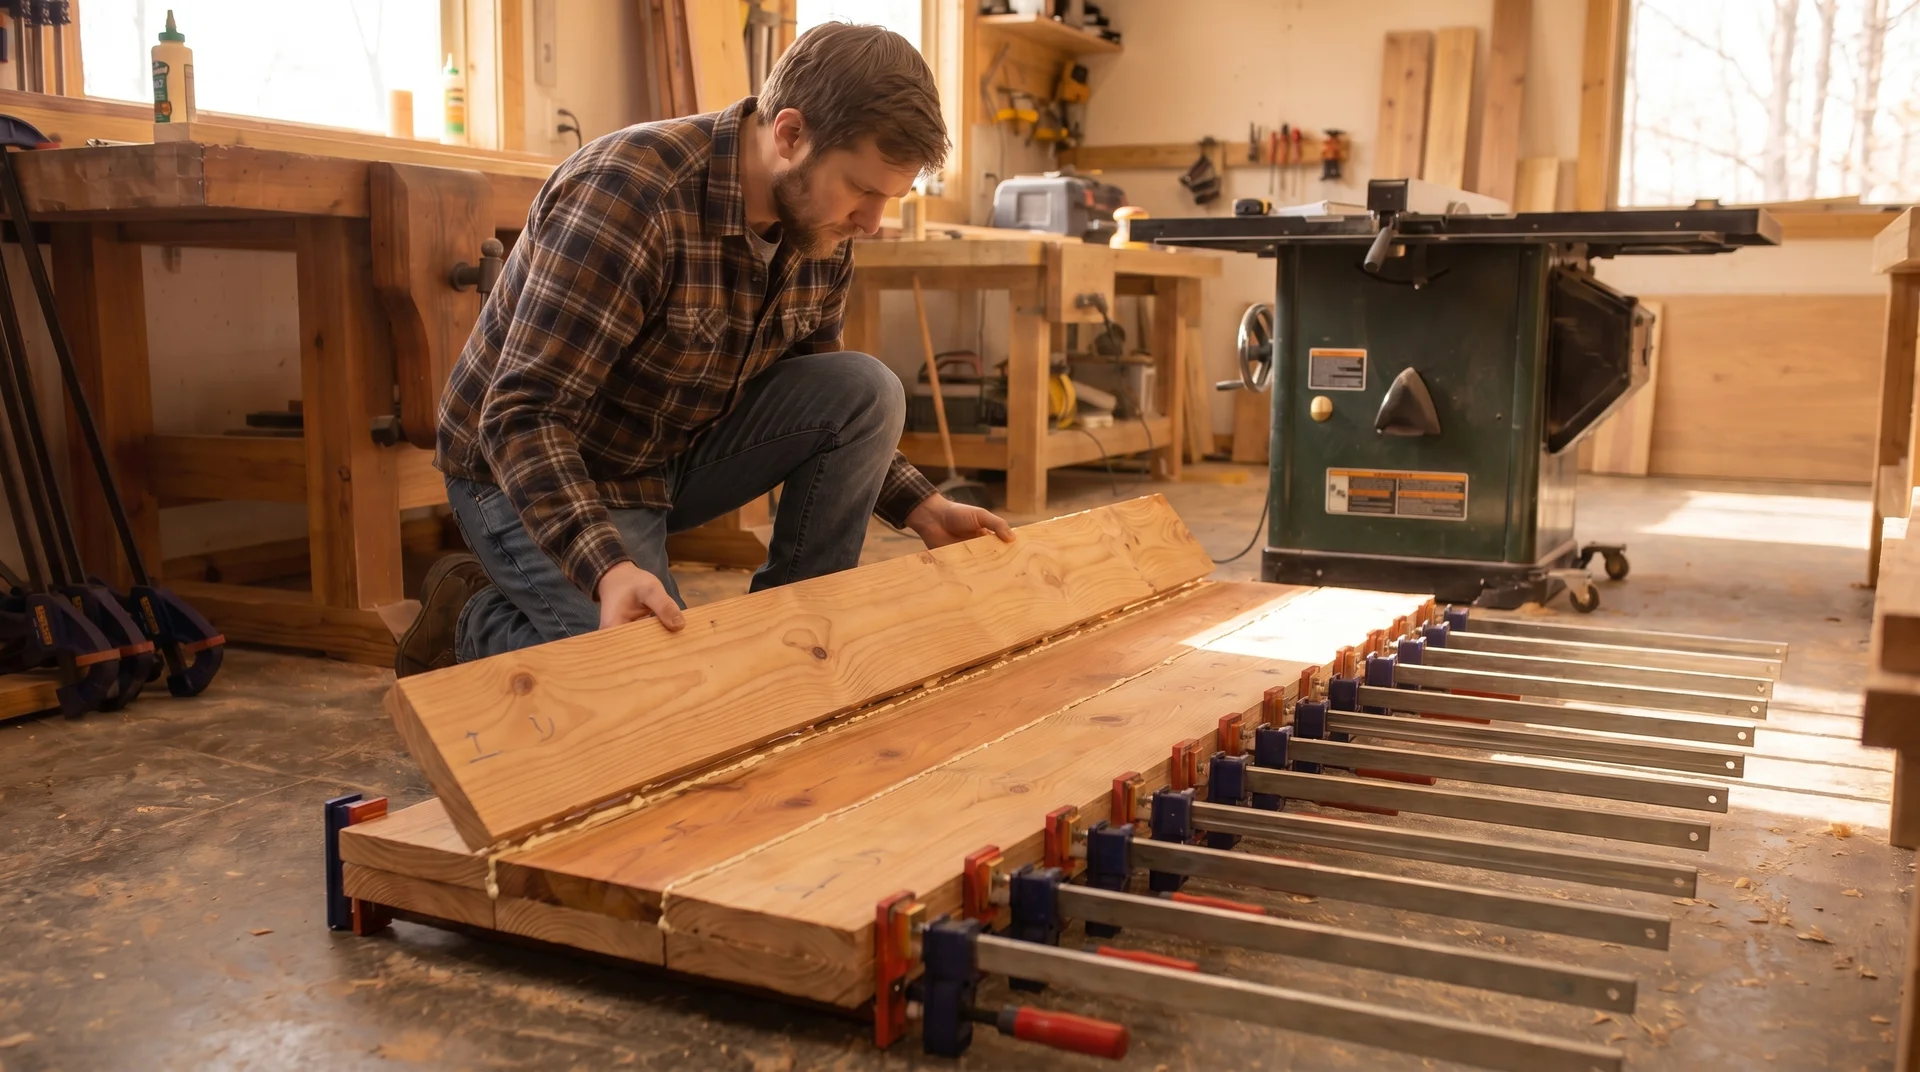
The Visual Decisions That Happen on the Floor

Lay all your boards flat on the floor and look at them together before anything else. Grain patterns, color, and figure vary even within a single species and a single lumber batch. The arrangement you choose dry is the arrangement you’ll glue.
Run the grain in the same direction across all boards. Boards with opposing grain directions catch light differently, and the finished top reads as assembled rather than continuous. This is the single most visible arrangement mistake I see on completed tables.
Look at the end grain of each board: the rings either curve up toward the face or down toward it. Alternate adjacent boards so the rings alternate direction. This shows how the top moves seasonally and helps it stay flat over time.
A top glued up with all rings curving the same way will tend to cup in that direction within the first year.
Spend at least ten minutes on the arrangement before you move to the next step.
Mark the top face of each board and number them in order once you have the arrangement you want. A pencil line across all the joints works well. You’ll thank yourself when you’re working fast under open glue time.
Squaring the Edges
This step is not optional for construction lumber.
Dimensional lumber from a home improvement store comes with rounded edges and sometimes a slight bow along the length. These edges do not mate cleanly. If you glue them as-is, you get gaps between boards at the surface. No amount of clamping pressure closes a gap caused by two curved surfaces meeting.
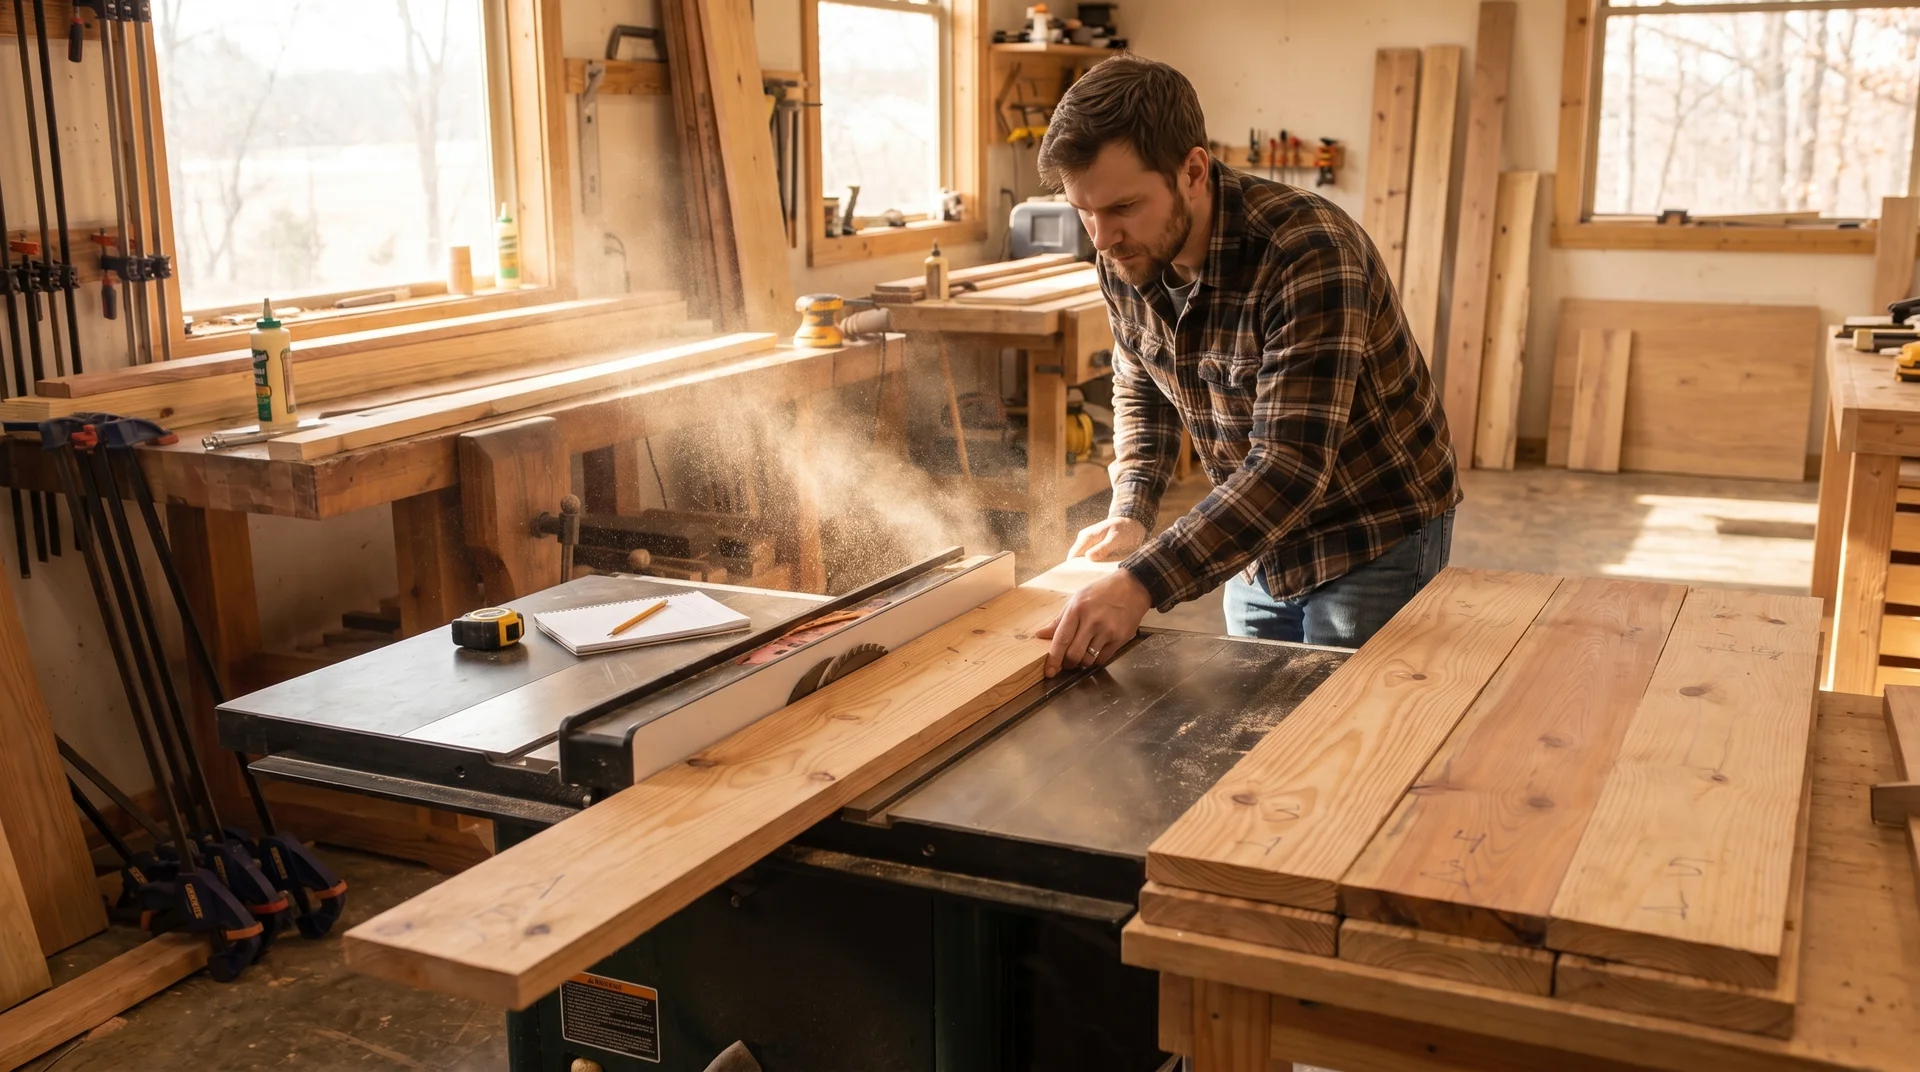
Running the Edge on a Table Saw
Set the table saw fence to remove just enough material to produce a clean, flat edge. A 1/8-inch pass on each long edge is usually enough. Run each board face down against the fence, keeping it flat on the table throughout the cut.
The edge coming off the saw should be smooth and straight with no mill marks. If you see a wavy pattern in the cut, the board bowed during the pass. Run it again with light pressure to hold it flat.
I find this step takes about twenty minutes for a full tabletop’s worth of boards. It’s the twenty minutes that determine whether you end up with tight joints or visible gaps. That trade-off has always seemed obvious to me.
If you don’t have a table saw, a jointer does the same job more accurately. A hand plane works too, but requires more skill to keep the edge square. If none of those options are available, many lumber yards will joint edges for a small fee per board.
Setting Up and Gluing
The glue-up itself is fast. The setup is what takes time.
Have your clamps pre-set, your boards in order, and a clean surface to work on before you open the glue bottle. Once glue goes on, you have about ten minutes of good open time before it starts to grab.
Setting Up Your Clamps
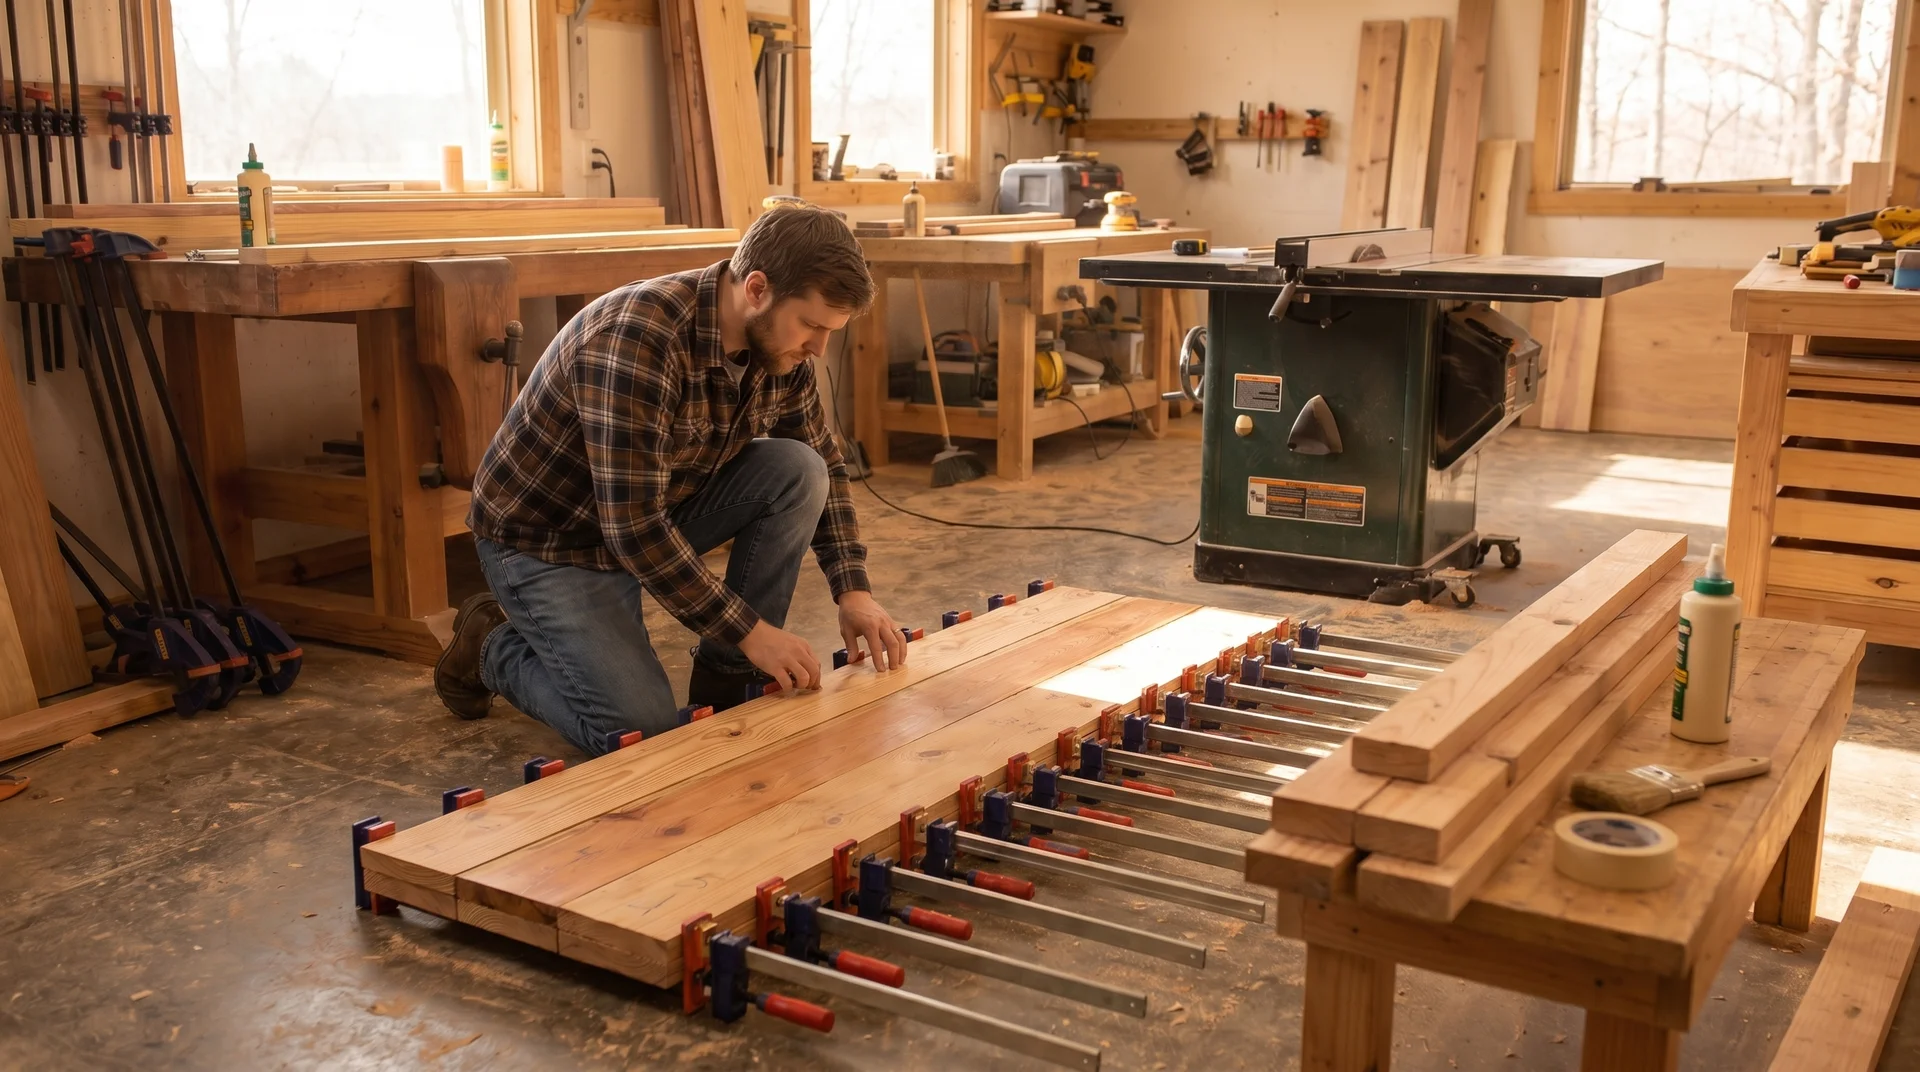
Lay your clamps on the floor in a parallel row, one every 10 to 12 inches across the width of the top. Open them slightly wider than the combined width of all your boards. They should be ready to slide under the boards and tighten without adjustment once the glue is on.
If you have cauls (straight boards clamped perpendicular across the top of the glue-up), set them up too.
They prevent the boards from bowing up under the horizontal clamp pressure, which is the main cause of a glue-up that looks flat in the clamps but isn’t flat once they come off.
Applying Glue and Clamping
Apply glue to both faces of every joint, not just one side. Spread it in a thin, even layer using a brush, a roller, or your finger. You want full, even coverage without excess. Aim for a thin, consistent coat.
Set the boards into the clamps in order. Tighten evenly from one end to the other, alternating sides so the pressure builds gradually and the boards stay aligned.
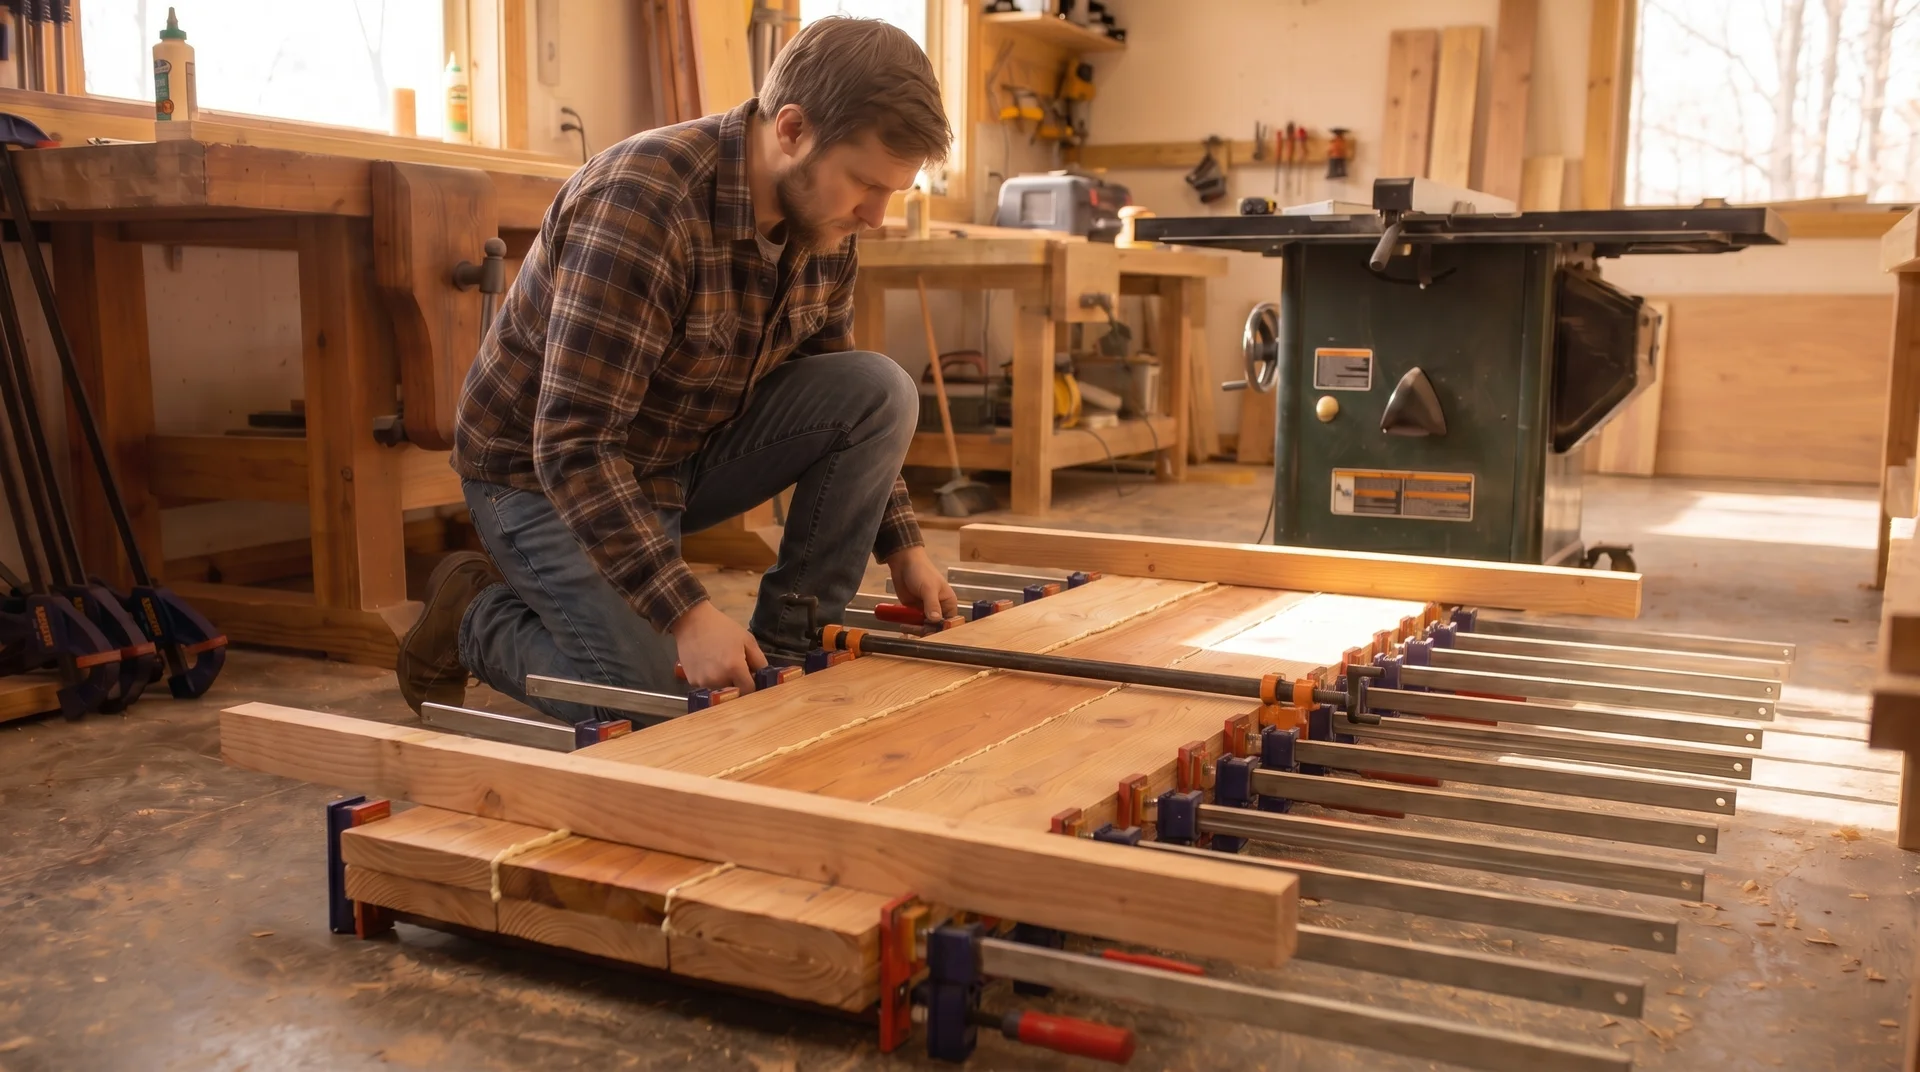
The right clamping pressure produces a thin, continuous bead of glue squeeze-out along the full length of each joint. No squeeze-out means not enough glue. Heavy blobs mean too much. Both indicate a problem with the glue application.
Check that the boards are flat across the surface, not just touching at the edges.
Sight across the top from one end while the clamps are on. Any board that has bowed up will be visible from this angle. If you see one, add a caul above it and clamp down.
A board that bows in the clamps produces a hump in the finished top that sanding will not fix without removing significant material.
Gluing in Stages
If you don’t have enough clamps for the full width, glue up two or three boards at a time. Let each section cure for at least an hour before adding another board to it. The finished top is just as strong as one glued all at once.
Stage gluing also reduces the chaos of managing many boards under a tight glue-application window. For a first glue-up, I’d recommend it regardless of how many clamps you have.
Leave the clamps on for a minimum of one hour. Leave them on overnight if you can.
The glue reaches about 75 percent of its strength in an hour and full strength in 24 hours. Moving the top too early doesn’t cause the joint to fail immediately. It causes the joint to fail six months later under stress.
Flattening and Sanding the Surface
A glued-up top is almost never flat straight out of the clamps.
Small misalignments between boards, slight variation in thickness, and squeezed-out glue that dried on the surface all need to come off. This is sanding work, done in a specific order.
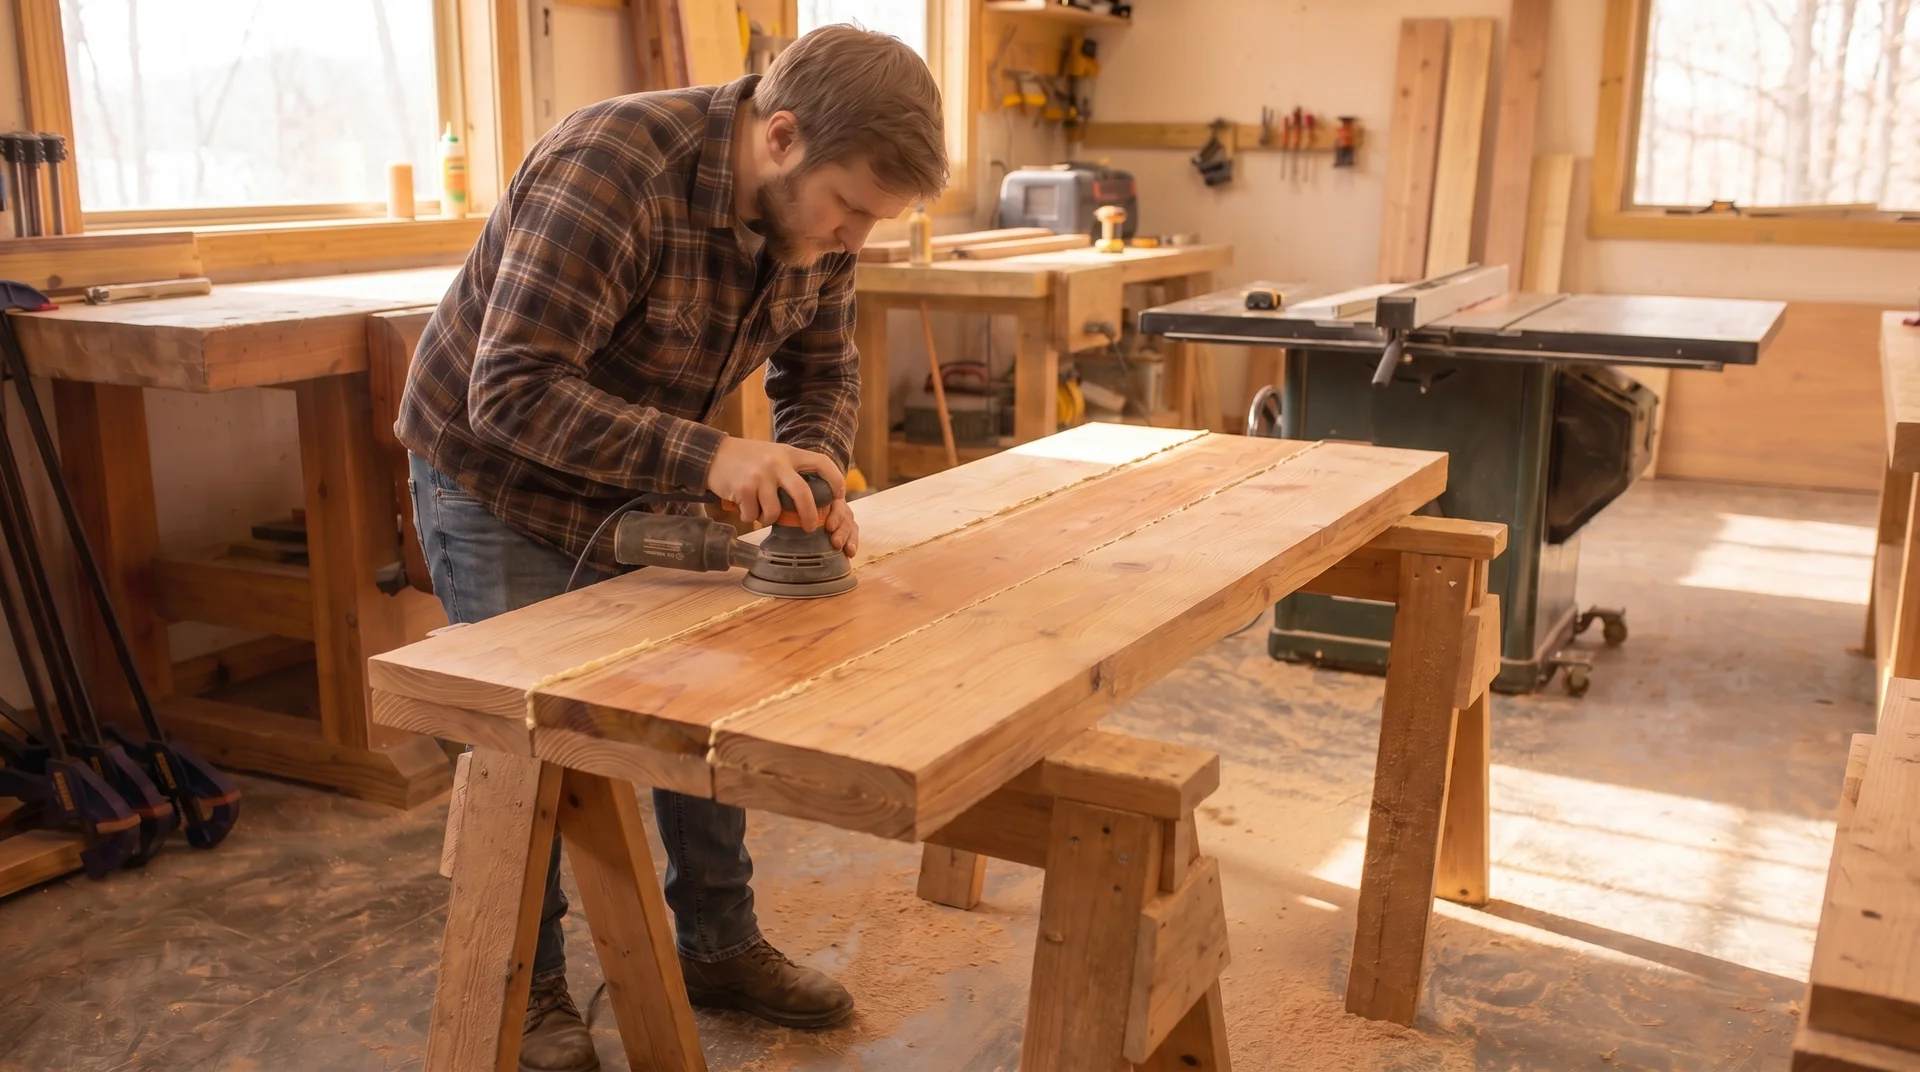
The Sanding Sequence
Start with 80-grit to remove unevenness at the glue joints and flatten any board that’s sitting slightly proud of its neighbor. Run the sander diagonally across the joints first, then with the grain once the surface is level.
Don’t skip the diagonal pass. It’s what actually brings misaligned boards into the same plane.
Move to 120-grit once the surface is flat. This removes the 80-grit scratches. Follow it with 150 or 180-grit, then finish at 220-grit. Each step removes the marks left by the previous one.
Sand the entire surface at each grit, not just the problem areas. A top that’s 120-grit in some spots and 220-grit in others takes stain unevenly, the same way pine does when you skip wood conditioner.
Checking for Flat
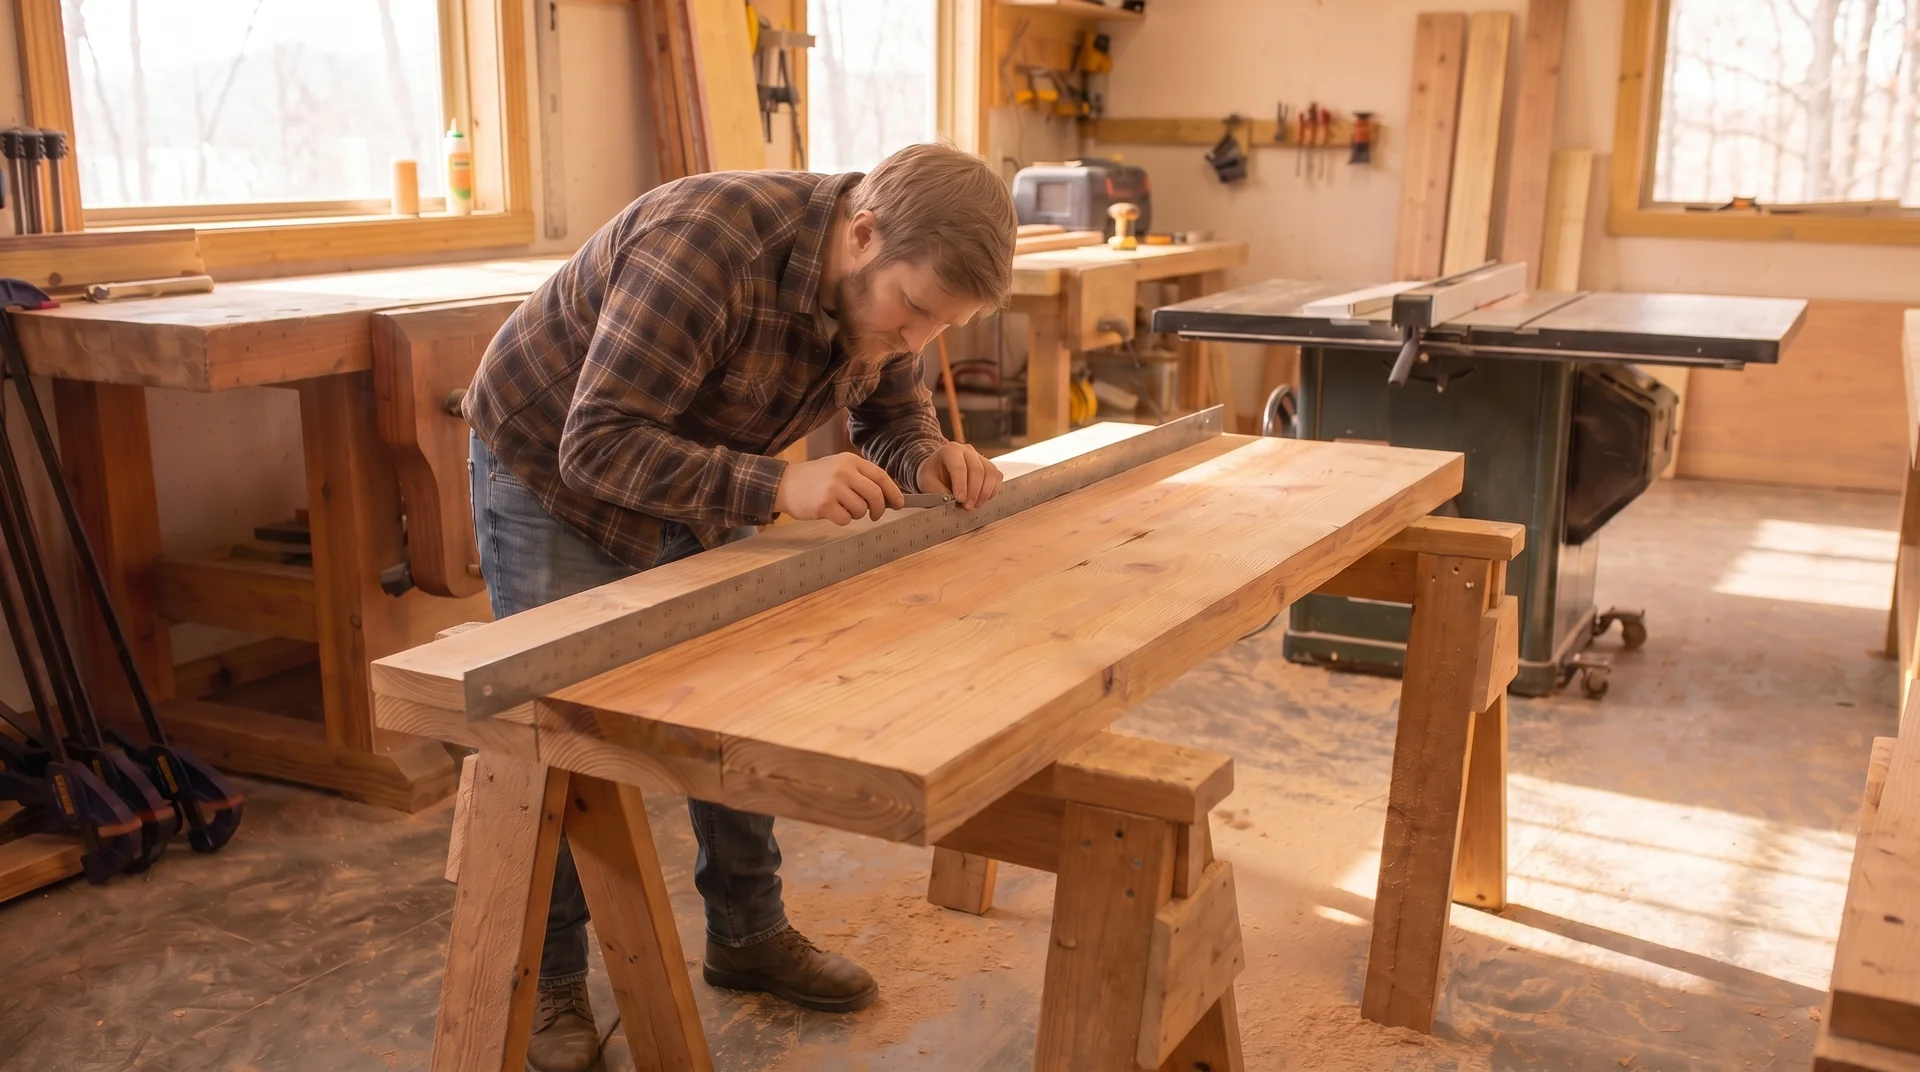
Use a long straightedge or level to check for flatness at every stage of sanding. Lay it across the surface in multiple directions: along the length, across the width, and diagonally. Any light visible beneath it marks a low spot.
Low spots don’t sand out. You can only bring the highlights down to meet them. If you find a significant low spot, keep sanding the surrounding area until the straightedge sits flat across the whole surface.
The final check: look across the top from a low angle in raking light. Hold a work light at the surface and look toward it.
Every high spot, tool mark, and sanding scratch shows from this angle. If it shows here, it will show under finish in the dining room. Keep sanding until this view is clean.
What to Do About Knots and Defects
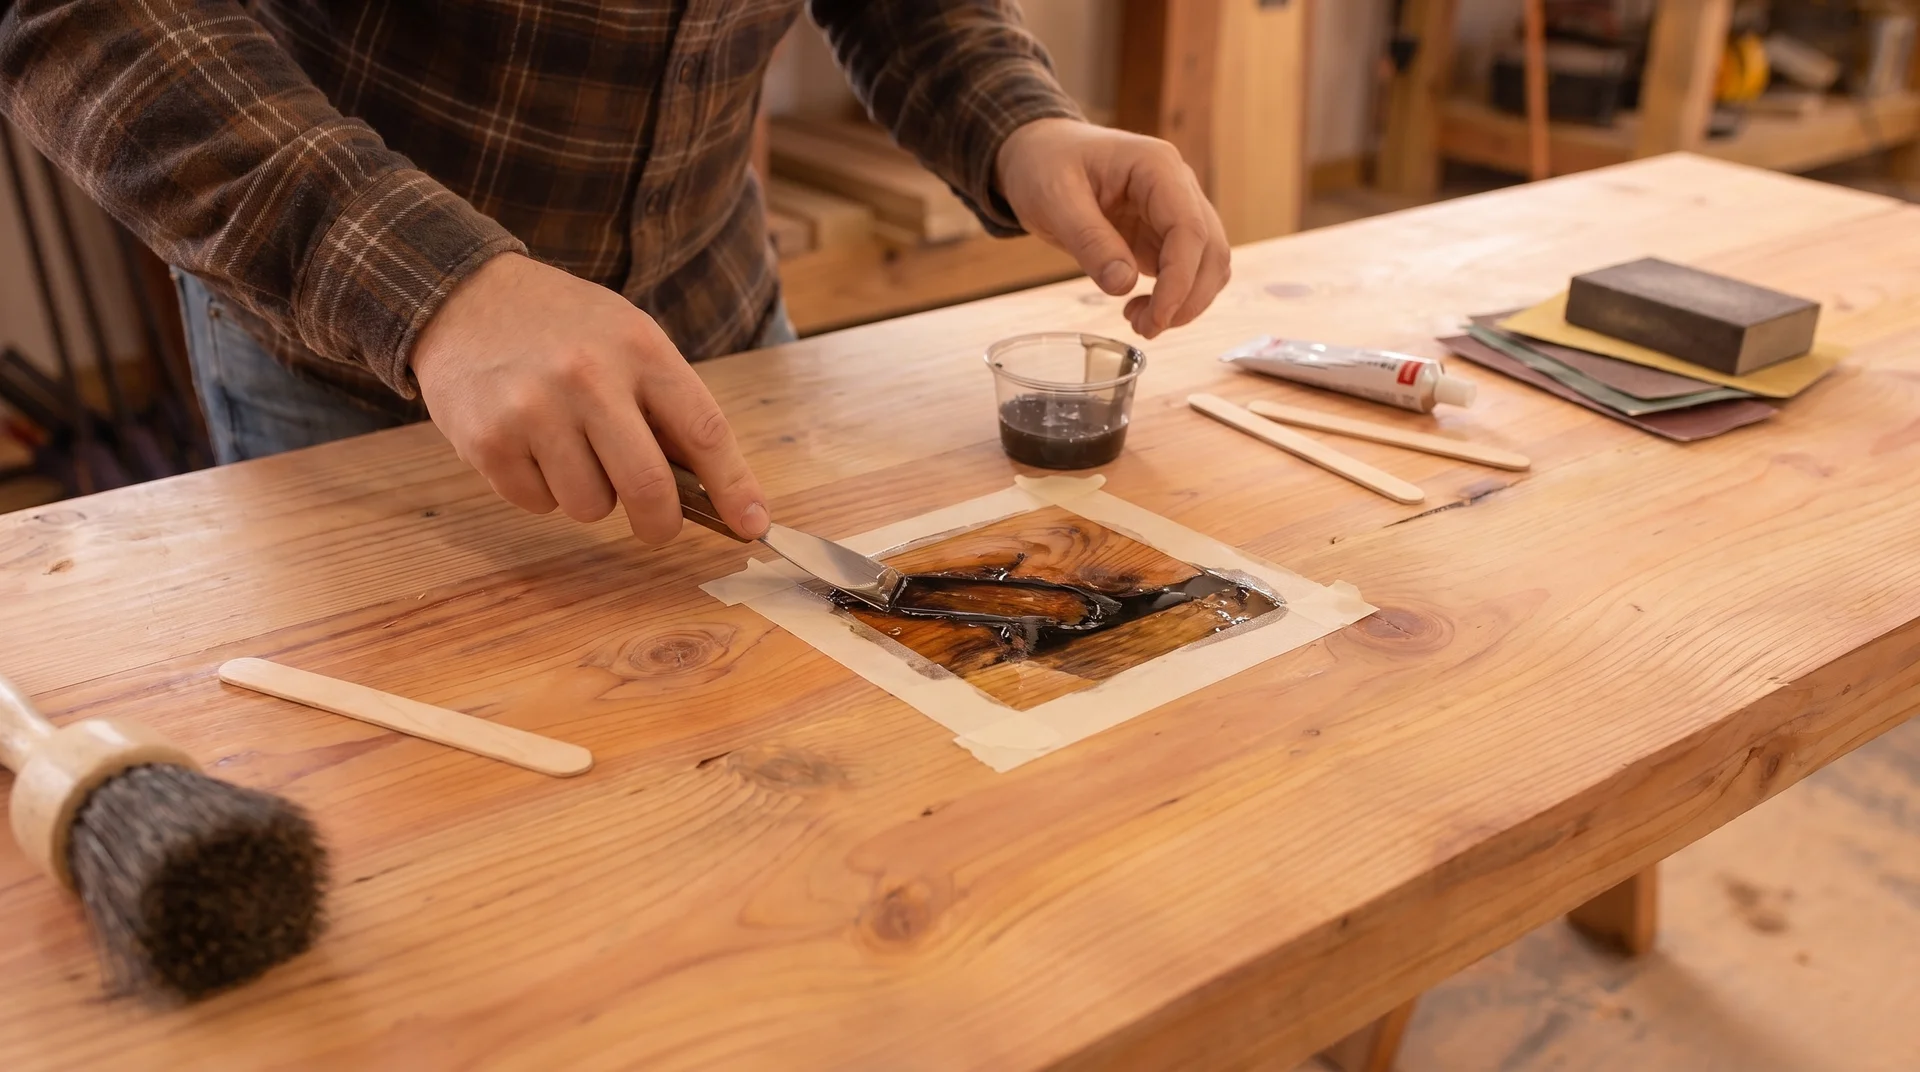
Construction-grade pine has knots. Some are tight and stable. Some are loose, cracked, or partially missing.
Tight knots are fine. Sand them smooth and finish over them. Loose or cracked knots need to be filled before the finish goes on.
A two-part epoxy fill works for larger voids. Wood filler works for the smaller ones. Let either cure fully before sanding flush.
I’ll be honest: large, loose knots in a dining table top are a visual problem that filling doesn’t fully solve. They show through most stains. If a board has a large, loose knot near the center of the top, I swap it for a cleaner board.
That’s the time to use the extra board you bought at the lumber yard.
