

You’ve built the table. This step tells the room what it is.
Finish determines the color, the sheen, the depth of the grain, and how the surface holds up to daily kitchen use.
Most finishing mistakes happen in the prep stage, not the application stage. This article covers both in the order they need to happen.
Which Finish to Use
The right finish depends on how the table will be used.
For a kitchen dining table that takes daily use, water rings, and the occasional cleaning product, hardwax oil (Rubio Monocoat, Osmo Polyx) outperforms polyurethane in long-term repairability.
Polyurethane forms a film on the surface that chips and peels at the edges over time.
Hardwax oil penetrates the wood and wears gradually, and you can spot-repair a worn area without stripping the whole surface.
For a table in a low-traffic dining room, oil-based or water-based polyurethane is a reasonable choice and costs less upfront. Pure oil finishes (tung, danish) are not recommended as standalone finishes on a dining table. They don’t build enough of a protective layer for a surface in daily kitchen use.
This article covers applications for both categories: polyurethane and hardwax oil. Choose your finish before you read the sections below, then follow the one that applies to your choice.
Surface Prep: The Step That Makes or Breaks the Finish
Every sanding scratch shows under the finish.
That’s not a warning, it’s a physical fact. The finish layer is thin and transparent. Whatever is on the surface before the first coat goes on is visible after the last coat.
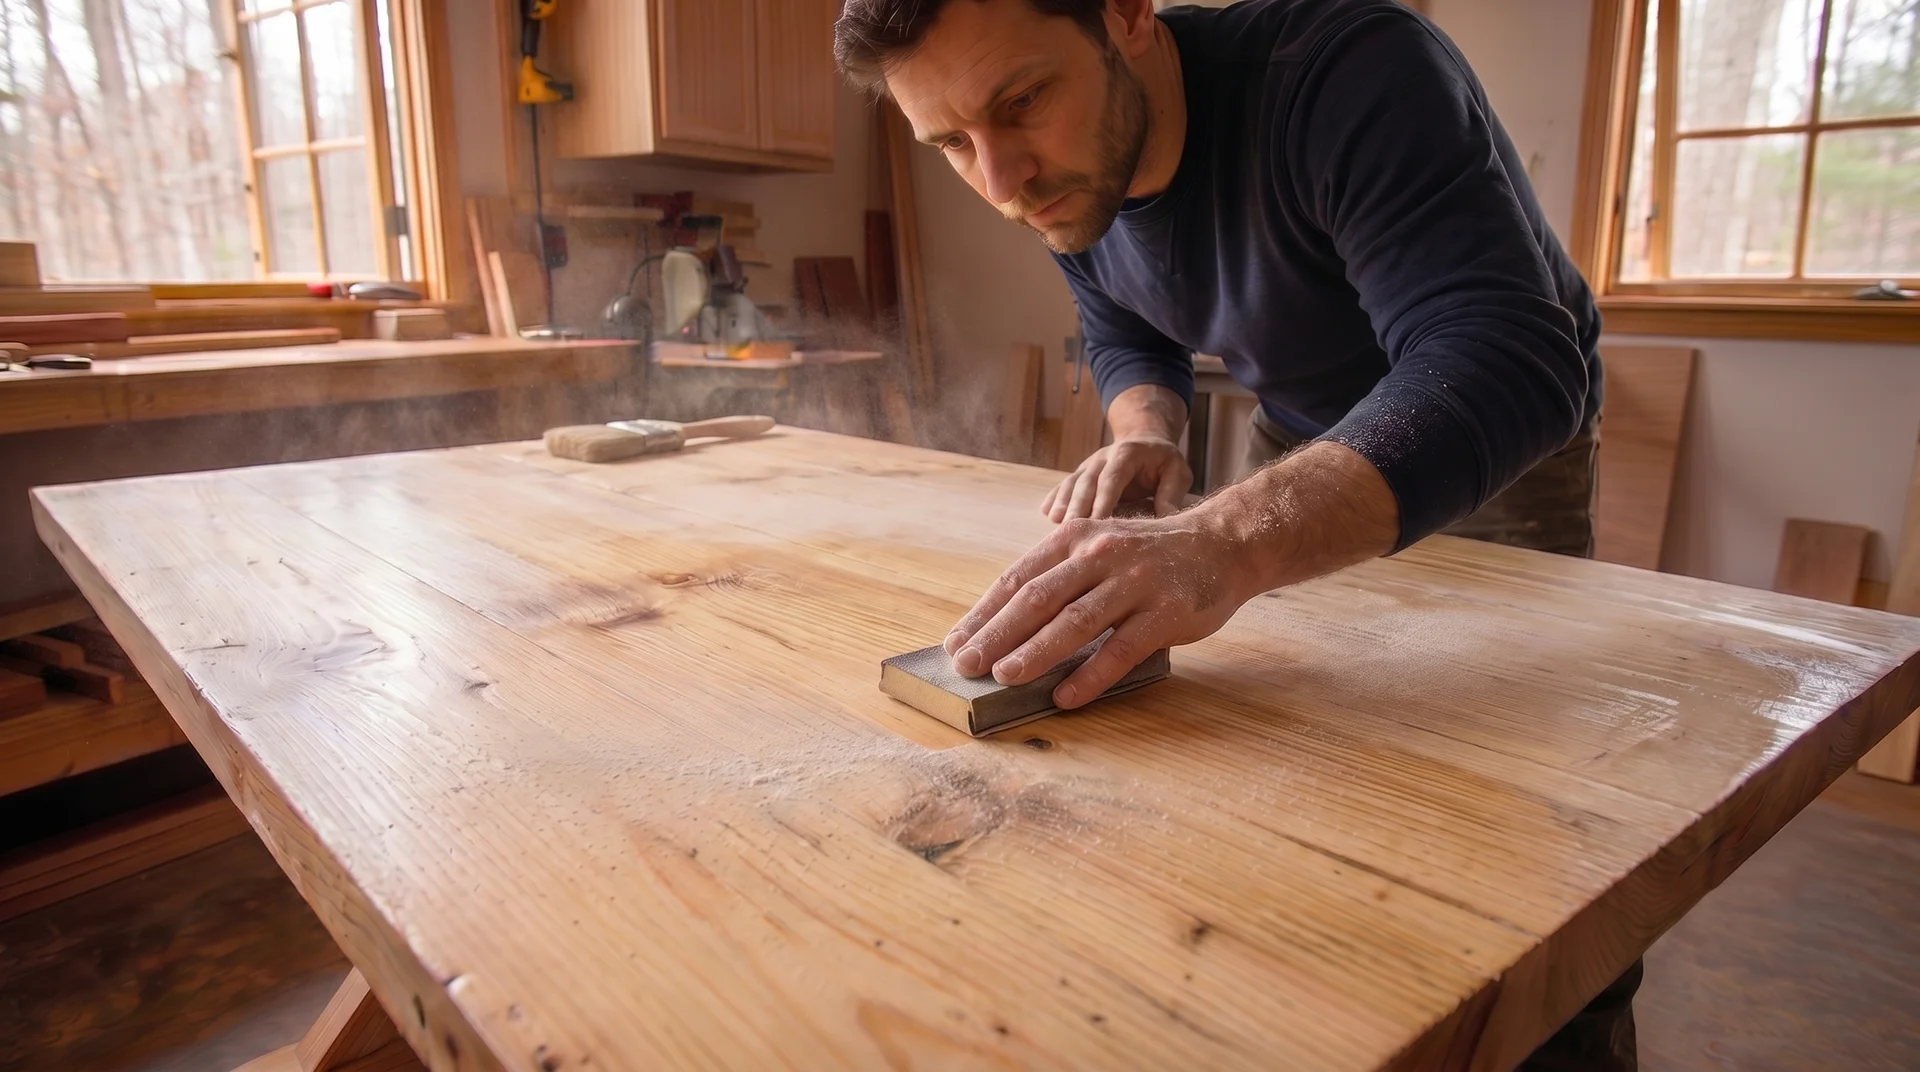
Final Sanding Sequence Before Any Finish
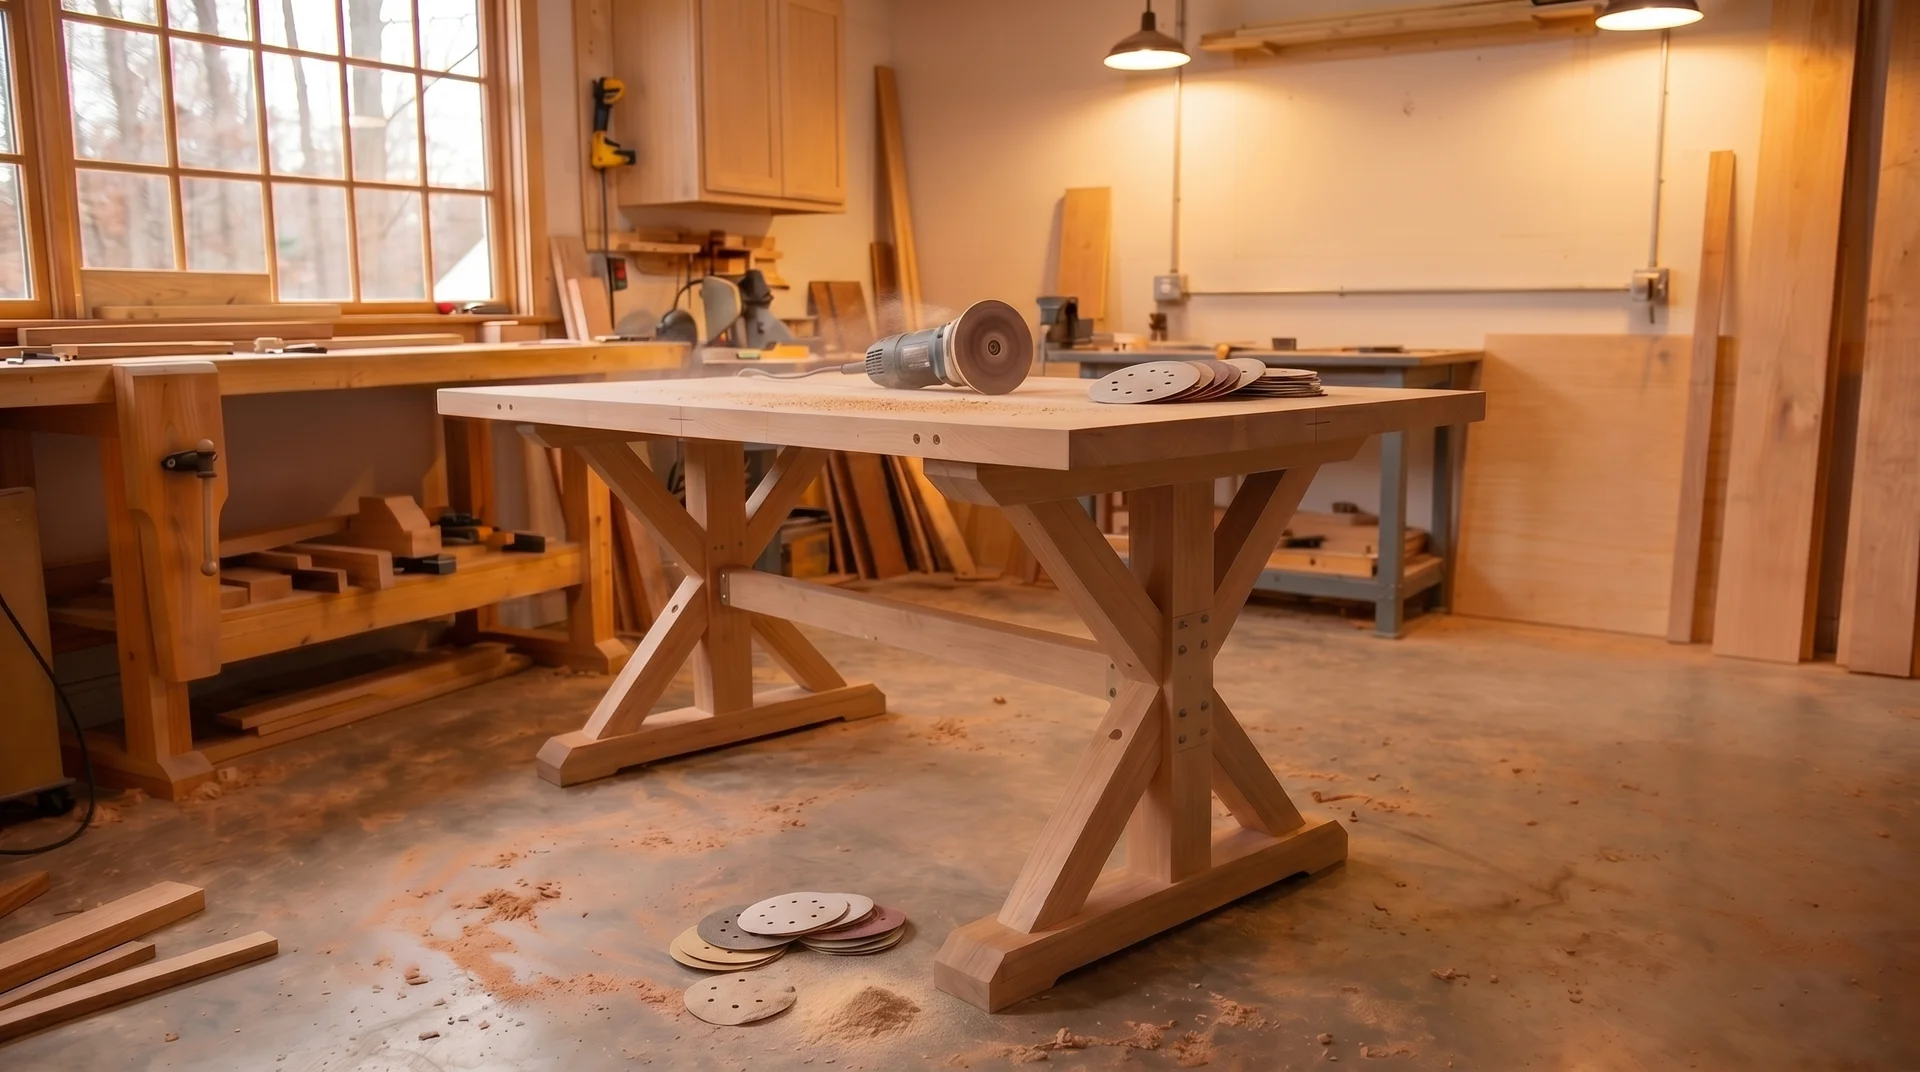
Sand to 220-grit before opening any finish, even if you sanded the top during the glue-up process. Moving and installing the top introduces new scratches and raises the grain slightly. Those need to come off before the finish goes on.
Work through the grits in sequence: 120, 150, 180, 220. Don’t skip grits.
Each step removes the scratches from the previous one. Jump from 120 to 220, and you’ll spend twice as long trying to remove the deep scratches, or you’ll finish over them.
Sand with the grain throughout. Cross-grain scratches from an earlier pass that you thought were gone will reappear under the first coat of finish.
They are almost impossible to remove after the finish is on without stripping back to bare wood.
Raising the Grain
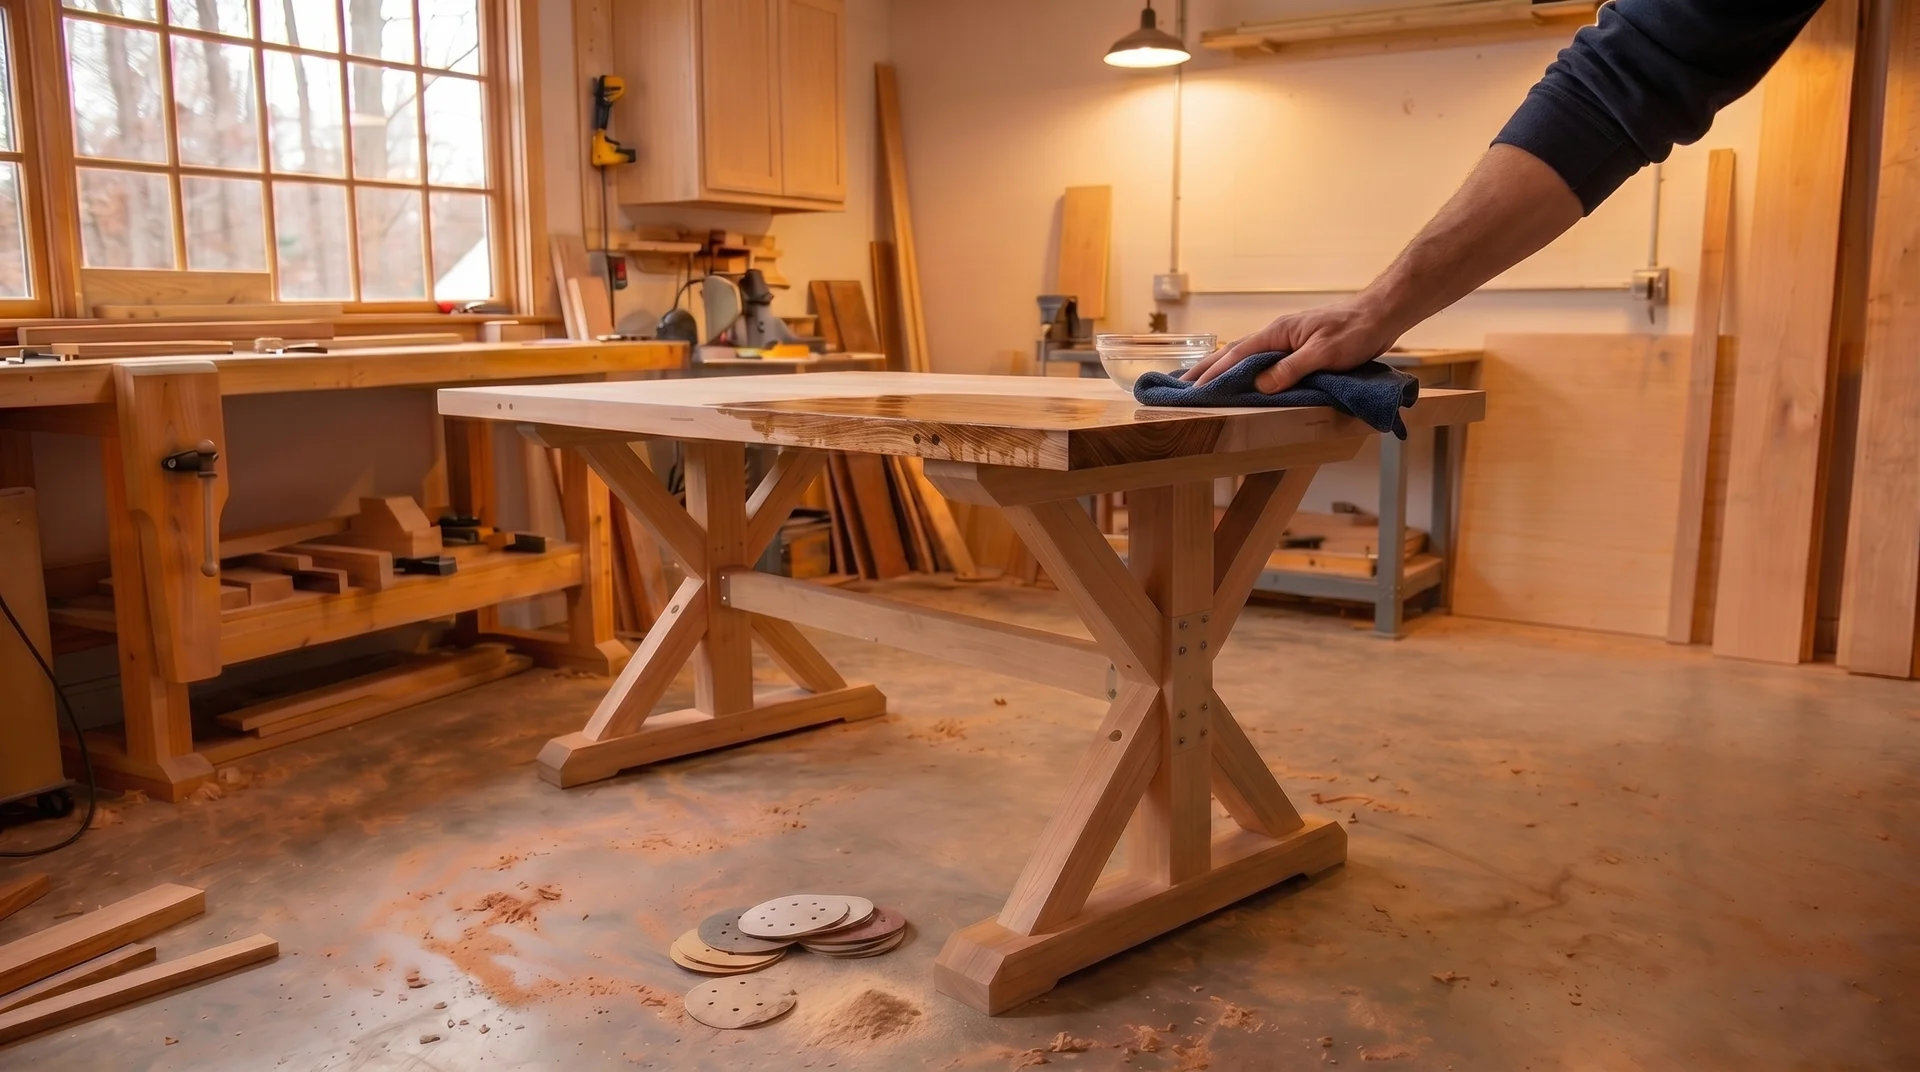
Raise the grain before your first coat by wiping the surface with a damp cloth and letting it dry.
Water causes the wood fibers to swell slightly and stand up. When that happens under the first coat of finish, you get a rough surface that needs more sanding.
Raising the grain intentionally before finishing means the fibers stand up, you sand them back down, and the first coat goes on a surface that won’t roughen again.
- Wipe the whole surface with a barely damp cloth. Let it dry fully, at least an hour at room temperature.
- Then do one final light pass with 220-grit. You’ll feel the difference: the surface will feel slightly rough before that final sand and smoother after it.
Skip this step with hardwax oil finishes. The penetrating nature of those products means grain raise doesn’t affect the result the same way it does with film finishes like polyurethane.
The Raking Light Test

Look at the surface in raking light before any finish goes on. Hold a work light at the surface and look toward it from one end of the table. Every scratch, tool mark, and unevenness shows from this angle that is invisible in overhead light.
Anything you can see in raking light on bare wood will show under finish. Fix it now. Once finish goes on, your options are stripping back to bare wood or living with it.
I find problems in this check on nearly every surface I’ve thought was ready. One more pass with 220-grit on the problem area usually resolves it.
The five minutes this check takes are worth more than any other step in the finish process.
Applying Polyurethane
Polyurethane is a film finish applied in multiple coats.
It builds up on the surface rather than penetrating it. Each coat adds a thin layer of protection. Three coats are the minimum for a dining table. Four or five coats provide more durability for a heavily used table.
Oil-Based Polyurethane

Apply oil-based polyurethane with a natural bristle brush or a foam brush, working with the grain in long, even strokes.
Load the brush fully but not heavily. A brush that’s dripping will leave runs. A brush that’s too dry leaves brush marks that don’t level out.
Apply in a well-ventilated space. Oil-based polyurethane releases fumes during application and throughout the curing period. Open windows, run a fan aimed out of the space, and stay out of the room while it cures.
The finish is dry to the touch in four to six hours, depending on humidity and temperature. Full cure takes 30 days.
Do not use the table at full capacity until the 30-day cure is complete.
Dry to the touch and fully cured are not the same thing. A finish that’s dry to the touch at 24 hours is still soft enough to dent, scratch, and leave water marks.
Many people put their newly finished table back into service too early, then blame the finish for damage that happened before it hardened.
Water-Based Polyurethane
Apply water-based polyurethane with a synthetic bristle brush or a foam applicator. Natural bristle brushes absorb water and go limp. They leave brush marks in a water-based product.
Water-based polyurethane dries faster than oil-based: typically two to four hours between coats. The fast dry time is an advantage in terms of project pace but a challenge for application.
Brush marks that would level out in an oil-based product can lock in before a water-based coat has time to self-level. Work quickly and avoid going back over an area that’s starting to tack up.
Full cure for water-based polyurethane is typically 21 to 30 days, shorter than oil-based but still longer than most people wait. The same warning applies: the table is usable after a week but not fully hardened.
Between-Coat Preparation for Polyurethane
Sand lightly between every coat with 320-grit or 400-grit paper. This step removes dust nibs, brush marks that didn’t level, and any raised grain from the previous coat.
Without it, each subsequent coat goes on over a slightly rough surface, and the finish never achieves a clean look.
Use a tack cloth or a barely damp cloth to remove all sanding dust before the next coat goes on. Dust trapped under a coat of finish is permanent.
The final coat gets no between-coat sand. Apply it carefully over the sanded, dust-free surface and let it cure.
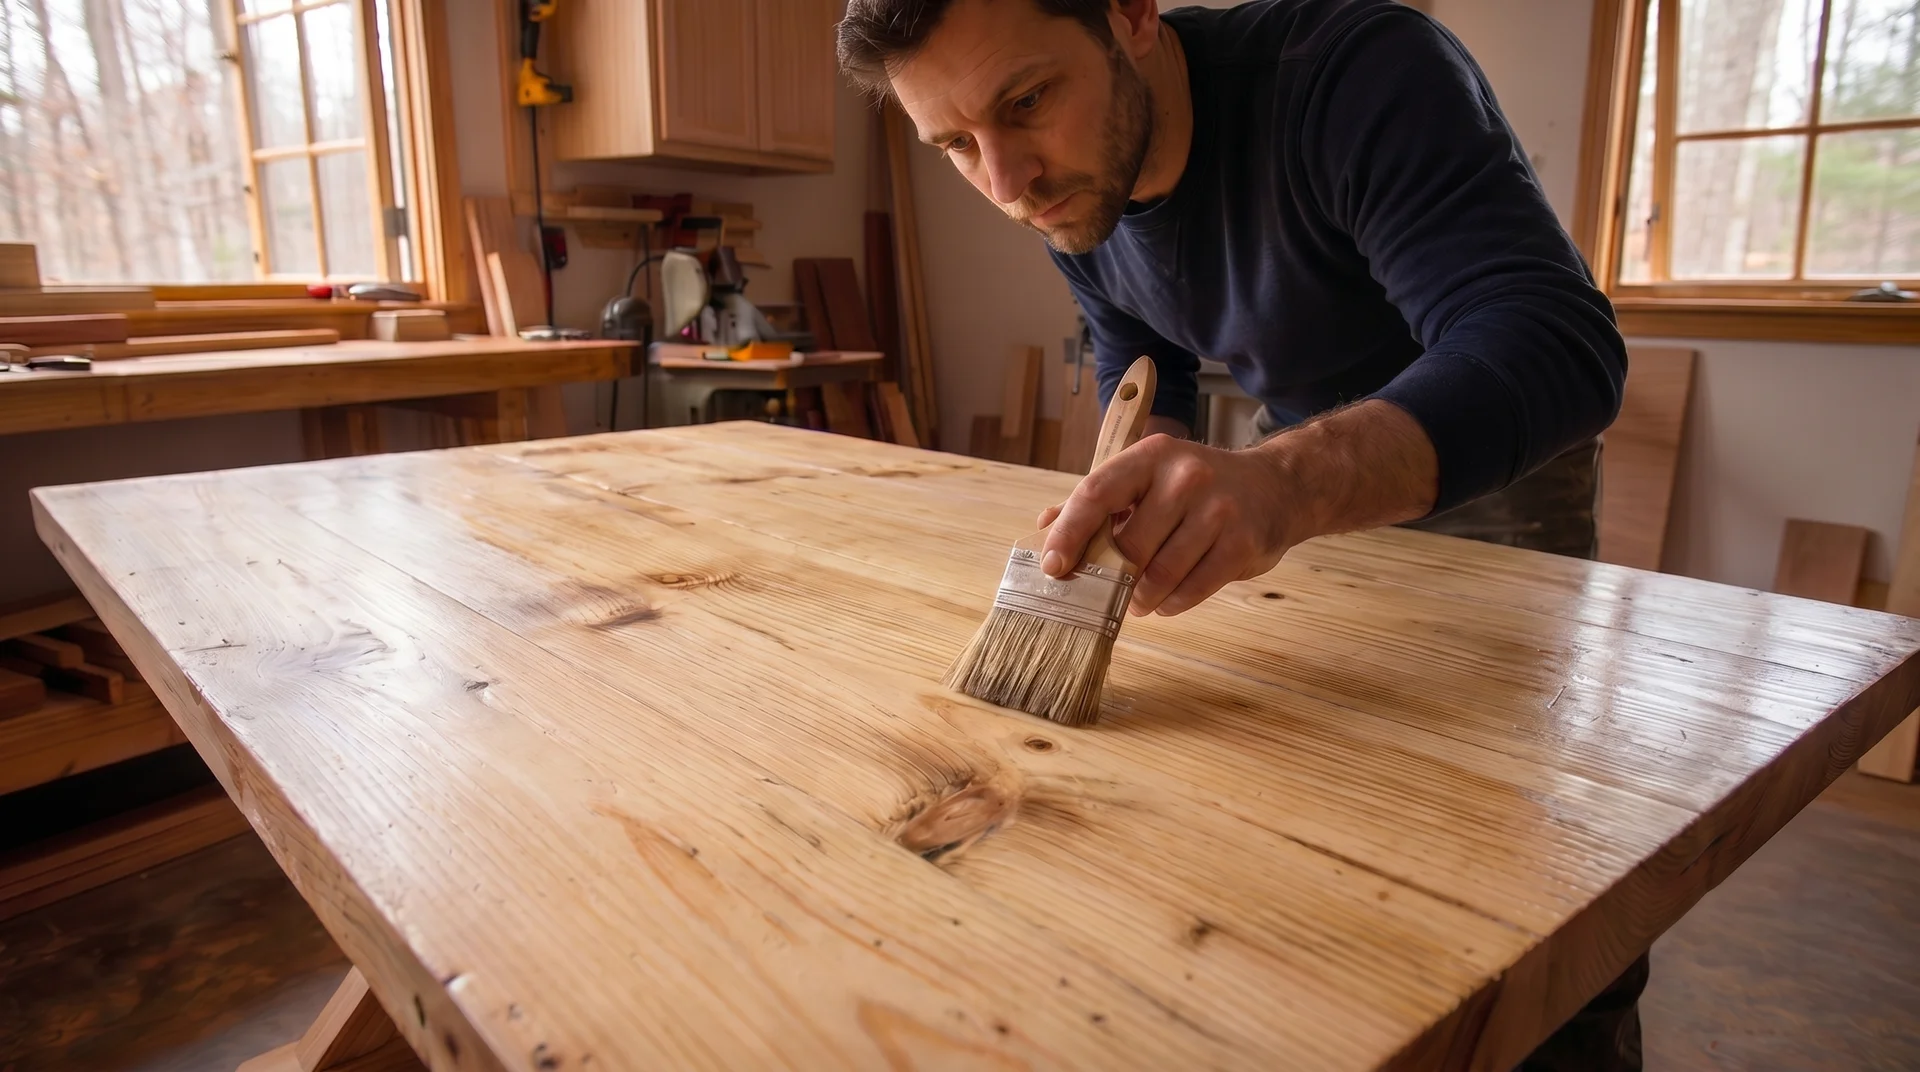
Applying Hardwax Oil
Hardwax oil is a penetrating finish, not a film finish.
It goes into the wood rather than sitting on top of it. This changes everything about the application process: fewer coats, simpler application, easier repair.
It also means the finish sits at the wood surface level rather than above it, which produces a matte or satin look that reads as more natural than polyurethane in most rooms.
Rubio Monocoat
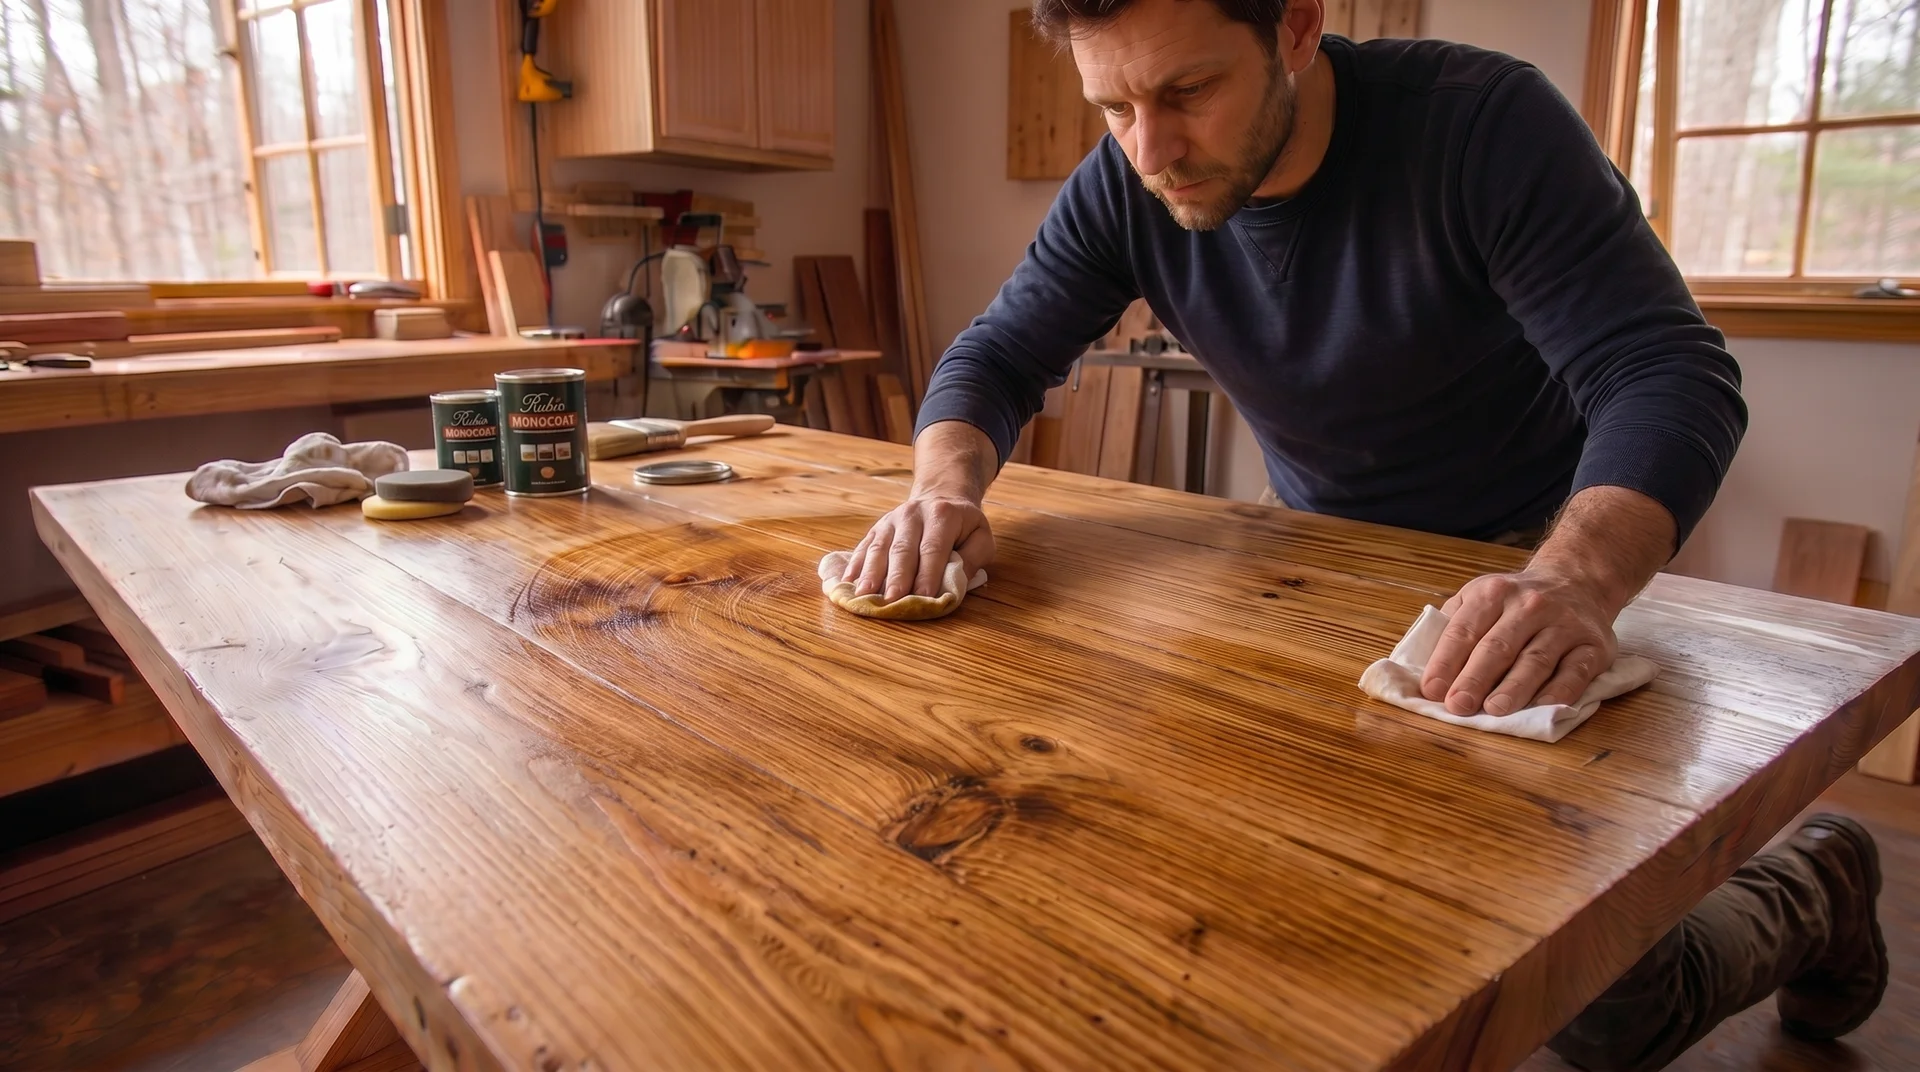
Rubio Monocoat is a one-coat finish. One coat covers the full surface and bonds with the wood fibers as it cures. A second coat doesn’t add protection. The wood can only absorb a finite amount. Excess product sits on the surface rather than bonding.
Apply with a cloth, a foam applicator, or a short-nap roller. Work the product into the surface in circular motions first to ensure full coverage, then wipe off the excess in straight strokes with the grain.
The keyword is excess: Rubio Monocoat is applied thinly. Any product sitting on the surface rather than penetrating it needs to come off. Leftover product on the surface will be tacky when cured.
Work in sections on a large top. Apply to one quarter of the surface at a time, work it in, wipe the excess, and move to the next section before the product starts to set. The open time is roughly 20 to 30 minutes at room temperature.
Let the first coat cure for 24 hours before assessing the surface.
Rubio Monocoat recommends a light buff with a white Scotch-Brite pad after curing to remove any remaining surface residue. The surface is ready for light use at 24 hours and full use at 5 days.
Full cure takes 5 days. The table can take gentle use before that, but avoid water and heavy contact until it’s fully cured.
Osmo Polyx-Oil

Osmo Polyx-Oil requires two coats, applied thin. The first coat penetrates and provides the base protection. The second coat, applied after the first has cured for at least 8 hours, seals and hardens the surface.
Apply with a flat, short-bristle brush or a white Osmo brush. Work with the grain in thin, even coats.
Thin is the operative instruction: Osmo explicitly warns against thick application, and a coat that’s too heavy won’t cure properly and will remain soft.
A 0.75-liter can of Osmo Polyx covers 15 to 20 square meters, which tells you how thin each coat is meant to be.
Sand lightly with 320-grit between the first and second coats. Remove all dust before the second coat. Let the second coat cure for 24 hours before use and 8 days for full hardness.
Spot Repair for Hardwax Oil Over Time
When a hardwax oil finish wears in a high-use area, clean the worn spot and apply more oil directly to that area. Use the same product used for the original finish. Work it into the worn area, wipe the excess, and let it cure.
The repaired area blends with the surrounding finish because the finish lives at the wood surface level, not above it. There’s no existing film layer to match or sheen level to blend into.
This is the practical advantage of penetrating finishes over film finishes on a dining table used daily. A polyurethane finish in the same condition requires sanding back to bare wood and refinishing the whole surface.
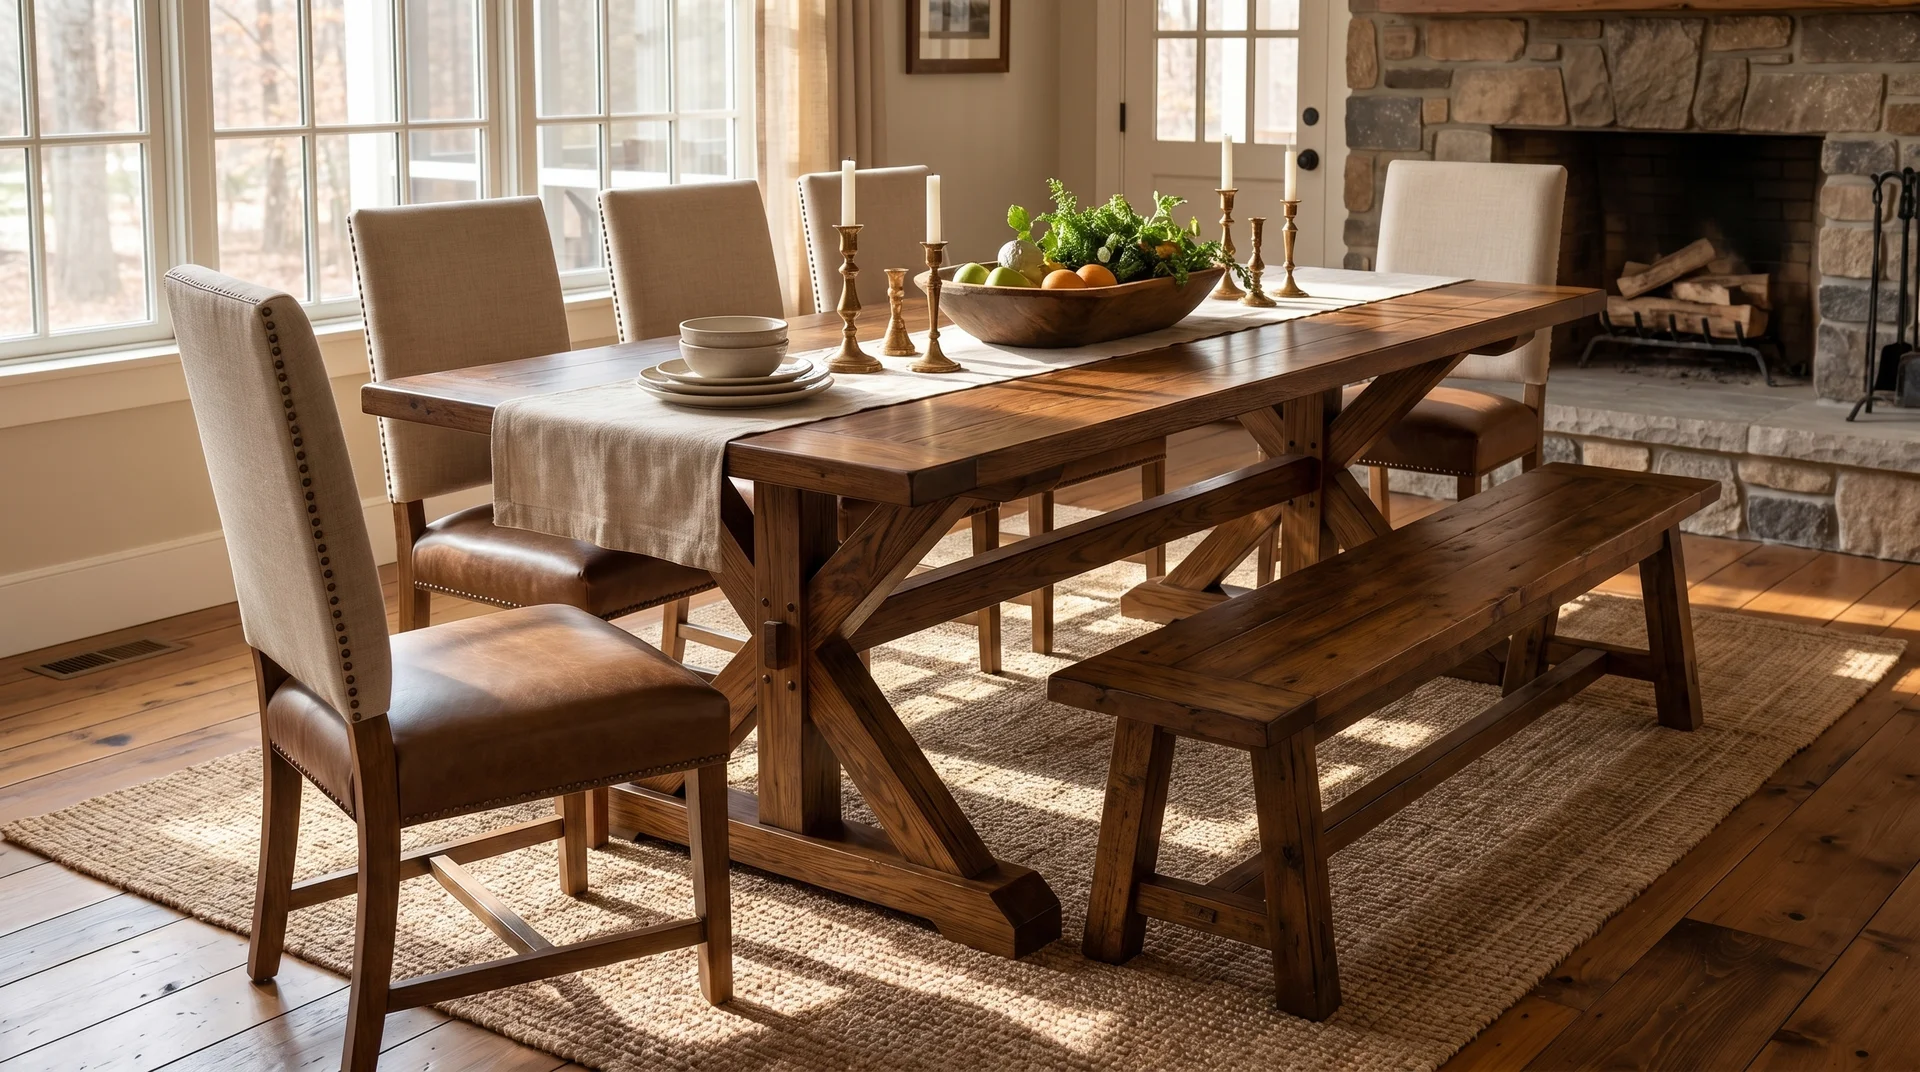
Sheen Level and the Room
Sheen level changes how the table reads in the room.
High-gloss polyurethane reflects the room back at you. It reads as formal, and it shows every water ring, fingerprint, and scratch in the reflection. Satin and semi-gloss polyurethane are better choices for a dining table: they provide good protection and don’t announce every mark.
Hardwax oils come in matte, satin, and sometimes semi-gloss. The matte finish produces the most natural look. Walk around the table in your actual dining room light, not shop light, before deciding.
A sheen level that looks right under fluorescent shop lighting can look completely different under the warm, directional lighting of a dining room at dinner time.
I find most clients regret choosing a higher sheen than they initially planned for. It reads as more formal than expected in the actual room. If you’re uncertain, go one level lower than your instinct.
What Finish Does to the Color
Every finish changes the color of the wood it goes on.
Oil-based polyurethane adds a warm amber tint that deepens over time. On pine, this reads as honey-toned. On oak, it reads as warm brown. Water-based polyurethane stays closer to the raw wood color. It’s the better choice when you want the natural tone of the species to show through.
Hardwax oil with no added color produces a neutral shift that deepens the grain without adding a tint. Rubio Monocoat and Osmo both offer tinted versions if you want to shift the color of the wood without a stain step. On pine, the natural oil option still adds warmth.
On white oak, it stays very close to the raw wood tone, which is part of why white oak and hardwax oil pair well together.
Staining before finishing is a separate step that happens before any of the above. If you’re staining, let the stain cure fully before applying any finish. The staining process for pine is covered in the main farmhouse table plans article, including the wood conditioner step that prevents blotching.
