

Rigid screws through the apron into the tabletop will eventually crack your top. That happens because solid wood expands and contracts seasonally, and a rigid connection doesn’t let it.
The right fastener holds the top down while letting it move sideways.
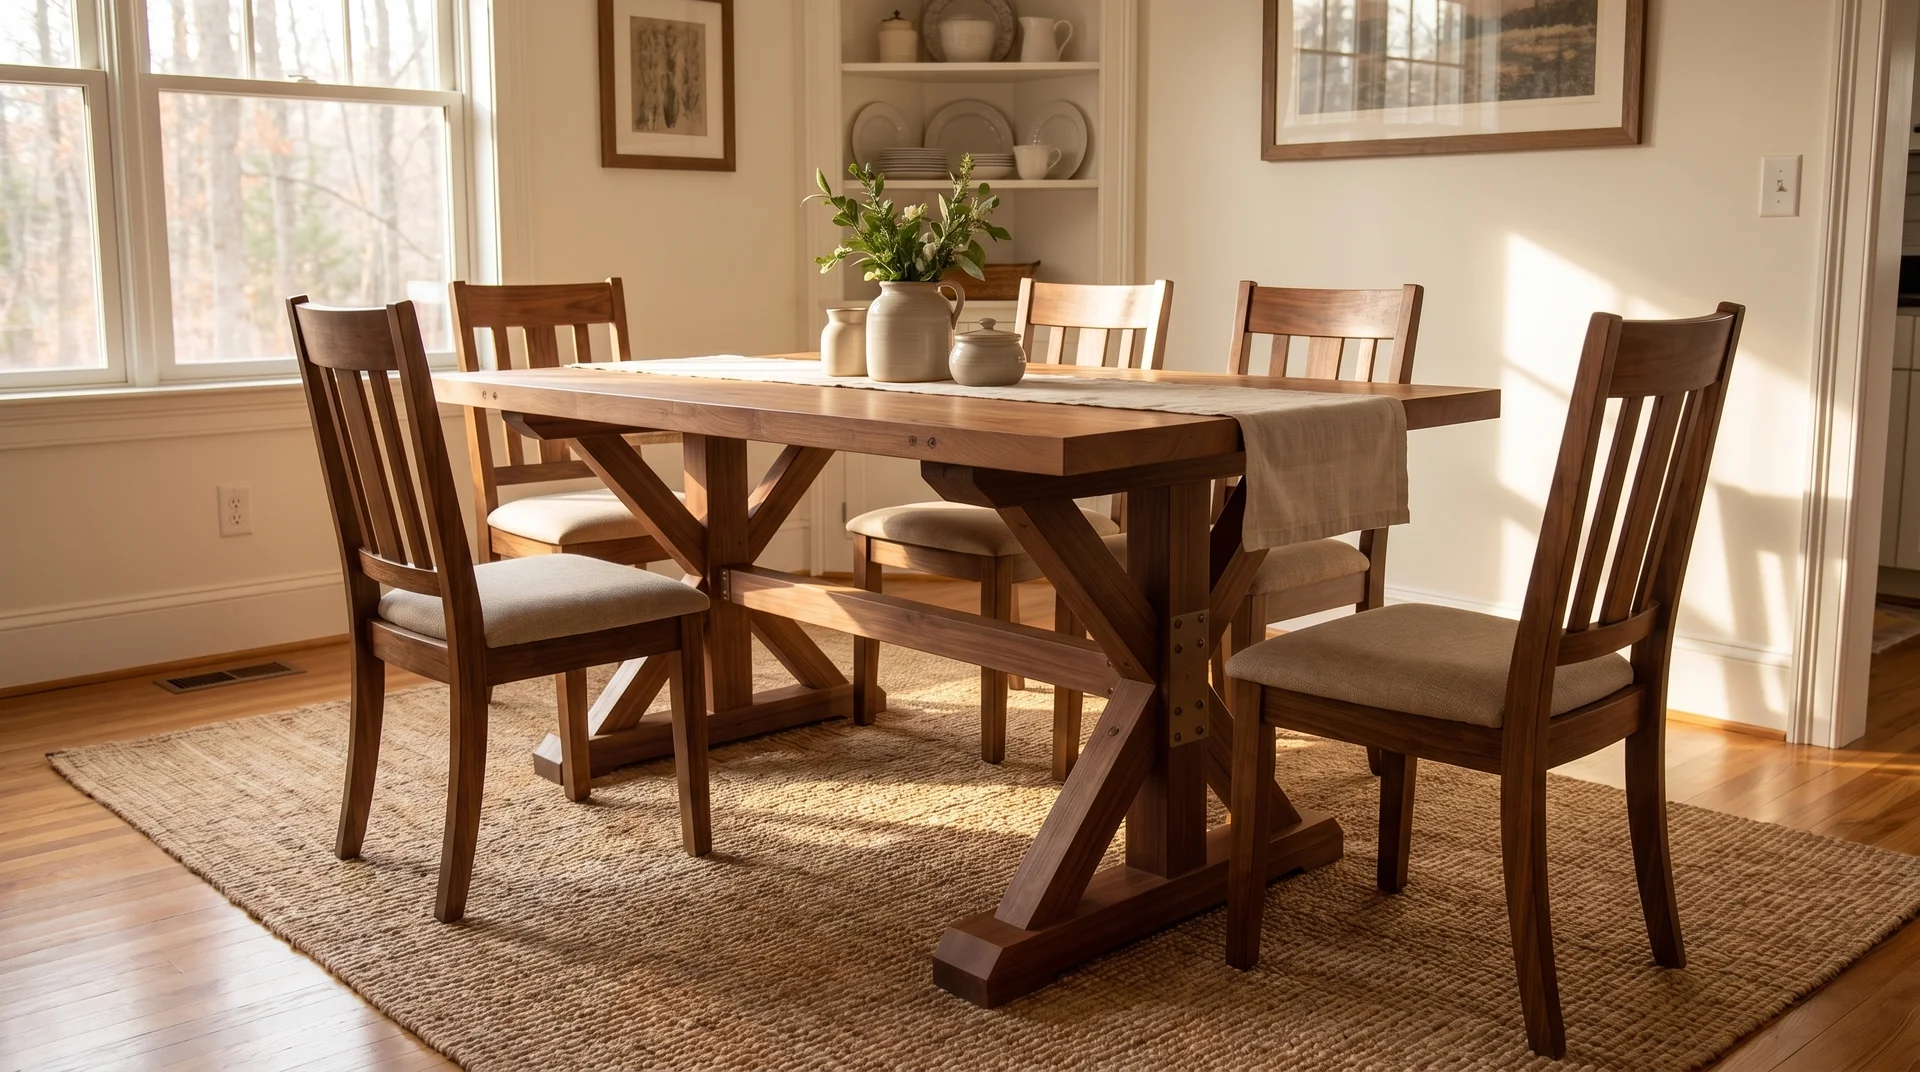
This article covers the physical installation of all three fastener options: figure-8 fasteners, Z-clips, and slotted pocket screws. It also covers breadboard end attachment, which follows different rules from the main top.
If you’re not sure which fastener to choose, figure-8 fasteners are the right call for a first build.
Before the First Fastener Goes In
Two checks need to happen before any hardware touches wood.
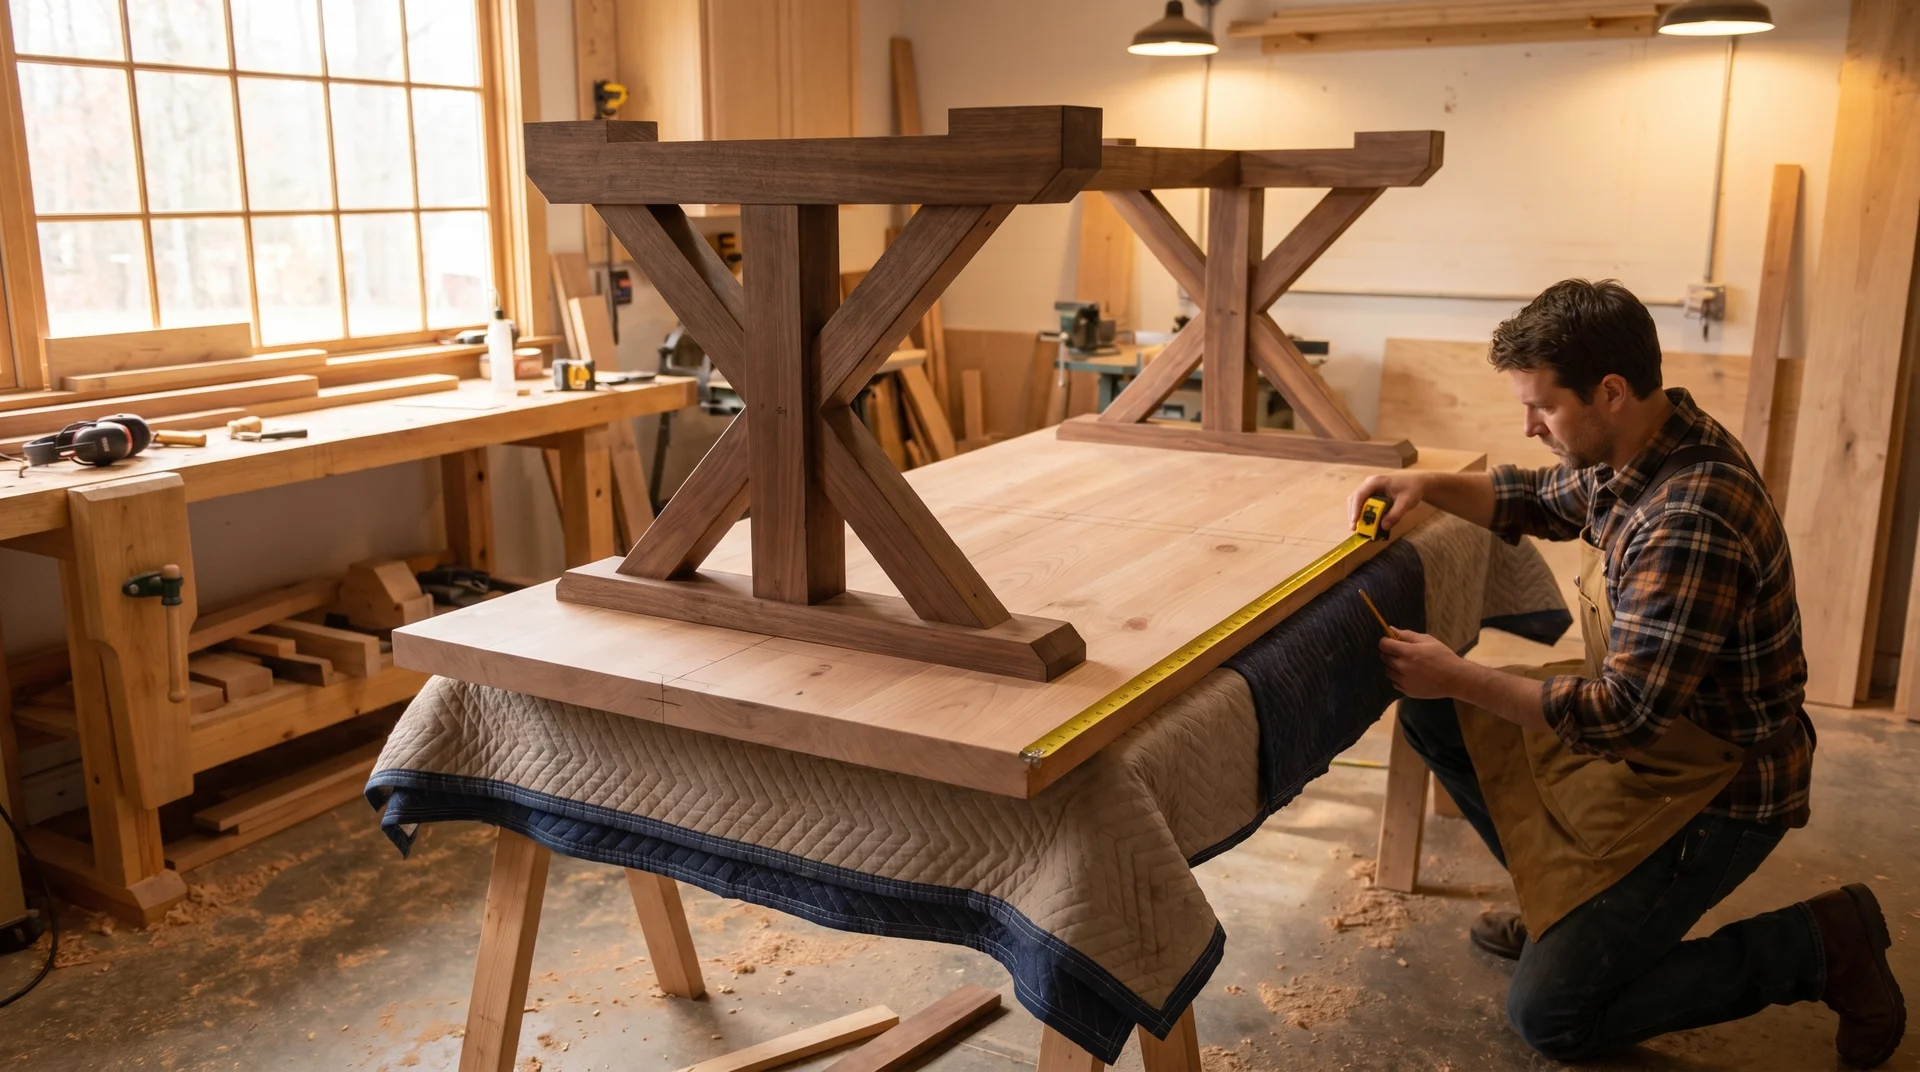
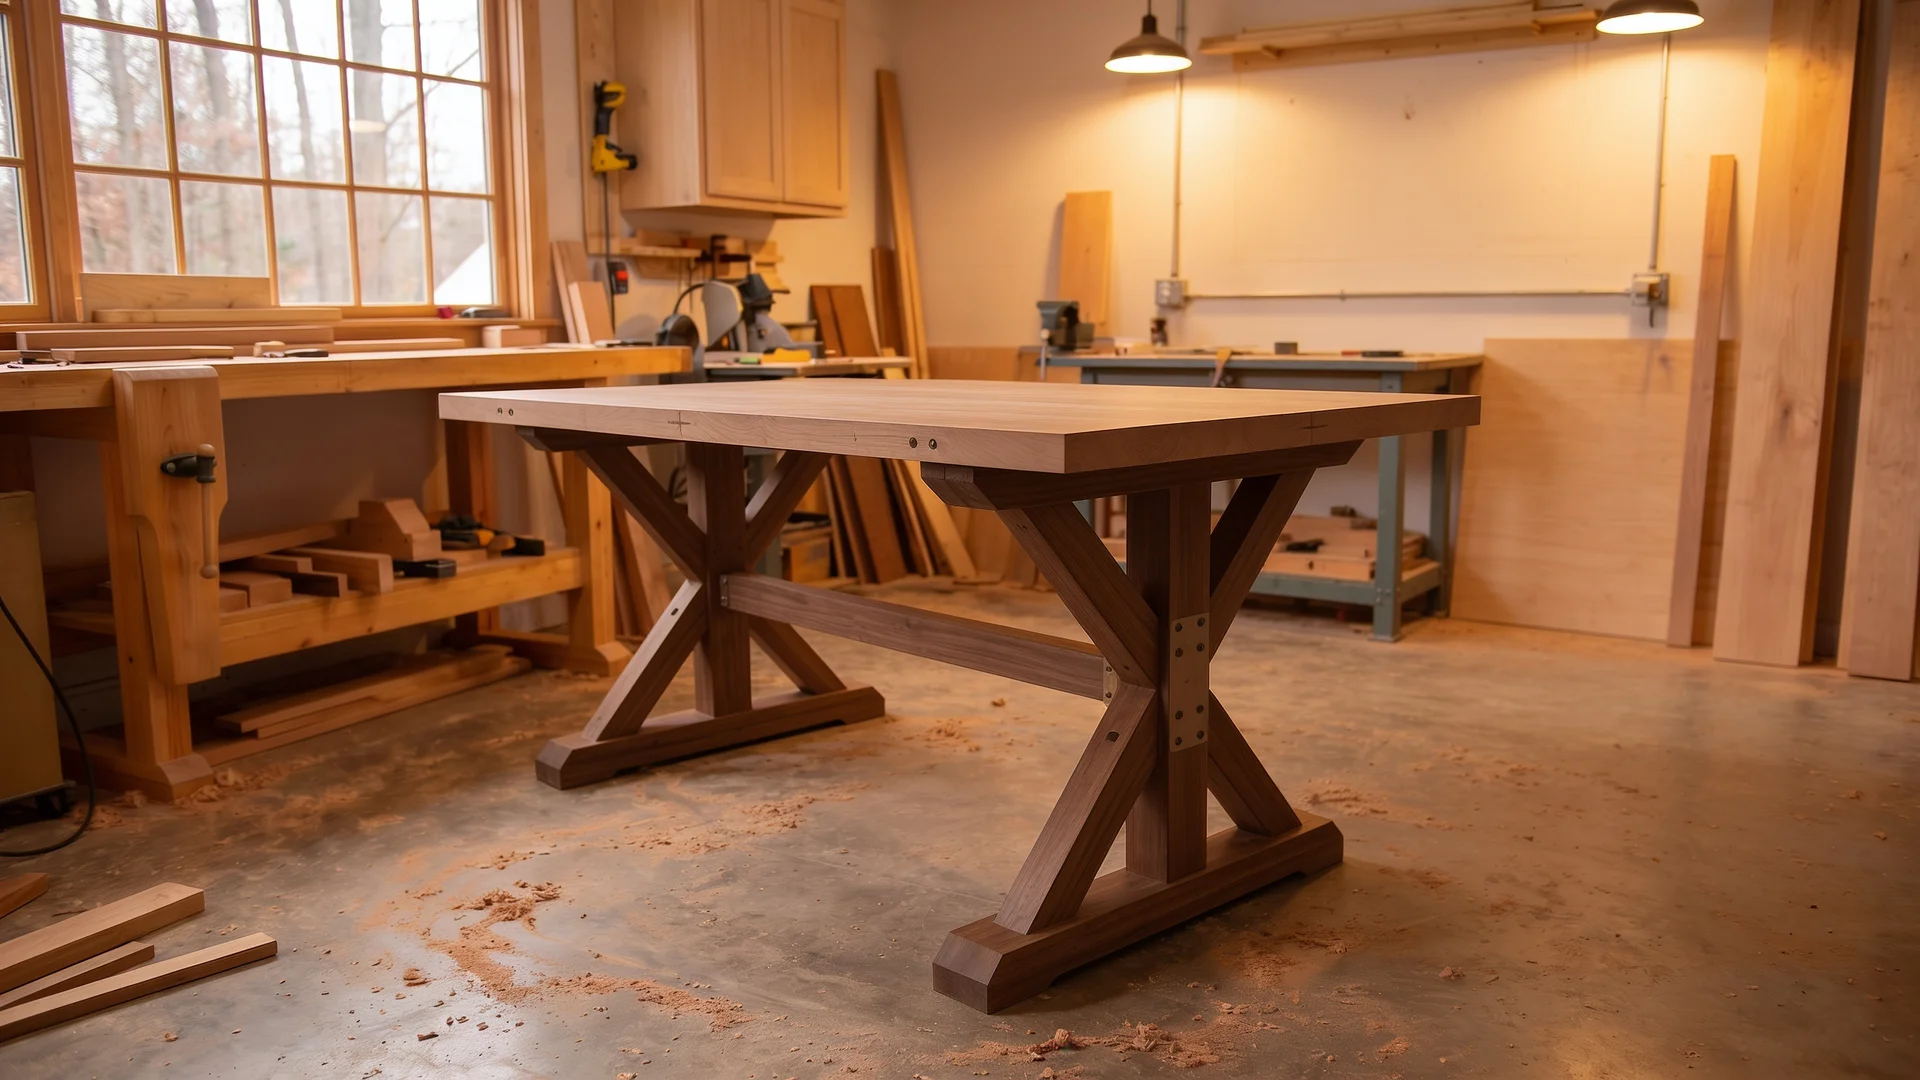
First: the base needs to be level. Set the assembled base on your shop floor and put a level across the top of each apron piece in both directions. Any leg that’s off makes the table rock. A table that rocks gets shimmed under legs, which means the top isn’t level either. Fix the base before the top goes on.
Second: flip the top face down on a padded surface. Place the base upside down on top of it, centered. Confirm that the top overhangs evenly on all four sides before you mark anything. The overhang should match what you calculated when cutting the apron pieces.
Mark the apron positions on the underside of the top while you have everything in place.
A pencil line along the inside face of each apron gives you a reference for fastener placement. Remove the base and set it aside.
All your installation work happens on the underside of the top and on the apron faces before the two go together.
Installing Figure-8 Fasteners
Figure-8 fasteners are the most accessible option for a first build.
They require no table saw slot and no router. A drill and a chisel handle everything.
The fastener sits in a shallow countersunk recess on the top face of the apron, pivots slightly as the wood moves, and screws up into the underside of the tabletop.
How Many Fasteners Do You Need
Install one figure-8 fastener every 12 to 16 inches along each long apron piece.
A 68-inch-long apron (the example from the base article) needs four to five fasteners per side. Two short apron pieces need two fasteners each.
The total count for a standard six-to-eight-person rectangular table is 12 to 14 fasteners. A pack of 12 covers most builds with nothing to spare. Buy two packs.
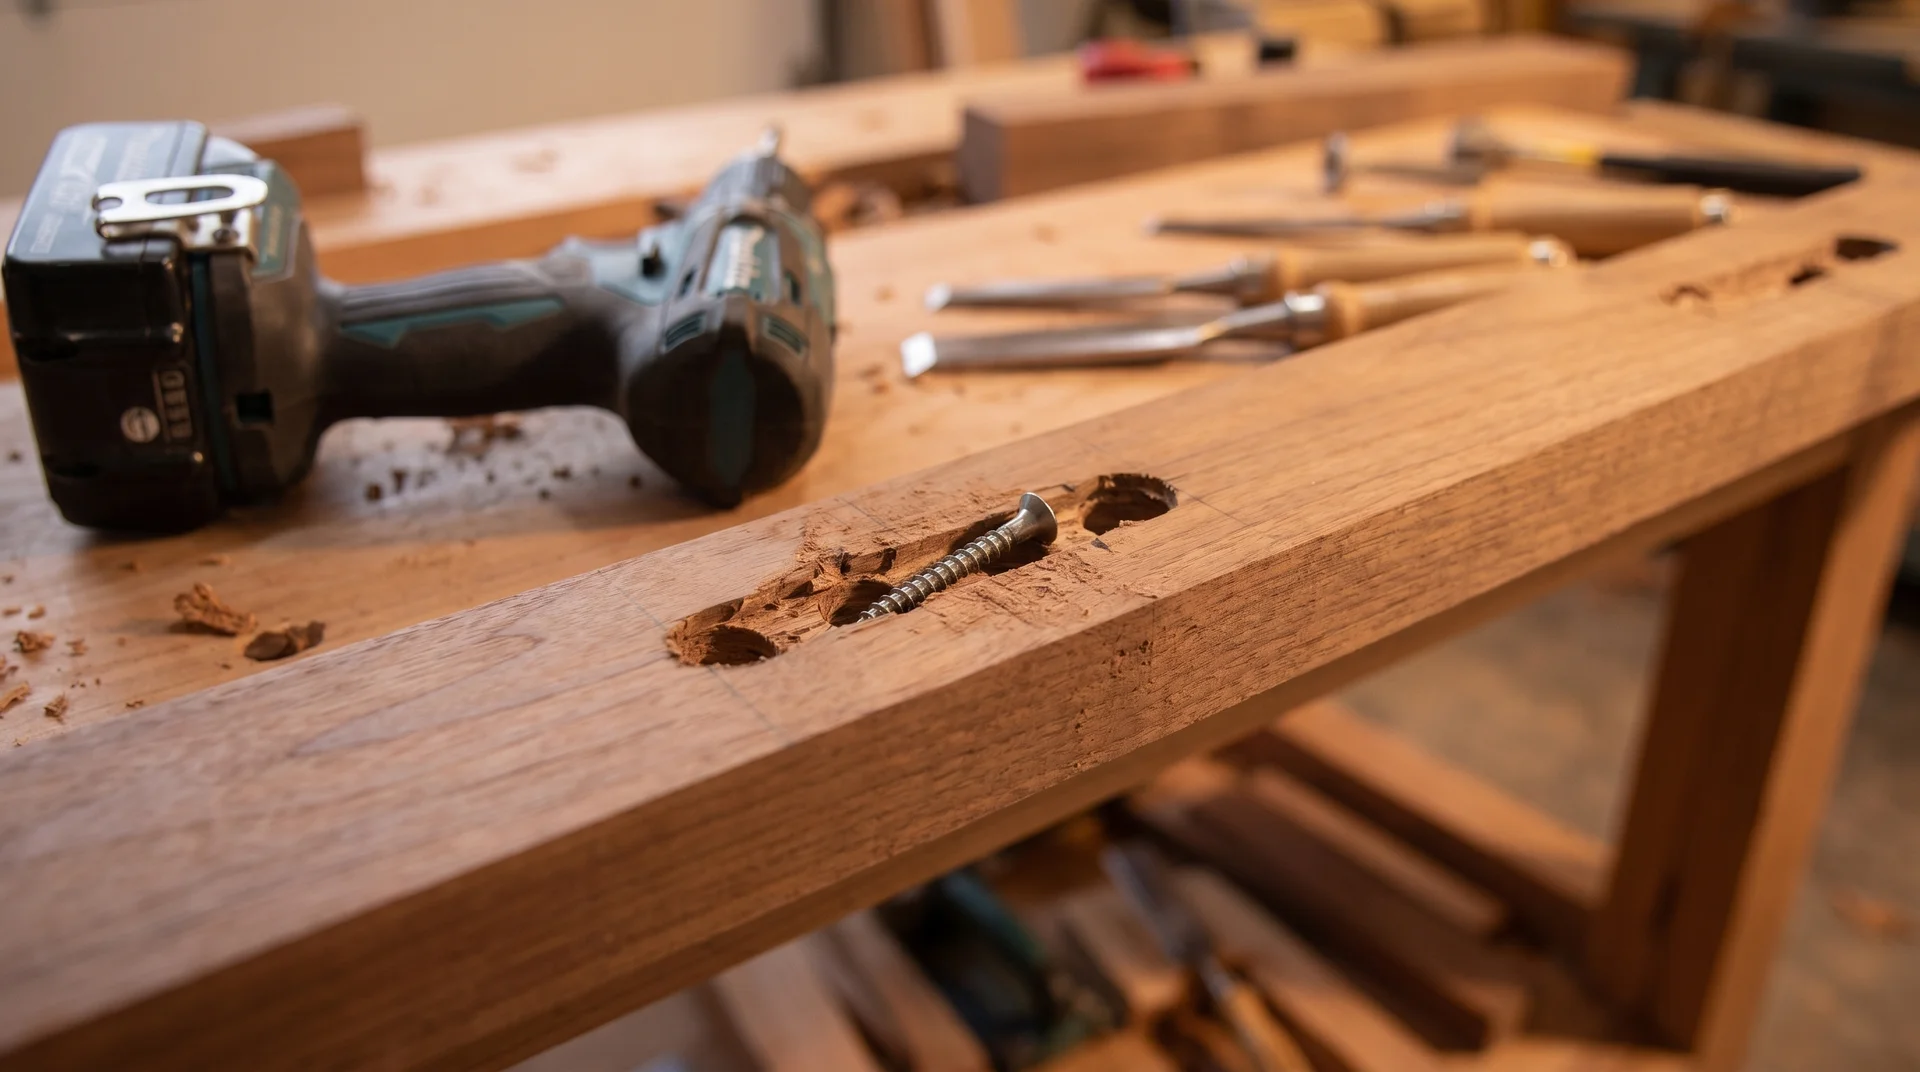
Cutting the Recess

The figure-8 fastener sits in a round recess, countersunk so the fastener face is flush with the apron surface. The recess is cut with a Forstner bit, which produces a flat-bottomed hole rather than the pointed hole a standard bit leaves.
The figure-8 fastener is roughly 7/8 inch in diameter on the lobe that seats in the apron. A 7/8-inch Forstner bit produces the right hole size. Check the fastener against your bit before you drill into the apron.
Set the drill depth so the recess brings the fastener face flush with the apron surface. Too shallow and the fastener sits proud, which gaps the top away from the apron. Too deep, and the fastener has no material to grip.
Practice on a scrap piece of the same lumber before drilling the apron.
Drill the recess on the top face of the apron, positioned 1 to 1.5 inches from the top edge. The fastener needs to be close enough to the top edge that the screw reaches the tabletop thickness above it. Most tabletops are 1.5 inches thick.
A fastener positioned 1.25 inches from the top edge of the apron puts the screw well into solid material.
Space the fastener recesses evenly along each long apron piece before drilling any of them.
Mark all positions with a pencil first and step back to look at the spacing. Uneven fastener placement isn’t visible from above, but it affects how evenly the top pulls down over time.
Driving the Fasteners
Seat one lobe of the figure-8 fastener into the recess and drive a screw through it into the apron. Use a screw that’s long enough to anchor securely into the apron without breaking through the opposite face. A number 8 wood screw at 1 inch works for a 1.5-inch apron.
Orient the fastener so the free lobe points toward the center of the table. This gives the fastener room to pivot outward as the top expands in humid conditions. If the free lobe points toward the apron edge, expansion pushes the fastener in the wrong direction, and the pivot is restricted.
Once all fasteners are installed on the apron, place the top face down again and set the base on it.
Drive a screw through the free lobe of each fastener up into the tabletop. Use a screw long enough to grip firmly but short enough to stay well inside the top thickness.
For a 1.5-inch top, a 1.25-inch screw is the maximum safe length.
The screw should be snug but not overtightened. The fastener needs to be able to pivot. Drive until the screw seats, then back off one quarter turn.
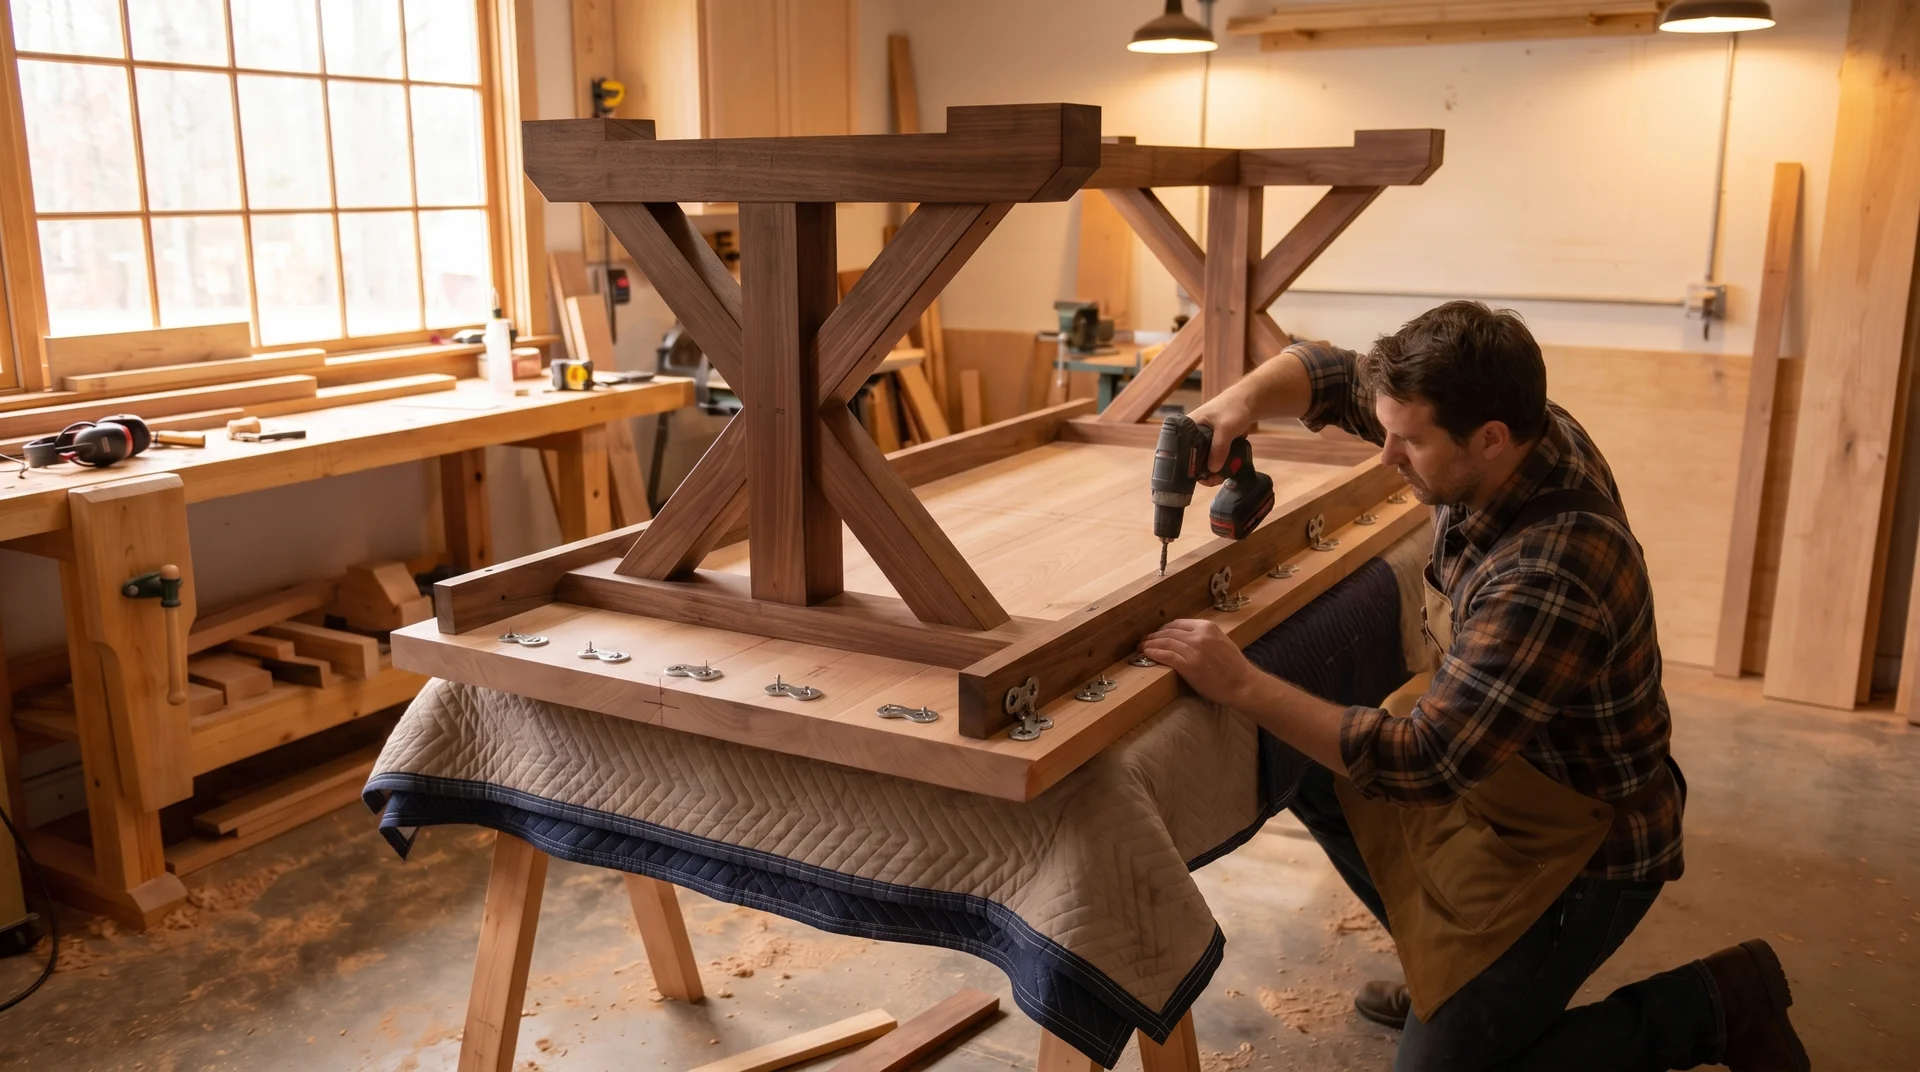
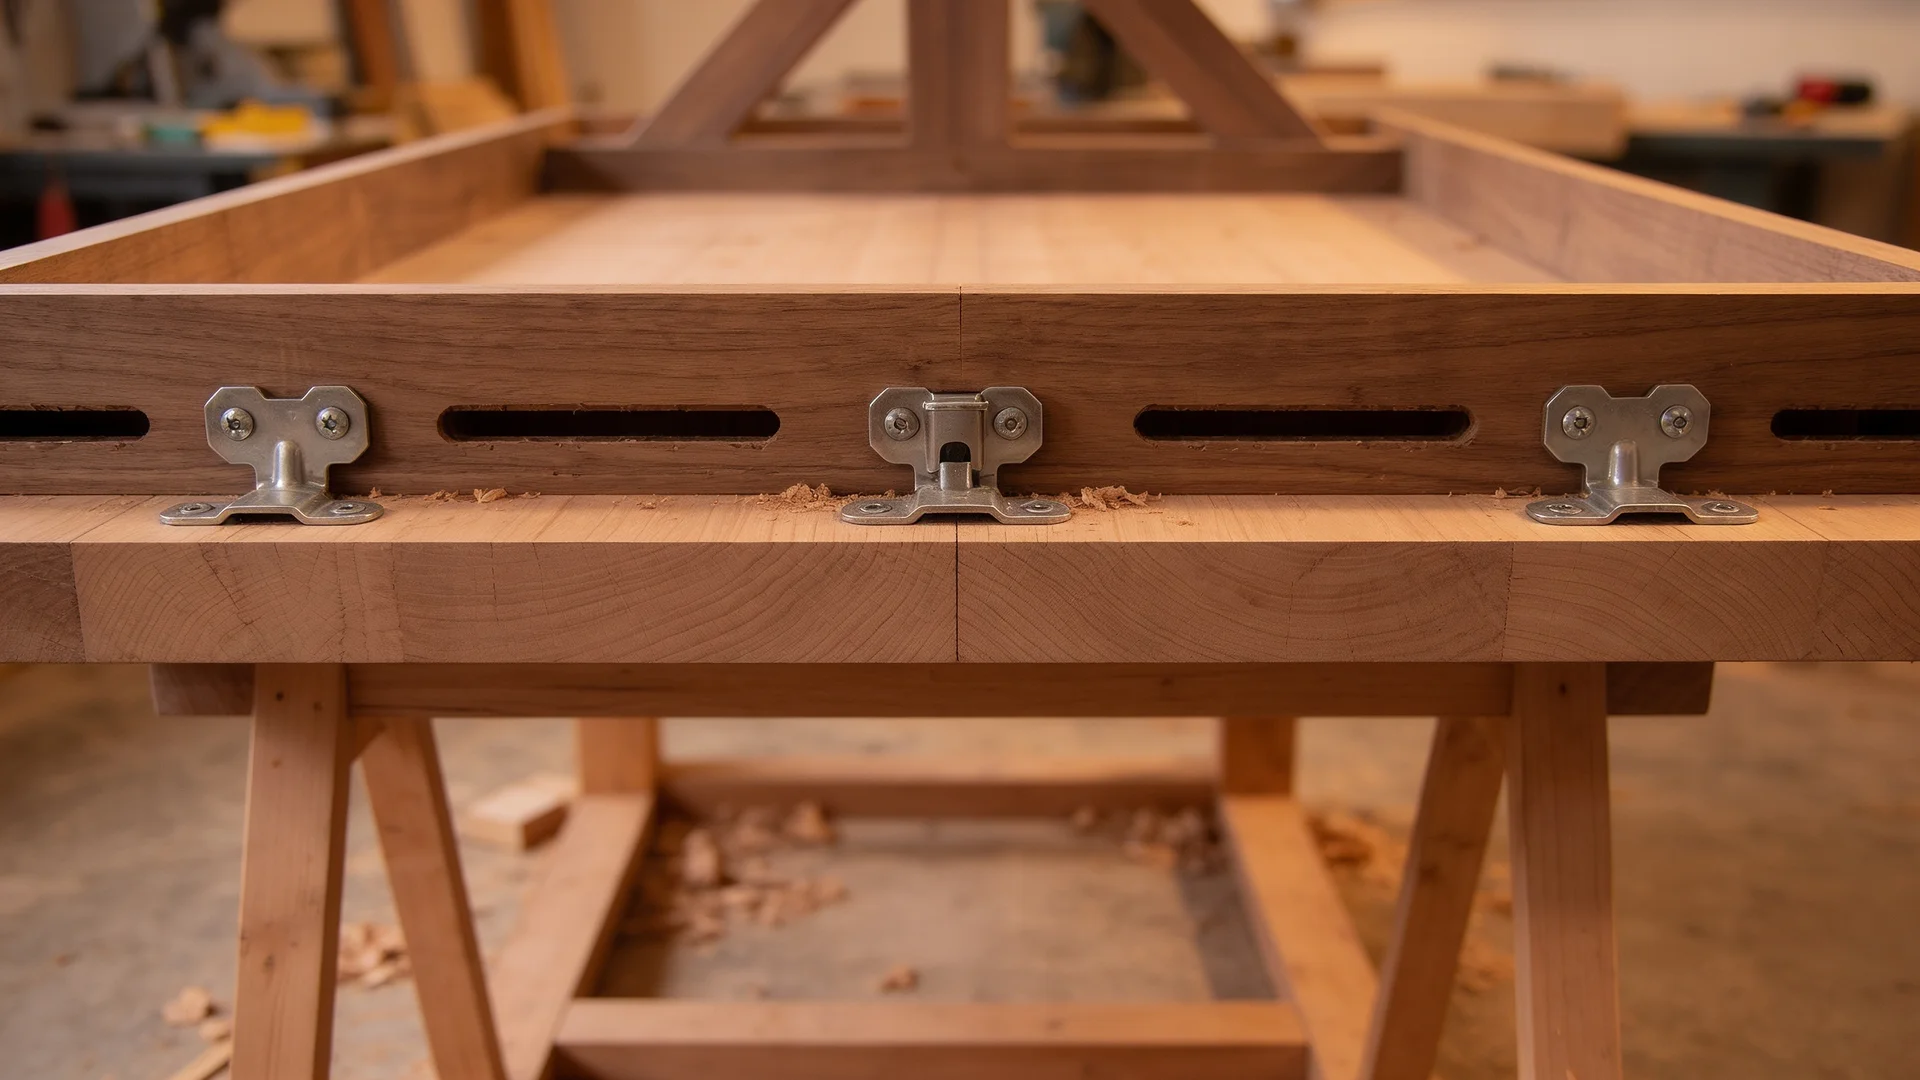
Installing Z-Clips
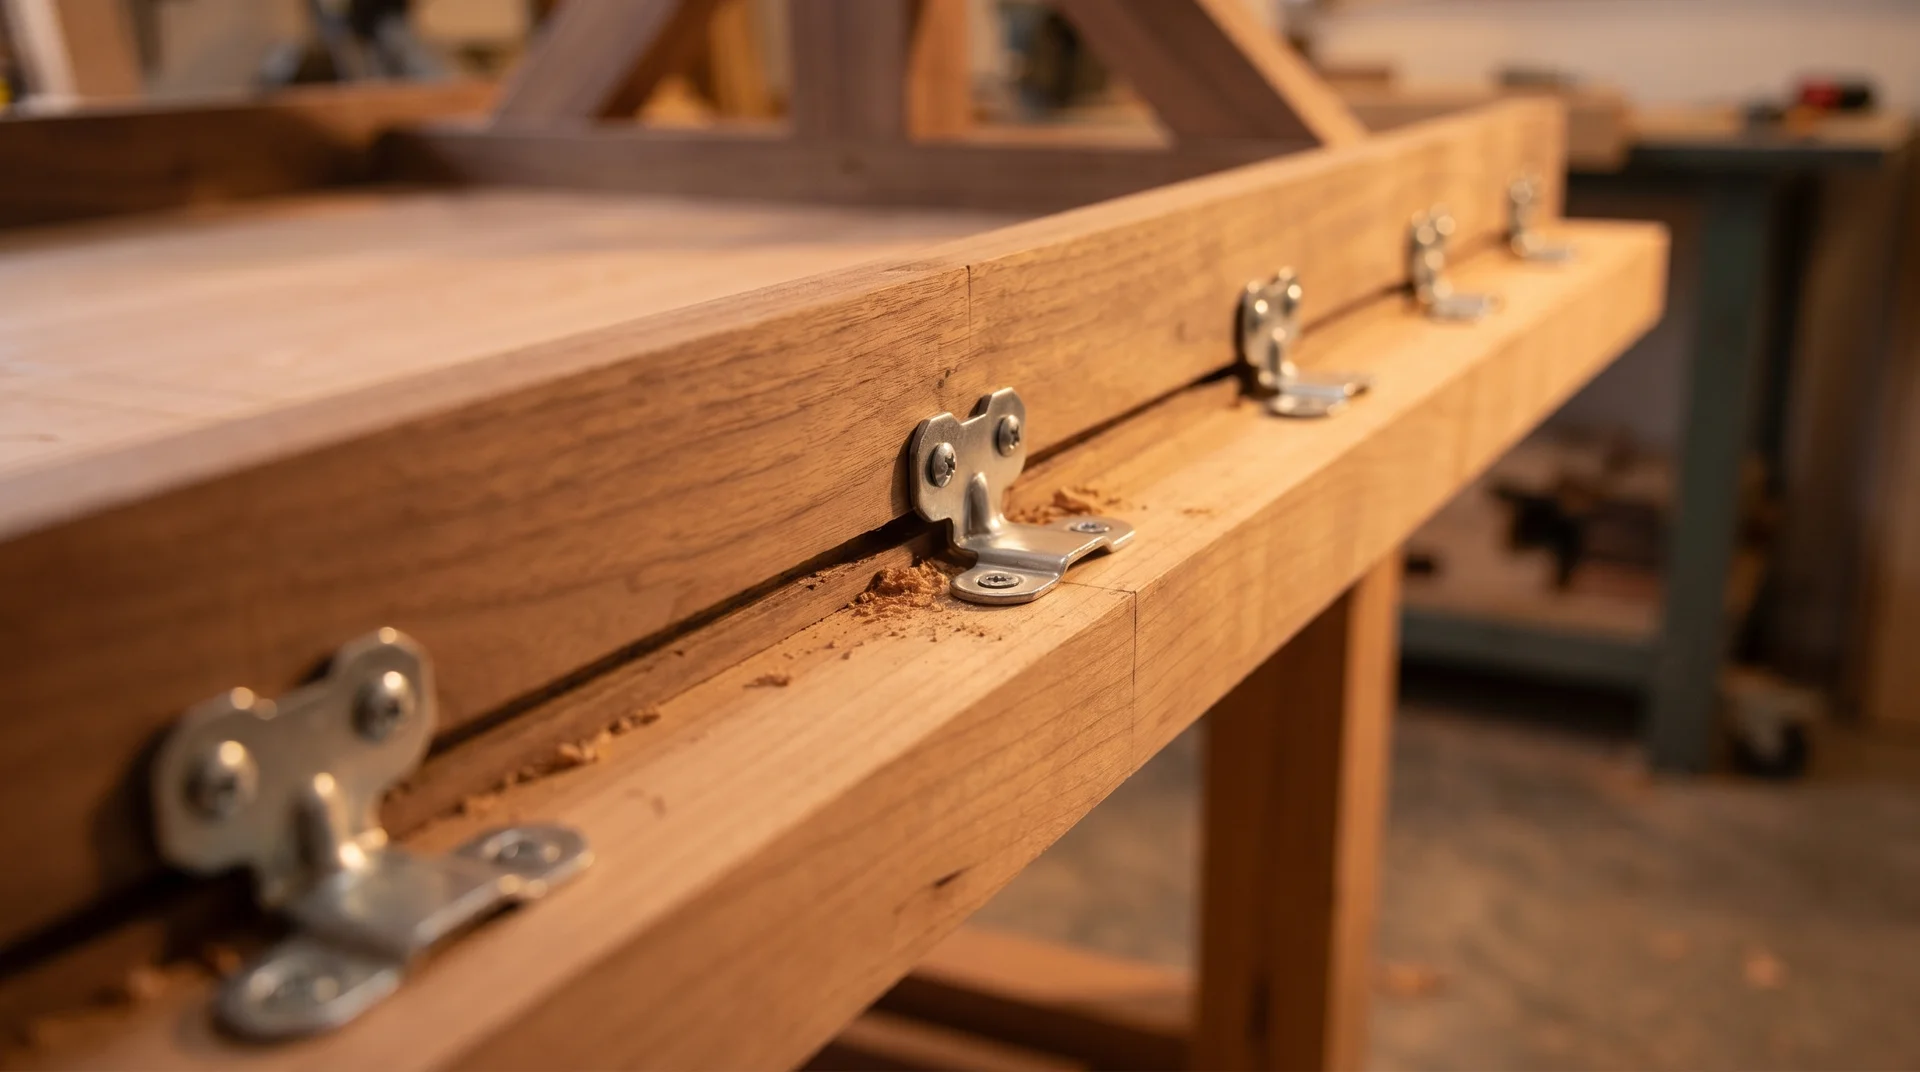
Z-clips work the same way as figure-8 fasteners but require a slot cut into the inside top edge of the apron rather than a countersunk recess.
Cutting the Slot
The slot runs along the inside face of the apron, about 3/8 inch deep and positioned 1/2 to 5/8 inch from the top edge of the apron. A table saw with the fence set to that distance cuts this slot in one pass. A router with a straight bit works too.
Cut the slot on all four apron pieces before assembly, while the boards are still flat and easy to run through a saw.
Cutting the slot after the base is assembled is possible, but much harder. If you’ve already assembled the base without the slot, a handheld router with a fence attachment handles it.
Installing the Clips
Hook the tab of each Z-clip into the apron slot and drive a screw through the flat face of the clip up into the tabletop. The clip holds the top down and allows it to slide sideways within the slot as the wood moves.
Space Z-clips every 8 to 12 inches along the long apron pieces. Use the same screw length guidance as for figure-8 fasteners: long enough to grip, short of the top face.
I find Z-clips faster to install than figure-8 fasteners once the slot exists. The slot is the barrier.
If you have a table saw and cut it during base construction, Z-clips are a straightforward option. If you’re retrofitting a slot into an assembled base, figure-8 fasteners are easier.
Slotted Pocket Screws
Slotted pocket screws are the hardest of the three methods to execute correctly.
The idea is to drill oversized, elongated pocket holes in the apron so the screw can slide within the slot as the top moves. The screw is installed snug but not tight. The top board slides on the screw head as it expands and contracts.
The problem is precision. If the slot is too small, the screw binds, and the top can’t move. If the slot is too large, the top isn’t held firmly and shifts position over time. The tolerance is narrow.
I’ve seen this method work well in well-equipped shops. I’ve also seen it fail more often than the other two options in real home builds.
Use figure-8 fasteners or Z-clips unless you have a specific reason to prefer this method.
If you do use slotted pocket screws, drill two pocket holes next to each other and use a chisel to remove the material between them, creating an oval slot about 3/4 inch long. The slot runs perpendicular to the apron length, in the direction the top will move.
Install the screw snug, then back it off one half turn so it can slide.
Attaching Breadboard Ends
Breadboard ends follow different attachment rules from the main top.
A breadboard end is a short board running across each end of the tabletop, perpendicular to the main planks. It keeps the top from cupping and creates a clean finished edge.
The attachment method has to allow the main top to move while the breadboard stays put.
The Center Point Is Glued. Nothing Else Is.
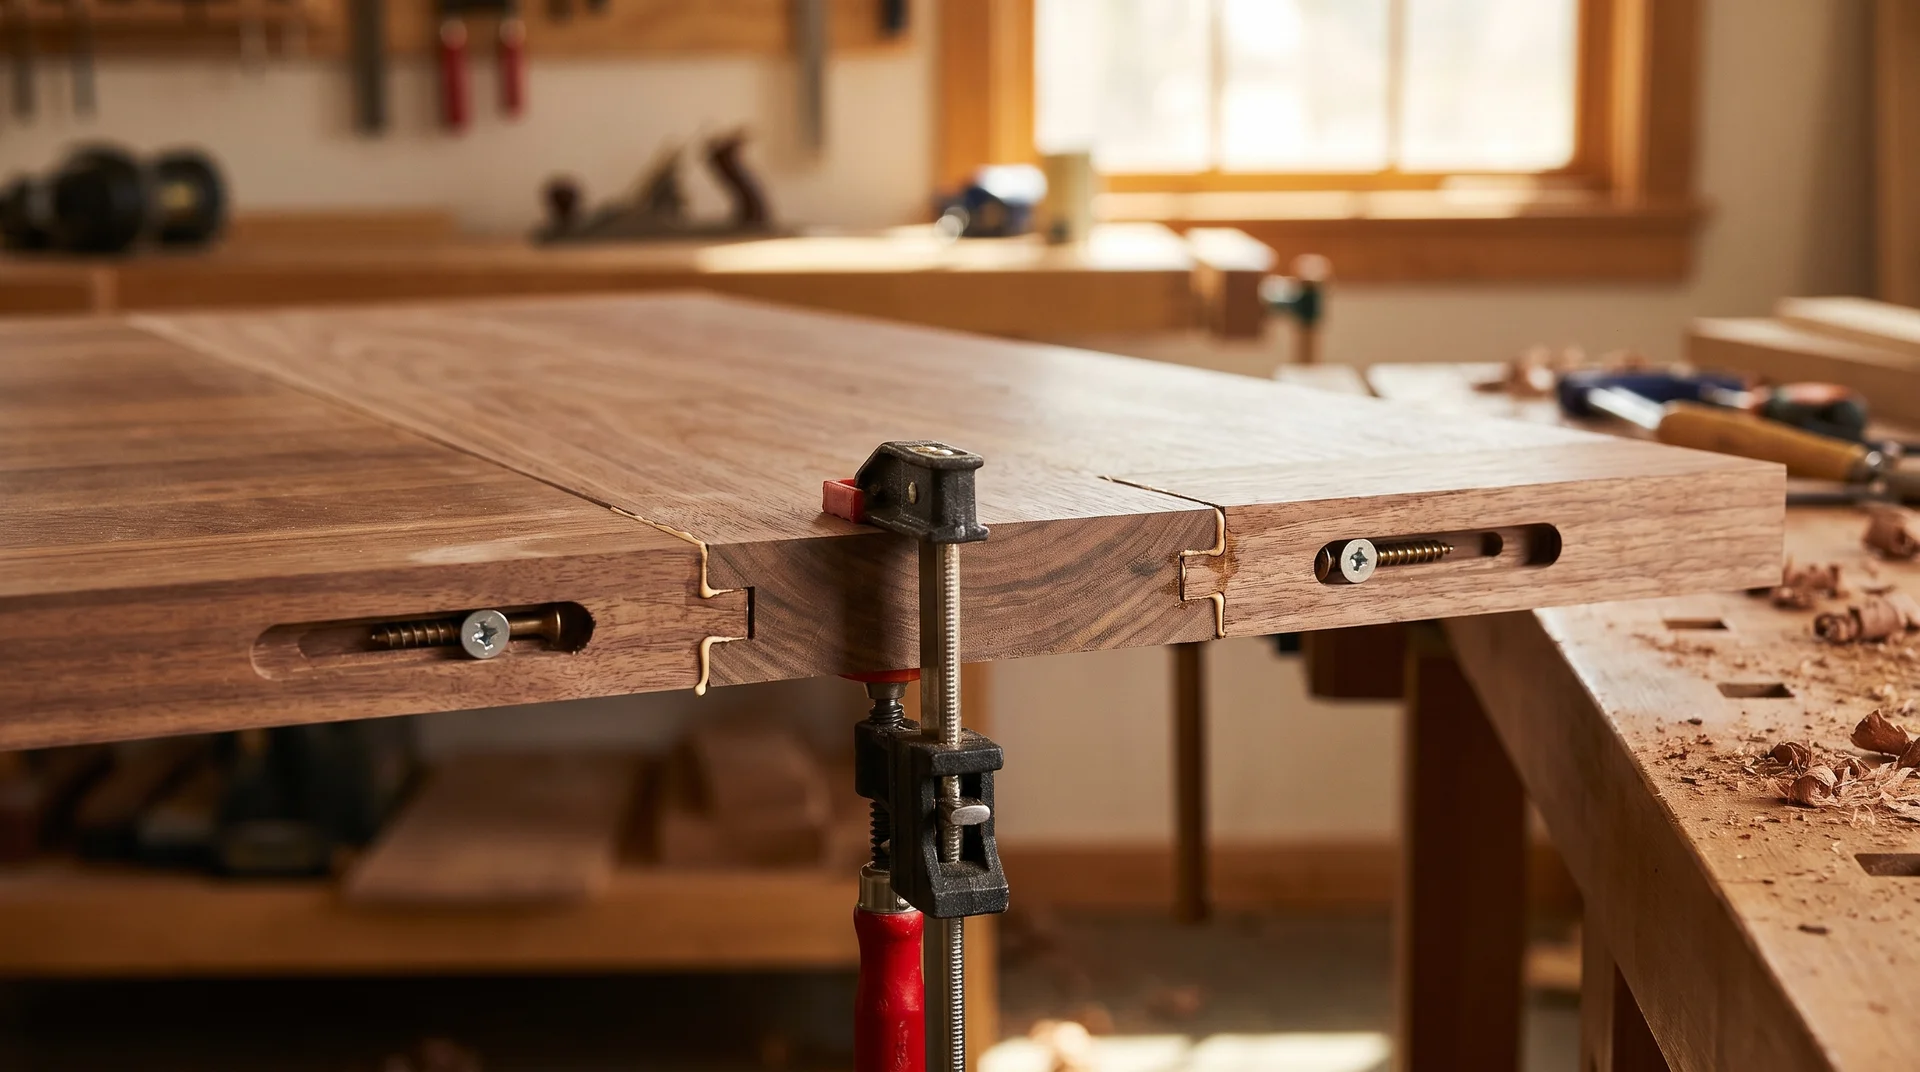
Glue only the center 2 to 3 inches of each breadboard-to-top joint. The center point is the anchor. The main top expands outward from the center in both directions. If you glue the full length of the breadboard, the top can’t move and will buckle or split.
Every other attachment point uses an elongated slot in the breadboard, with the screw running through the slot loosely. The slot is oriented along the breadboard length (perpendicular to the main top boards) so the top can slide within it as it expands and contracts.
Use three to five attachment points per breadboard, depending on the table width. The center point is glued and pegged. The outer points each get a slot. Mark the outer slots before drilling: they need to be long enough to allow the full seasonal movement of the top species.
White oak moves more than hard maple. Pine moves more than either. As a practical guide, allow 3/8 inch of slot length for every 12 inches of top width beyond the center point.
I’m genuinely uncertain on the right slot length for a specific build without knowing the species, the width, and the local climate. The calculation above is a conservative starting point.
If you’re in a very dry climate with forced-air heating, or a very humid one, the actual movement can be higher than the estimate. Check the USDA Wood Handbook for your specific species if you want a precise number.
Testing the Attachment
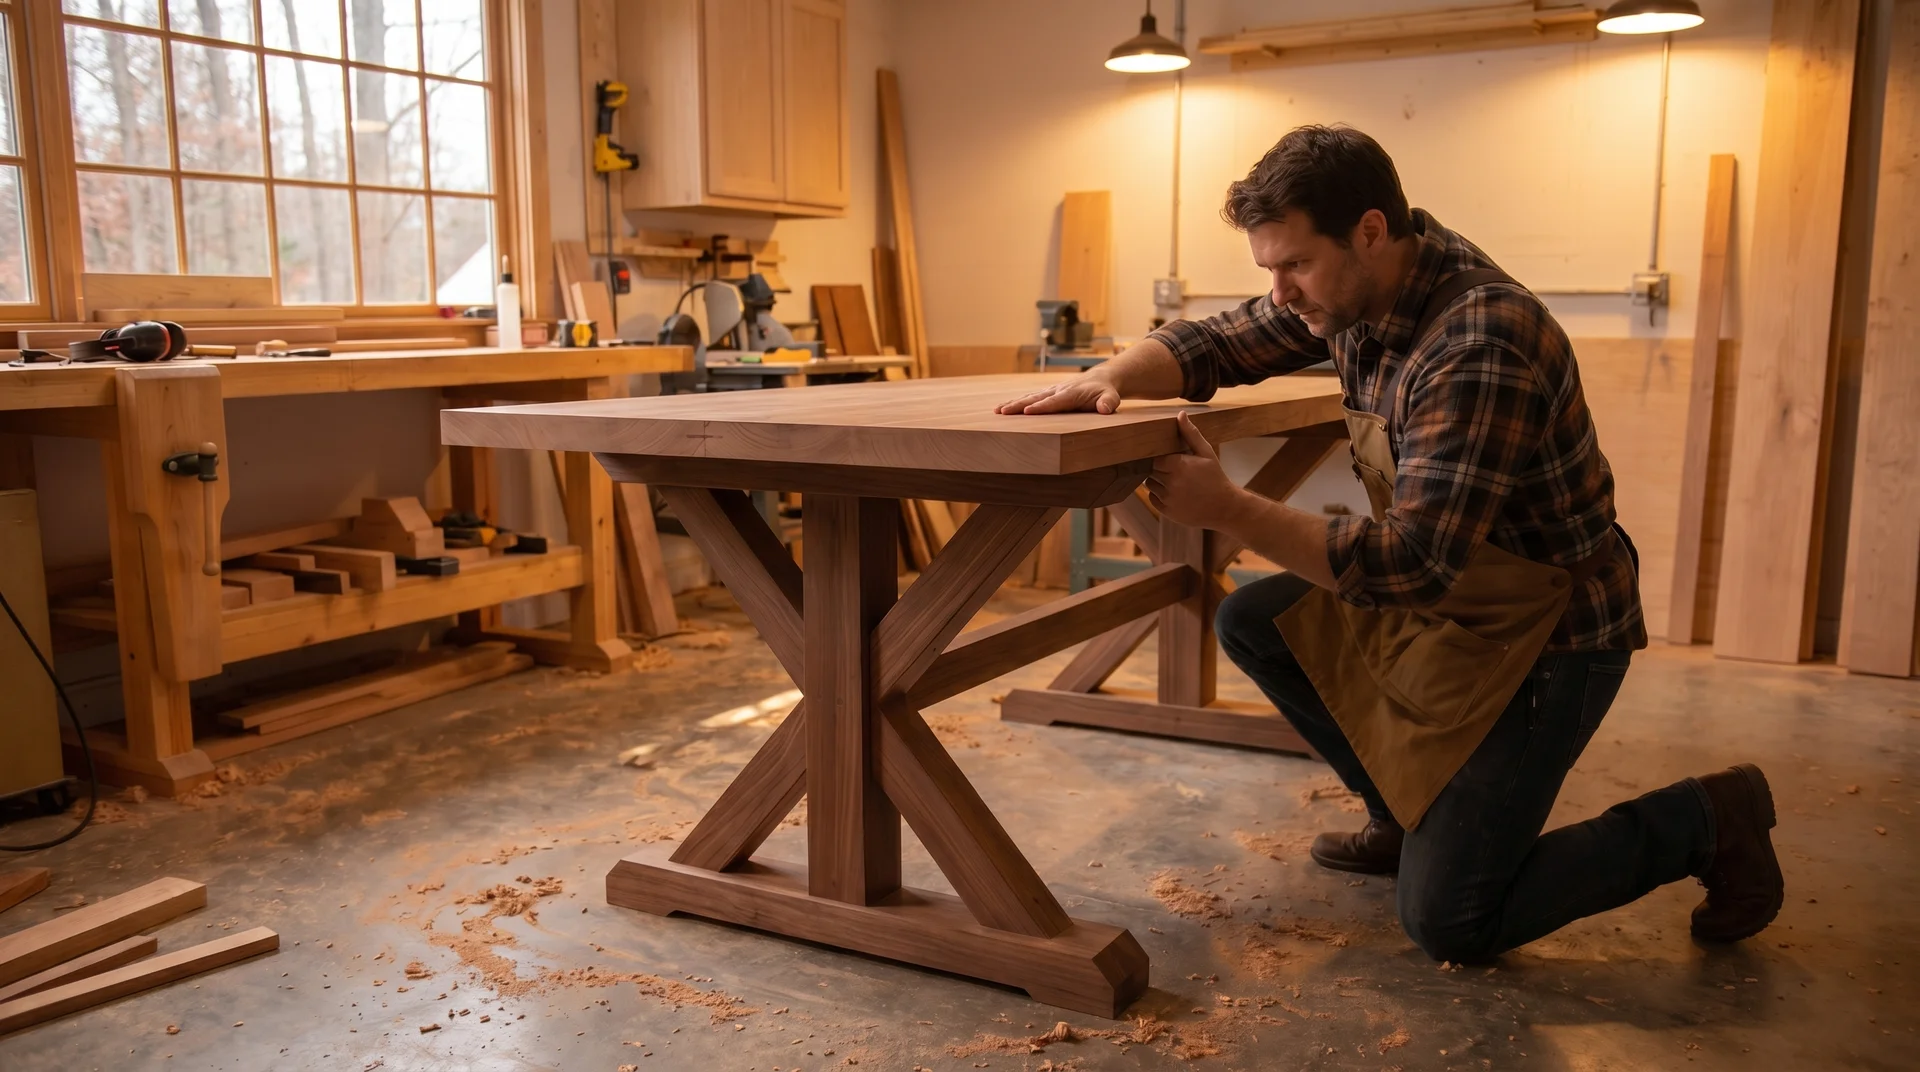
Flip the table upright and set it on the floor.
Push down firmly on each corner of the top and on the center. The top should feel solid with no flex or movement. Then push sideways on the top from each end. It should feel stable but not locked.
There will be a very slight give at the fasteners, which is correct. Locked tight means the fasteners can’t pivot, which is the problem you’re trying to prevent.
Leave the table in your shop for two to four weeks before moving it to its final room.
If a fastener loosens during that period, the top is moving more than expected for the humidity conditions. Add a fastener at the midpoint between existing ones on that side.
