

The hardware on your white cabinets is doing one of two things. It’s working, or it’s telling everyone who walks in that you settled.
Most people settle because they start the decision at the wrong end. This guide corrects that by walking through the sequence that actually holds.
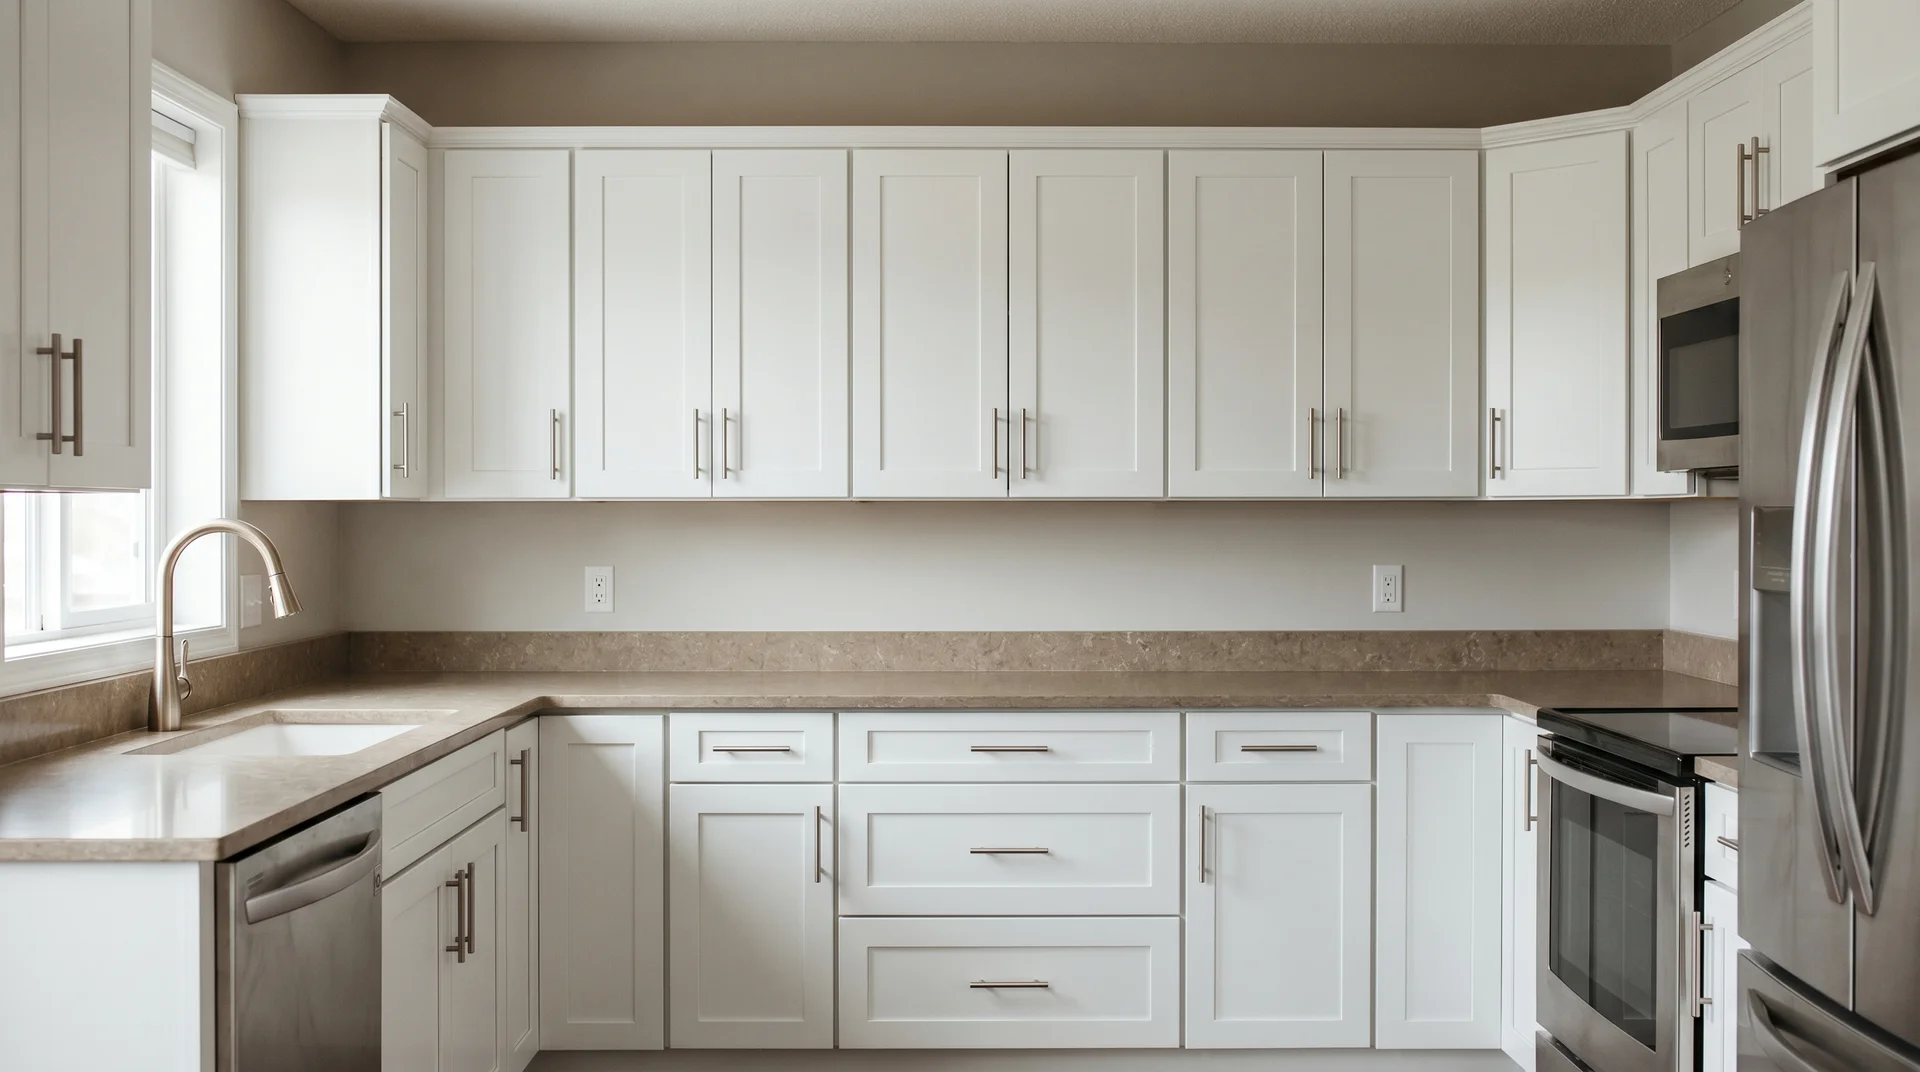
This guide covers hardware decisions for existing white cabinets where the doors and drawer fronts are staying put.
Start With the Appliance Pull, Not the Knobs
Walk into your kitchen and look at your refrigerator. That handle is your starting point. It has the fewest finish options at any price point, and it’s the hardest piece to match across brands.
How Appliance Pulls Drive the Whole Decision
Source your appliance pull before you buy a single cabinet knob. I’ve watched this sequencing mistake happen more times than I want to count.
A homeowner falls in love with a set of matte black bar pulls. They order 22 of them and get them installed. Then they go looking for a matching appliance pull for their French door fridge.
They find two options that finish at that price. One is the wrong length. The other has a completely different profile. Now they’re either living with mismatched hardware or returning twenty-two pulls and starting over.
Appliance pulls are manufactured by a narrower set of brands, come in fewer finish options than standard cabinet hardware, and cost significantly more per piece.
The Sourcing Sequence That Works
Find the appliance pull first, then build your cabinet hardware around its finish, style, and visual weight.
- Find an appliance pull you like, in the finish you want, at a price that makes sense for the full kitchen.
- Use that finish and profile as your anchor for all cabinet hardware decisions.
- Choose cabinet pulls and knobs that coordinate with the appliance pull in finish and comparable visual weight.
Unlacquered brass, matte black, and polished nickel are the three finishes most likely to read consistently, even when sourced from different manufacturers.
Every other finish varies enough between brands that physical samples side by side are worth the effort before you commit to a full kitchen’s worth.
White Kitchen Cabinet Hardware Ideas Worth Considering
These are specific combinations worth looking at because an aesthetic recommendation without its installation requirement is only half the advice.
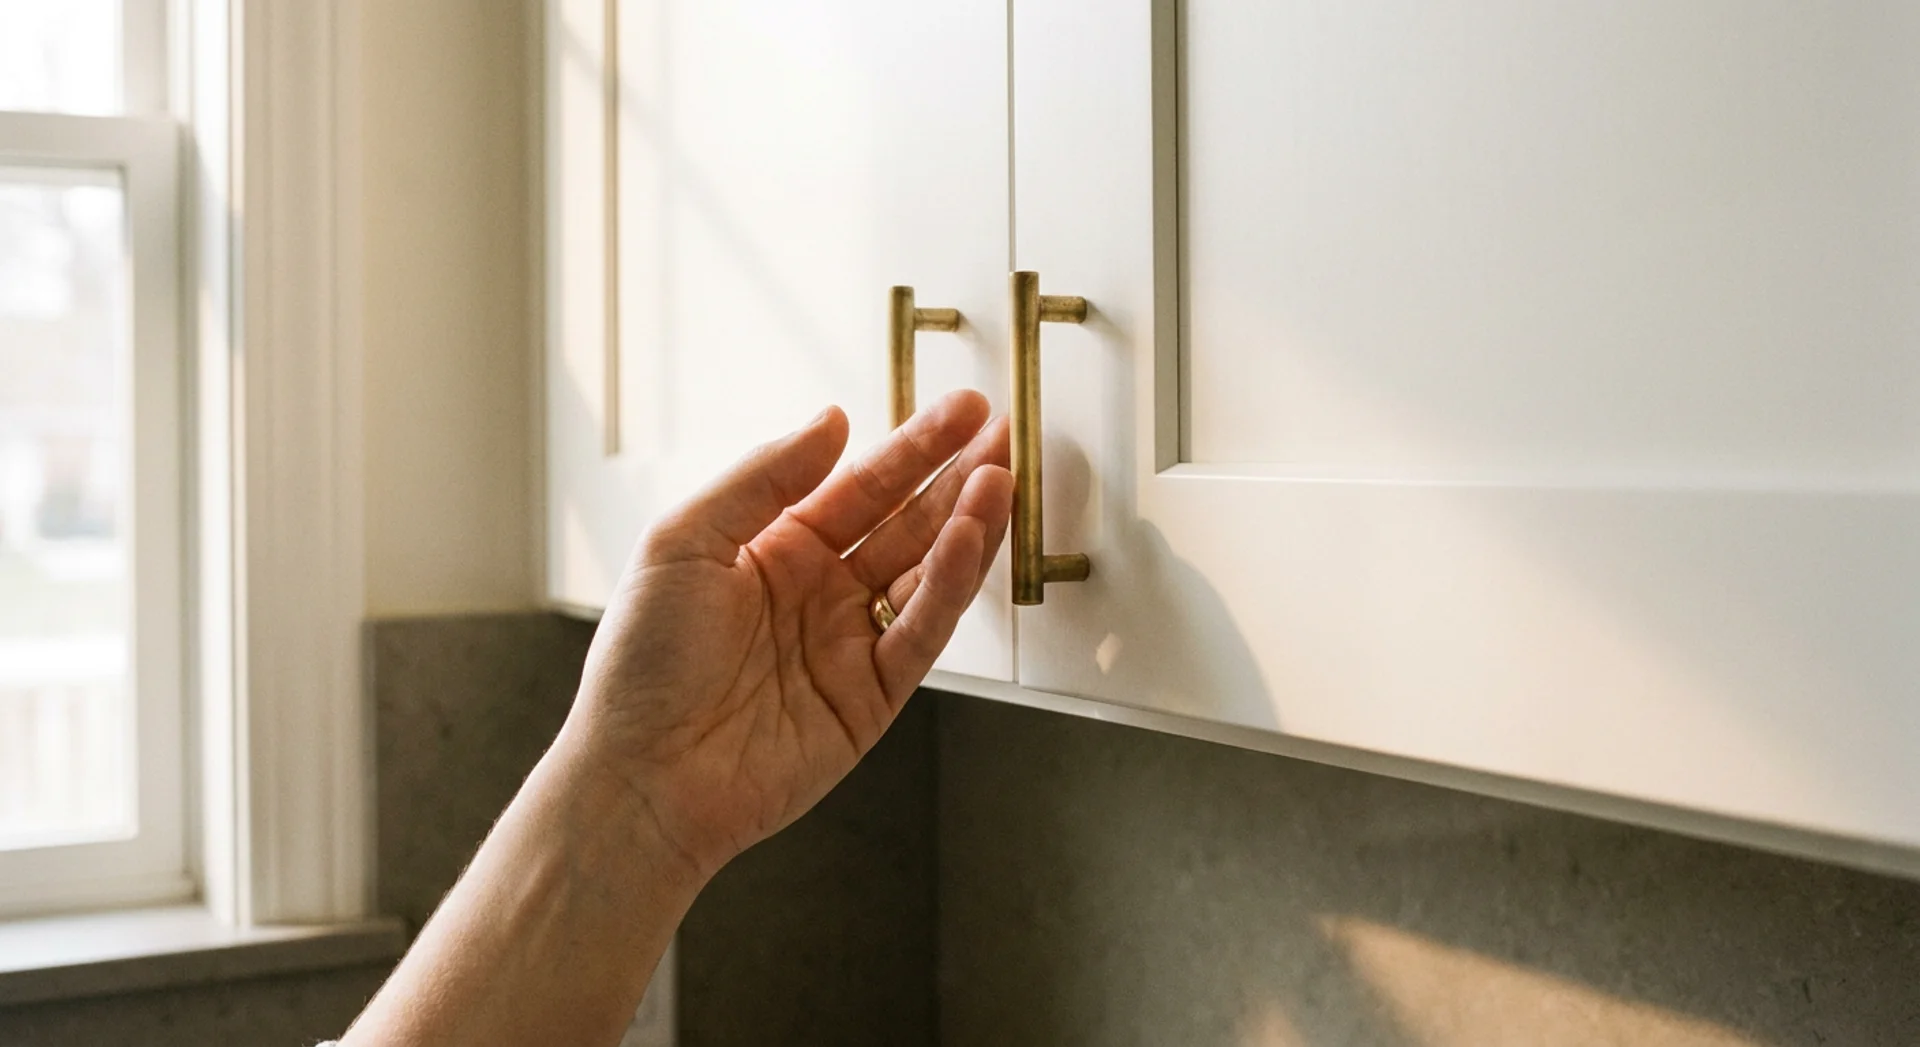
Unlacquered Brass Bar Pulls on Bright White Shaker Cabinets
Warm metal against a cool white cabinet face is one of the highest-contrast combinations that still reads as considered rather than aggressive.
Stand at the lower cabinets and picture it. The brass pull has warmth and weight. The white has clarity. The two materials create a visual conversation without competing for dominance, as long as the rest of the room supports the brass rather than contradicts it.
This combination needs at least one other brass element in the room to anchor it. A brass faucet, a brass pendant, a brass appliance pull.
Without that, the cabinet hardware looks like it arrived from a different kitchen. Source the appliance pull in unlacquered brass first and confirm the match before ordering cabinet hardware.
Matte Black Bin Pulls for Bold Modern Contrast
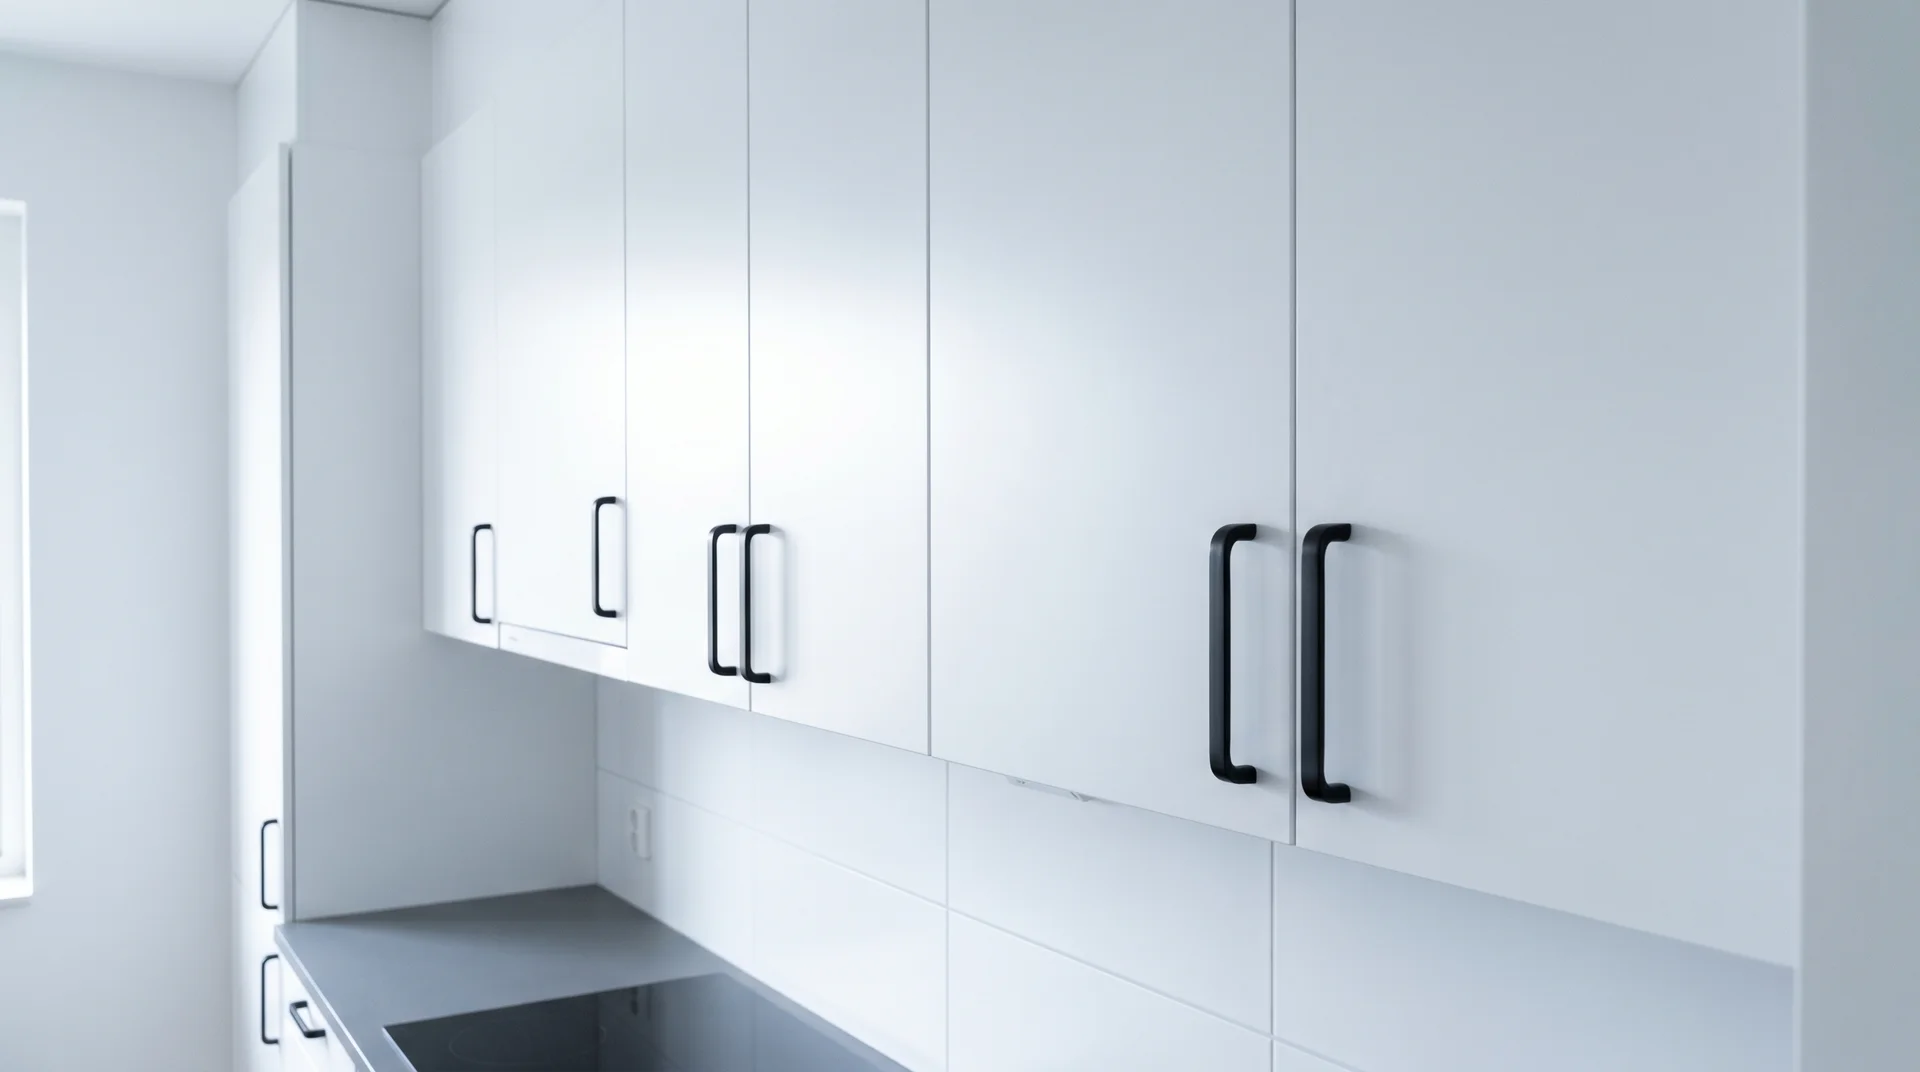
Matte black bin pulls create a strong contrast on white cabinets. The combination only holds on cool or neutral whites.
The black pull sits against a bright, slightly cool white. Clean. Very modern. The contrast reads as deliberate. Now put that same pull against a cream or linen white. The warmth of the cabinet and the coolness of the matte black pull are not the same anymore.
Bin pulls (the C-shaped hardware with an open channel underneath) project further from the door face than bar pulls. In a tight kitchen or any cabinet beside a wall, check the clearance before you order.
That projection depth matters in a room where doors face each other across a narrow aisle.
Long Full-Width Pulls on a Wide Drawer Run
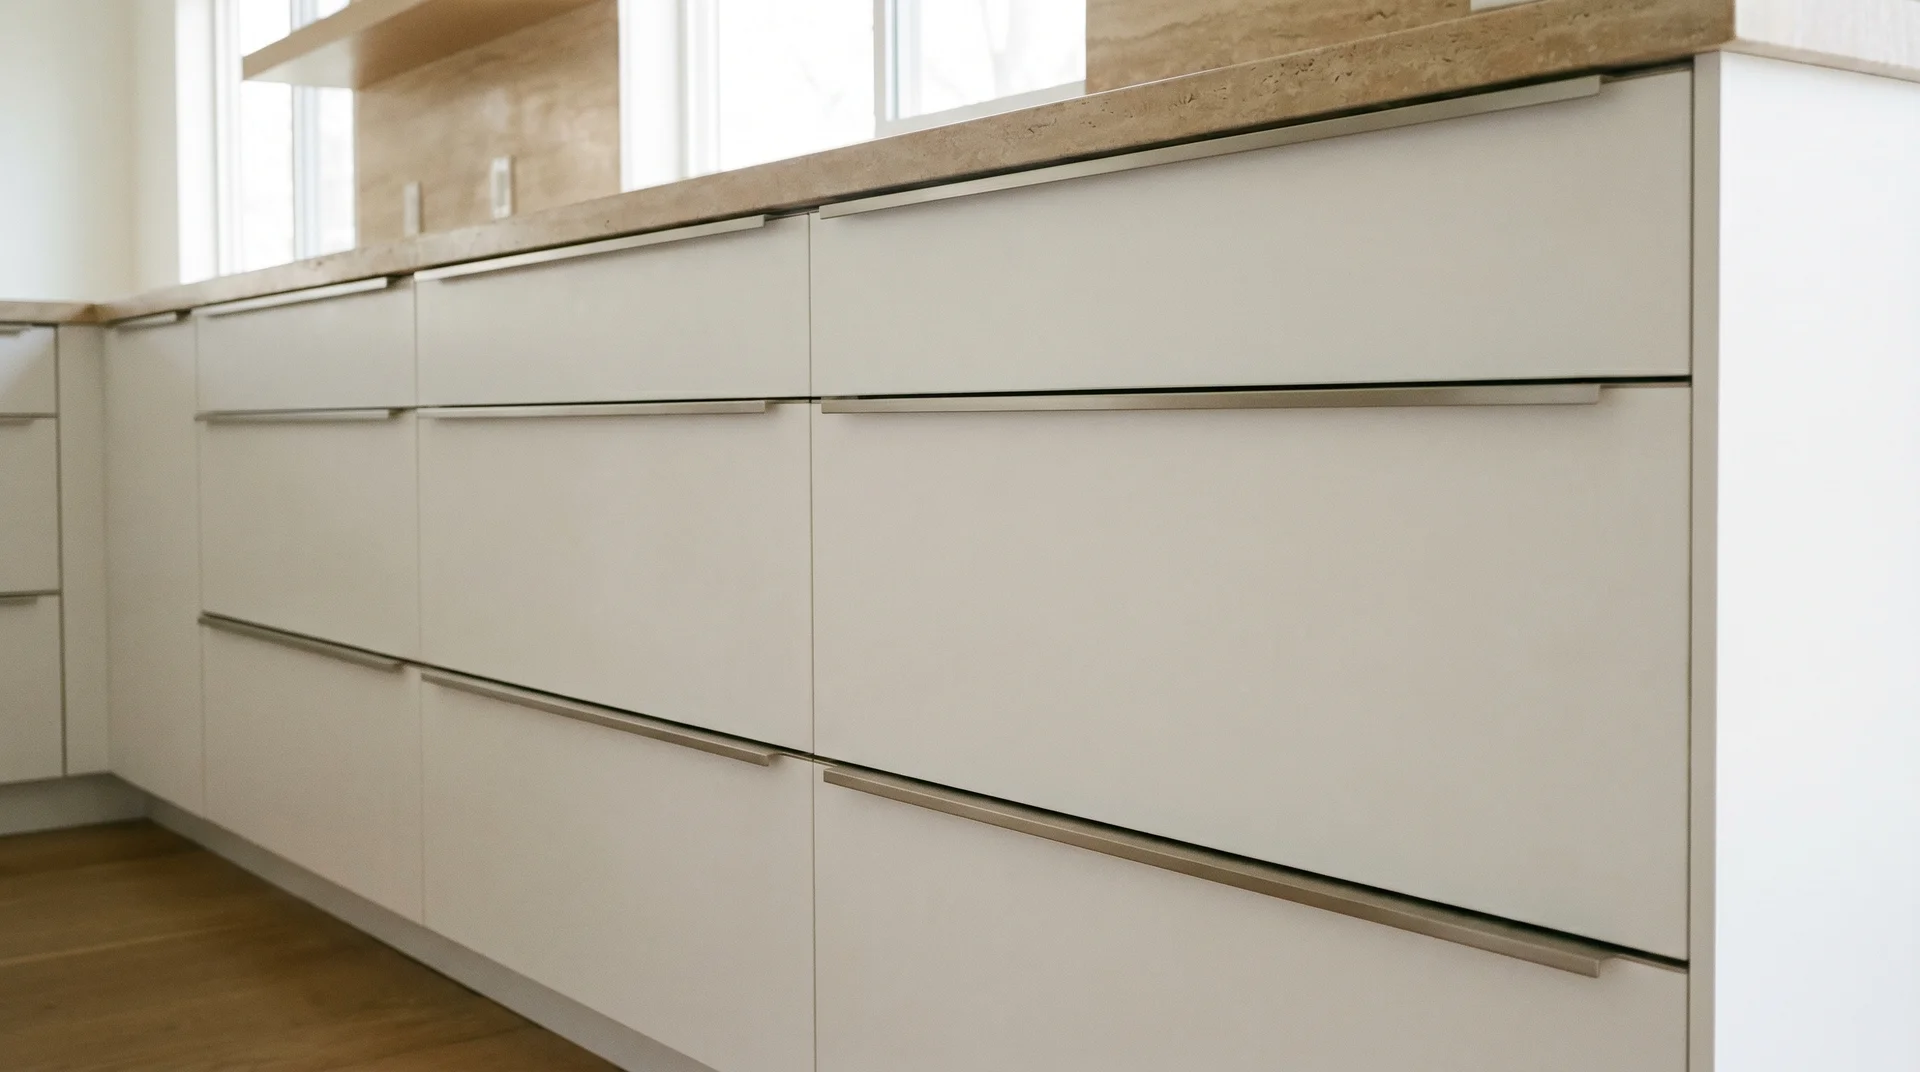
A pull that spans most of the drawer width makes each drawer look intentional and architectural. It also costs less than it looks.
This is the approach where a 24-inch drawer gets a pull running nearly edge-to-edge. It’s the hardware version of the one-hero rule: one long, simple form, and the drawer face becomes the statement. White cabinets amplify this well because the cabinet surface doesn’t compete.
One trap you must avoid is that long pulls are often listed by overall length, but the measurement you need is center-to-center, the distance between the two screw holes. Overall length and CTC are not the same number.
Confirm the CTC on the product page before you buy, particularly if you’re matching existing holes.
Cup Pulls in Brushed Nickel for a Traditional White Kitchen
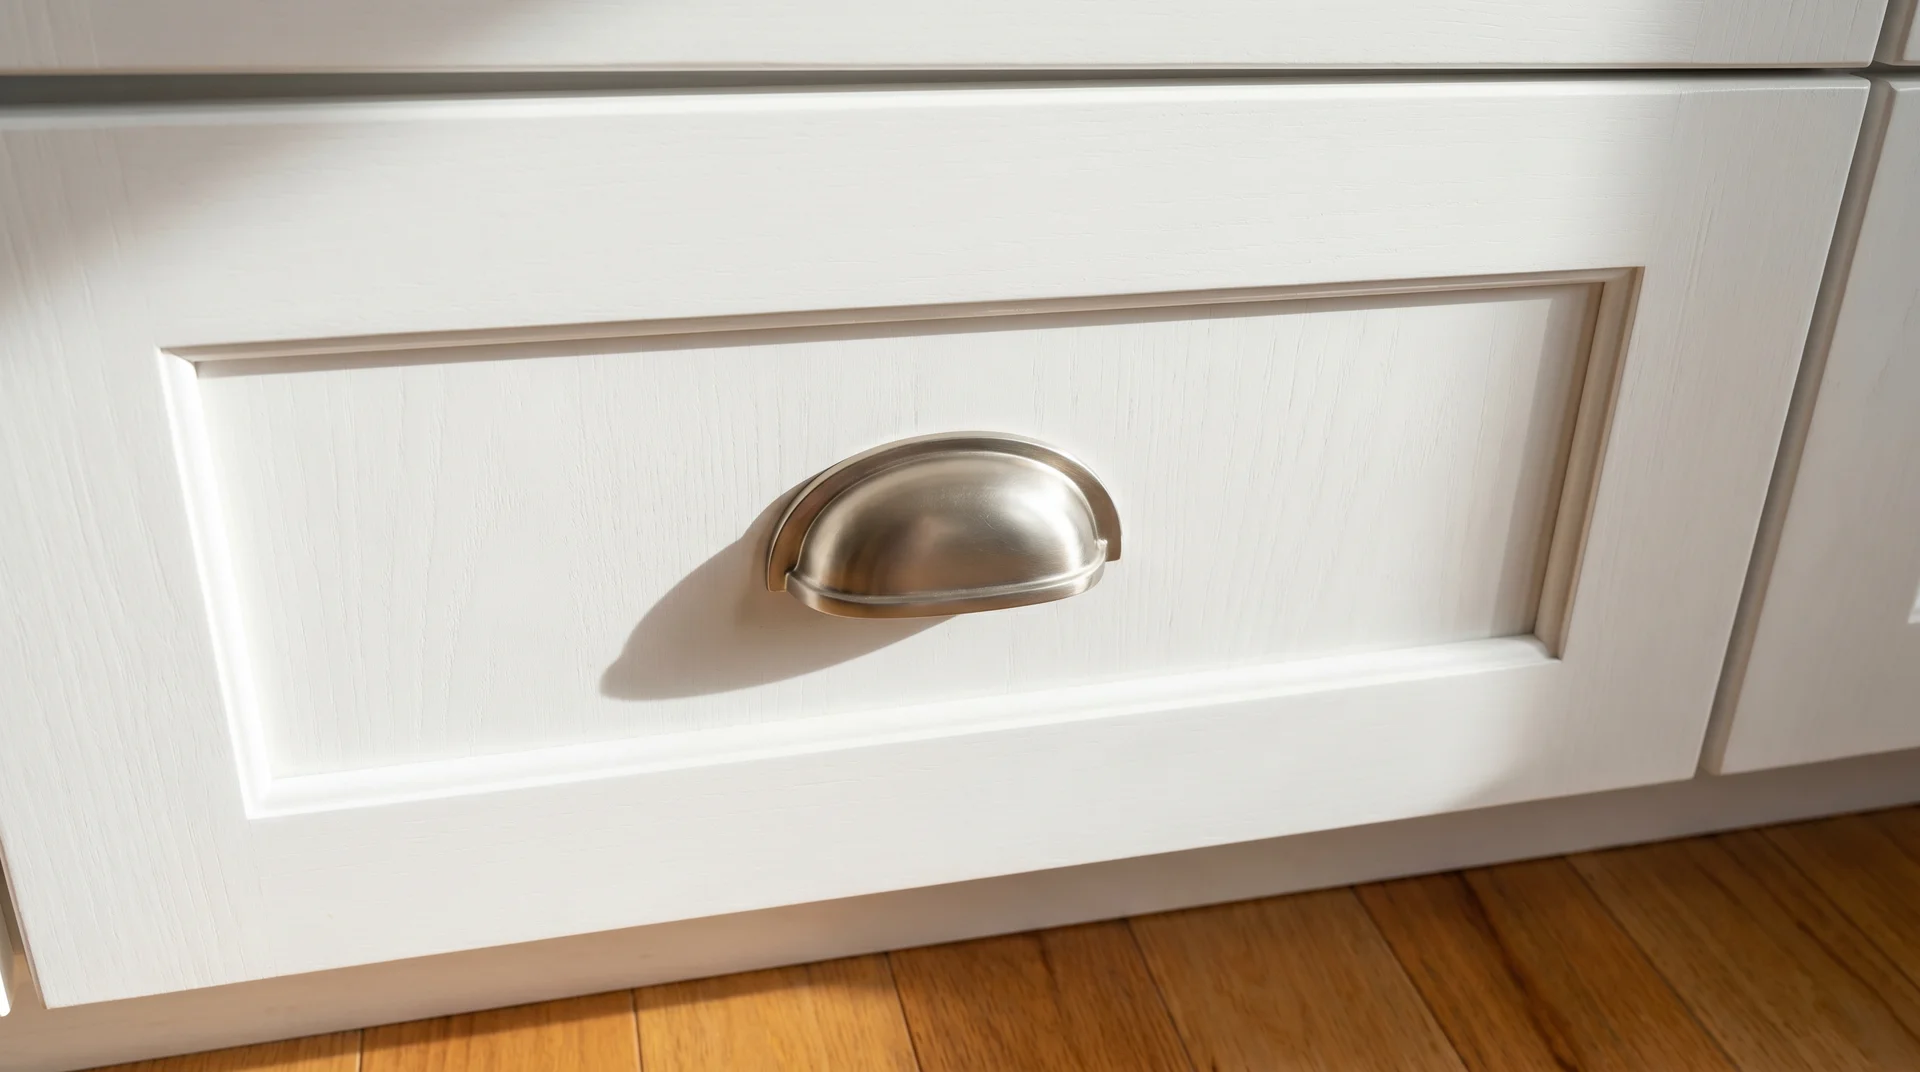
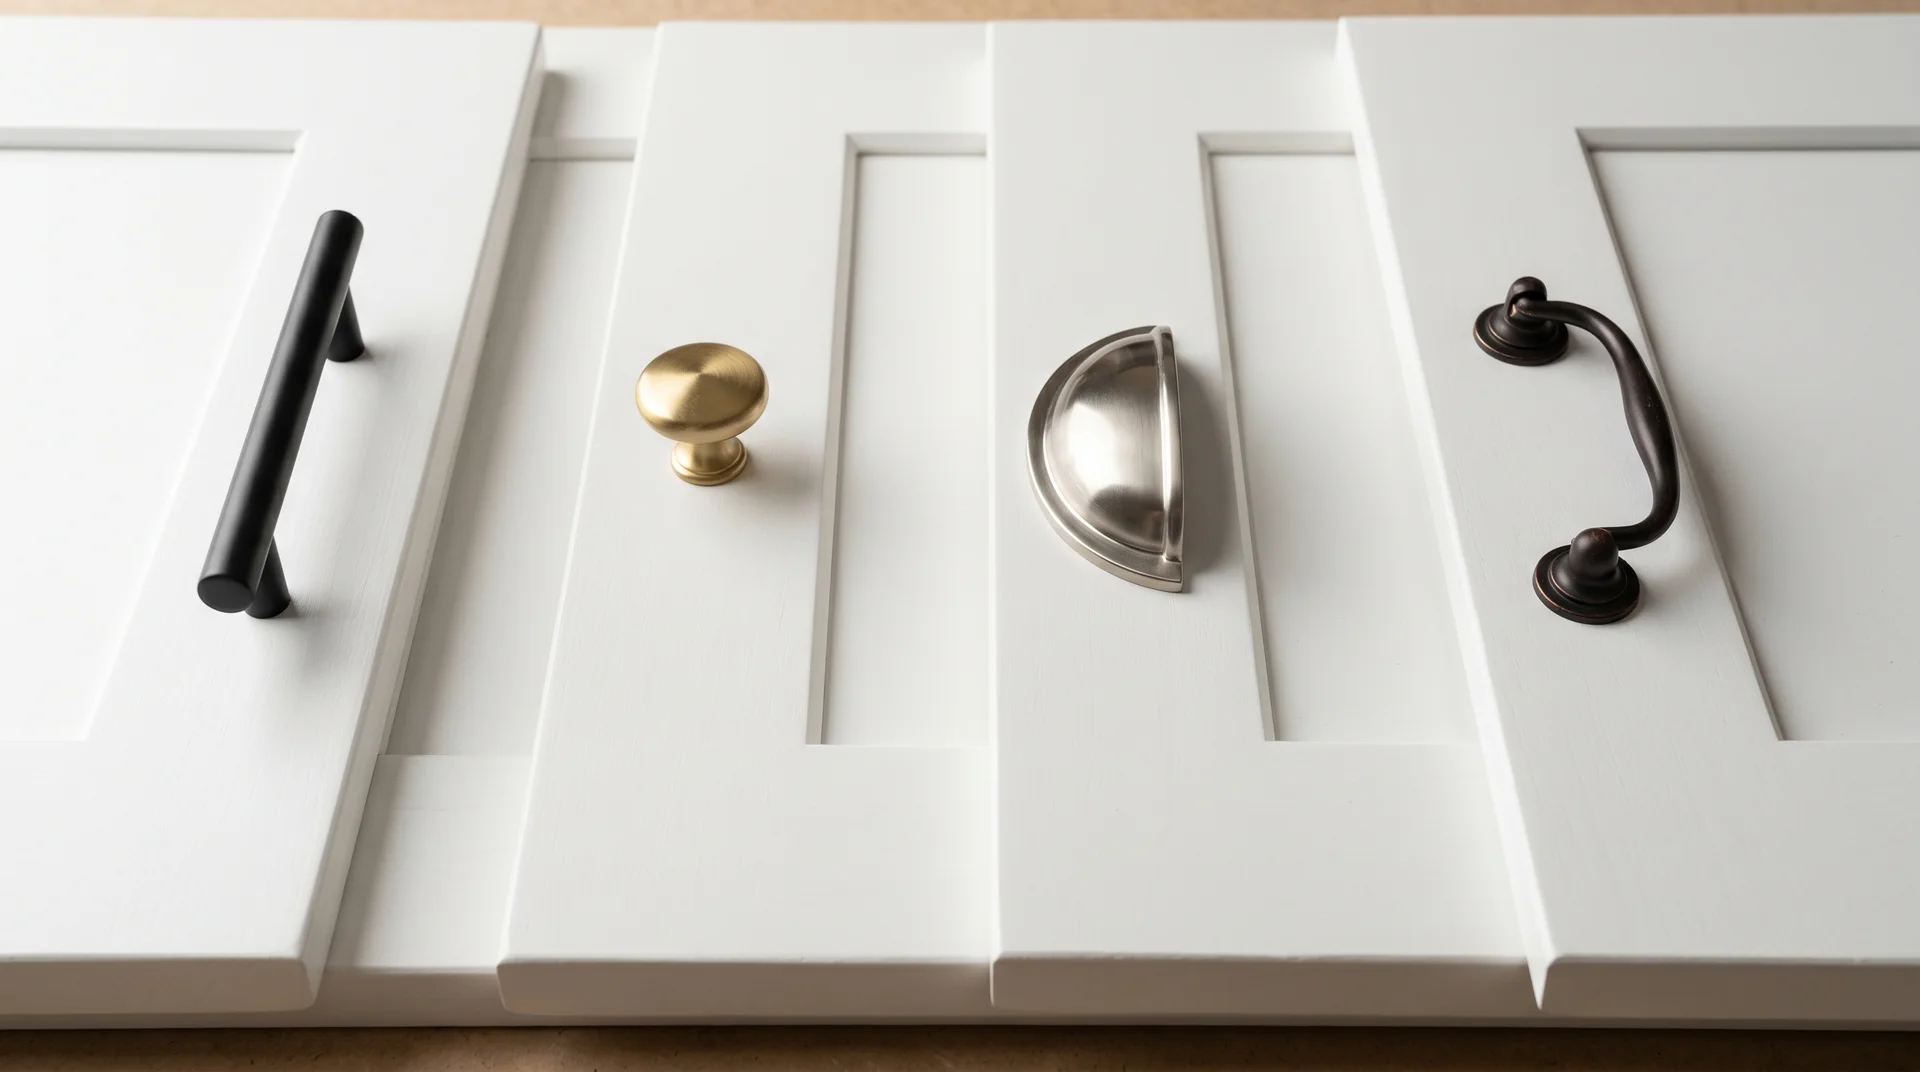
Cup pulls, which cup under your fingers in a U shape, are the most functional option on a white shaker cabinet in a farmhouse or traditional kitchen.
They have a longer history than bar pulls and a more forgiving grip profile. In a kitchen where the drawers hold heavy cast iron or the primary cook has larger hands, the cup pull’s ergonomics hold up better than a round knob on a drawer front.
Cup pulls have significant projection. The depth from the door face to the back of the grip runs wider than bar pulls or knobs. In a galley kitchen or any run where cabinet doors face each other across a narrow aisle, measure the clearance before you commit.
The area might look like it lost some space.
Brass Knobs on Doors, Brass Bar Pulls on Drawers
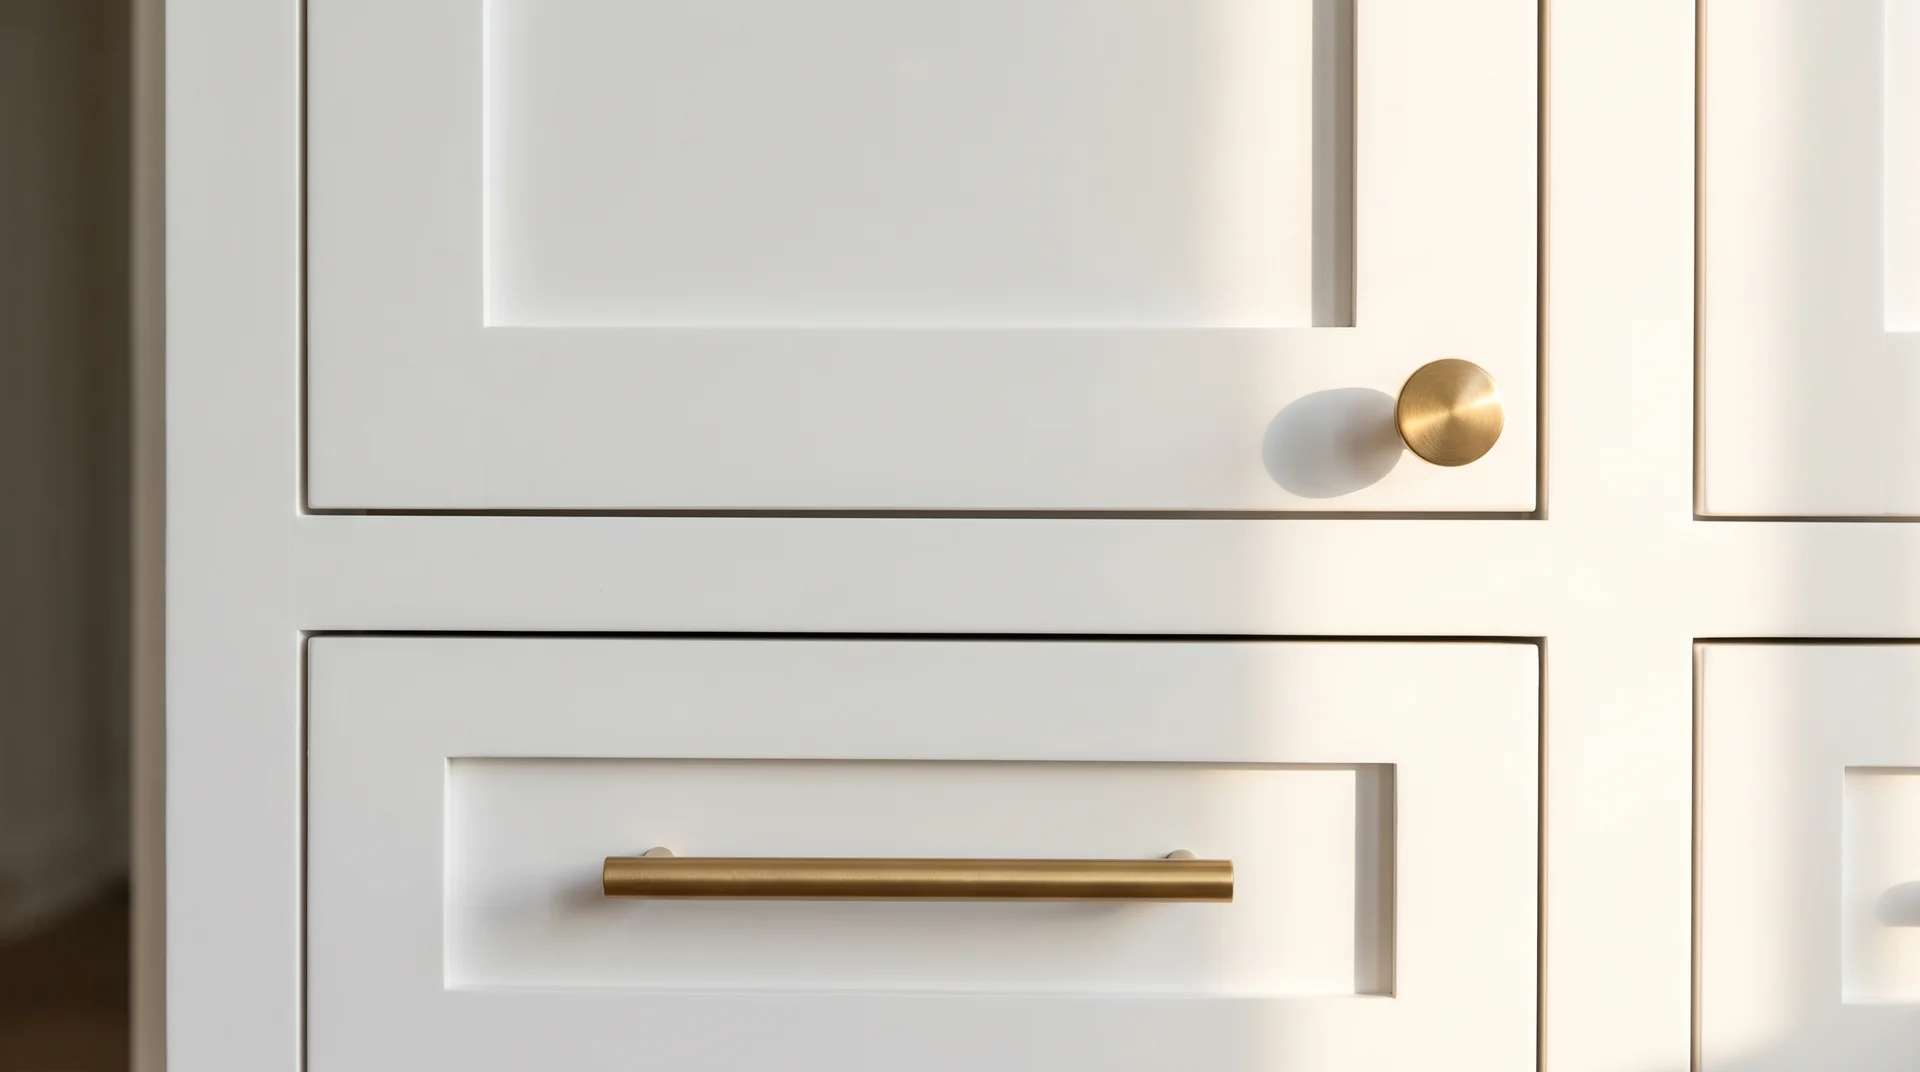
Using the same finish in two different forms is the most reliable way to make a hardware mix look custom rather than assembled.
Knobs on cabinet doors. Bar pulls on drawers. Both brass. The forms are different, so the visual is variety.
The finish is consistent, so the room reads as deliberate. This is the standard mixed approach because it holds across almost every white cabinet style and profile.
Note that not all brass finishes read the same across brands. Source both the knob and the pull from the same manufacturer, or get physical samples of both together before ordering.
Even the slight tonal difference between the doorknob and drawer pull is going to make it look like an afterthought.
Colored Ceramic Knobs as the Hero Hardware
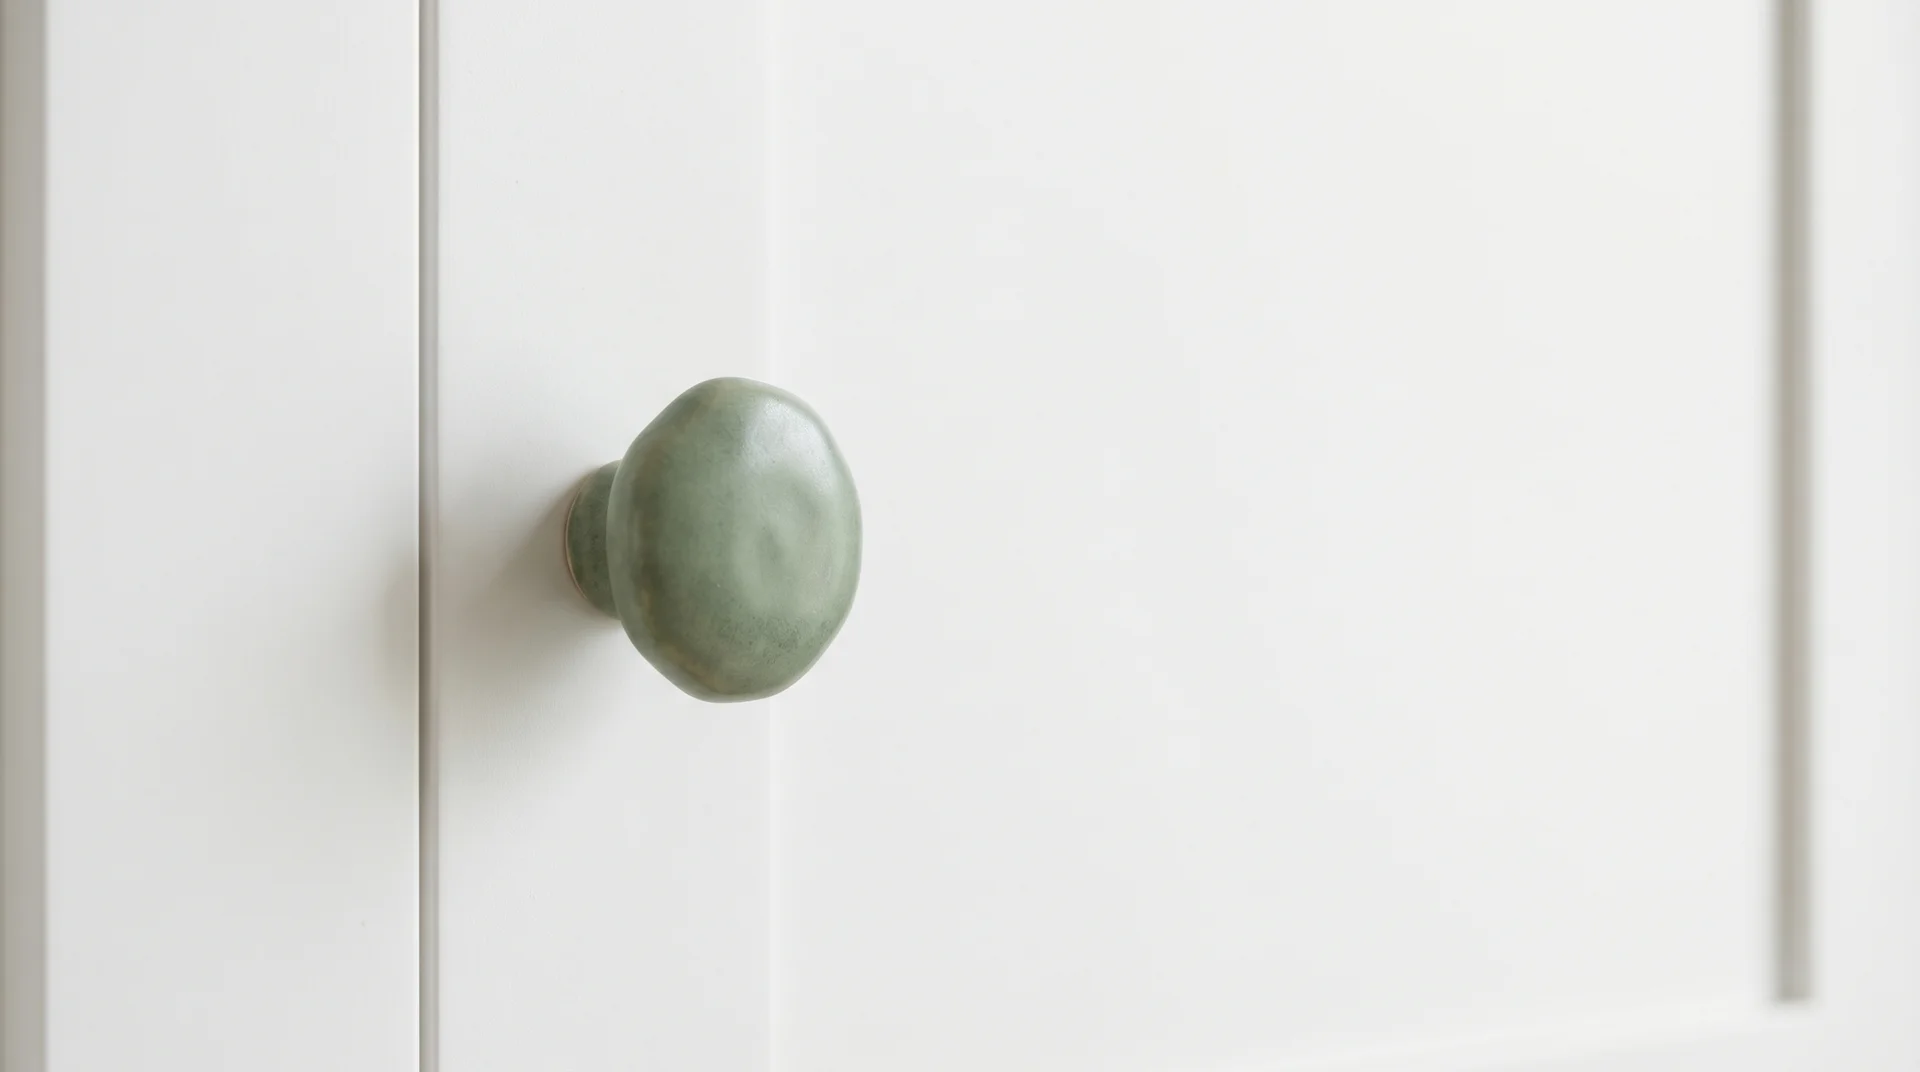
A sage green, navy, or terracotta ceramic knob on white cabinets is the clearest application of the one-hero rule in hardware form.
The ceramic color functions as an accent that an all-white palette amplifies rather than competes with. One color. One form. Nothing arguing with it.
Ceramic get damaged faster than most people expect with frequent use. Handmade ceramic is more resilient but harder to source in a consistent quantity.
If you’re putting this across twenty-plus cabinet doors, order extras from the same production batch.
Glaze colors vary between firings, and the second order won’t be an exact match.
Brushed Satin Nickel Throughout, and Why That’s Sometimes Correct
Brushed satin nickel across every cabinet door and drawer, in a consistent bar or cup pull, is not the exciting choice. For many kitchens, it’s the right one.
I’ve specified it more times than I’d like to admit, usually at the end of a project where the client and I have agreed that the hardware should not compete with the countertop or backsplash, where the real design decisions have already happened.
The hardware becomes neutral and correct. Hardware neutrality has a lot of value value than most designers care to admit.
Brushed satin nickel is also the most forgiving finish to match across appliances, faucets, and light fixtures. It sits comfortably beside stainless steel, warm chrome, and soft brass without fighting any of them.
If your kitchen already has a mix of metals and you want hardware that coordinates with everything rather than accentuating one thing, this is the answer.
Matte Black on Cream Cabinets, and Why It Often Fails in Real Kitchens
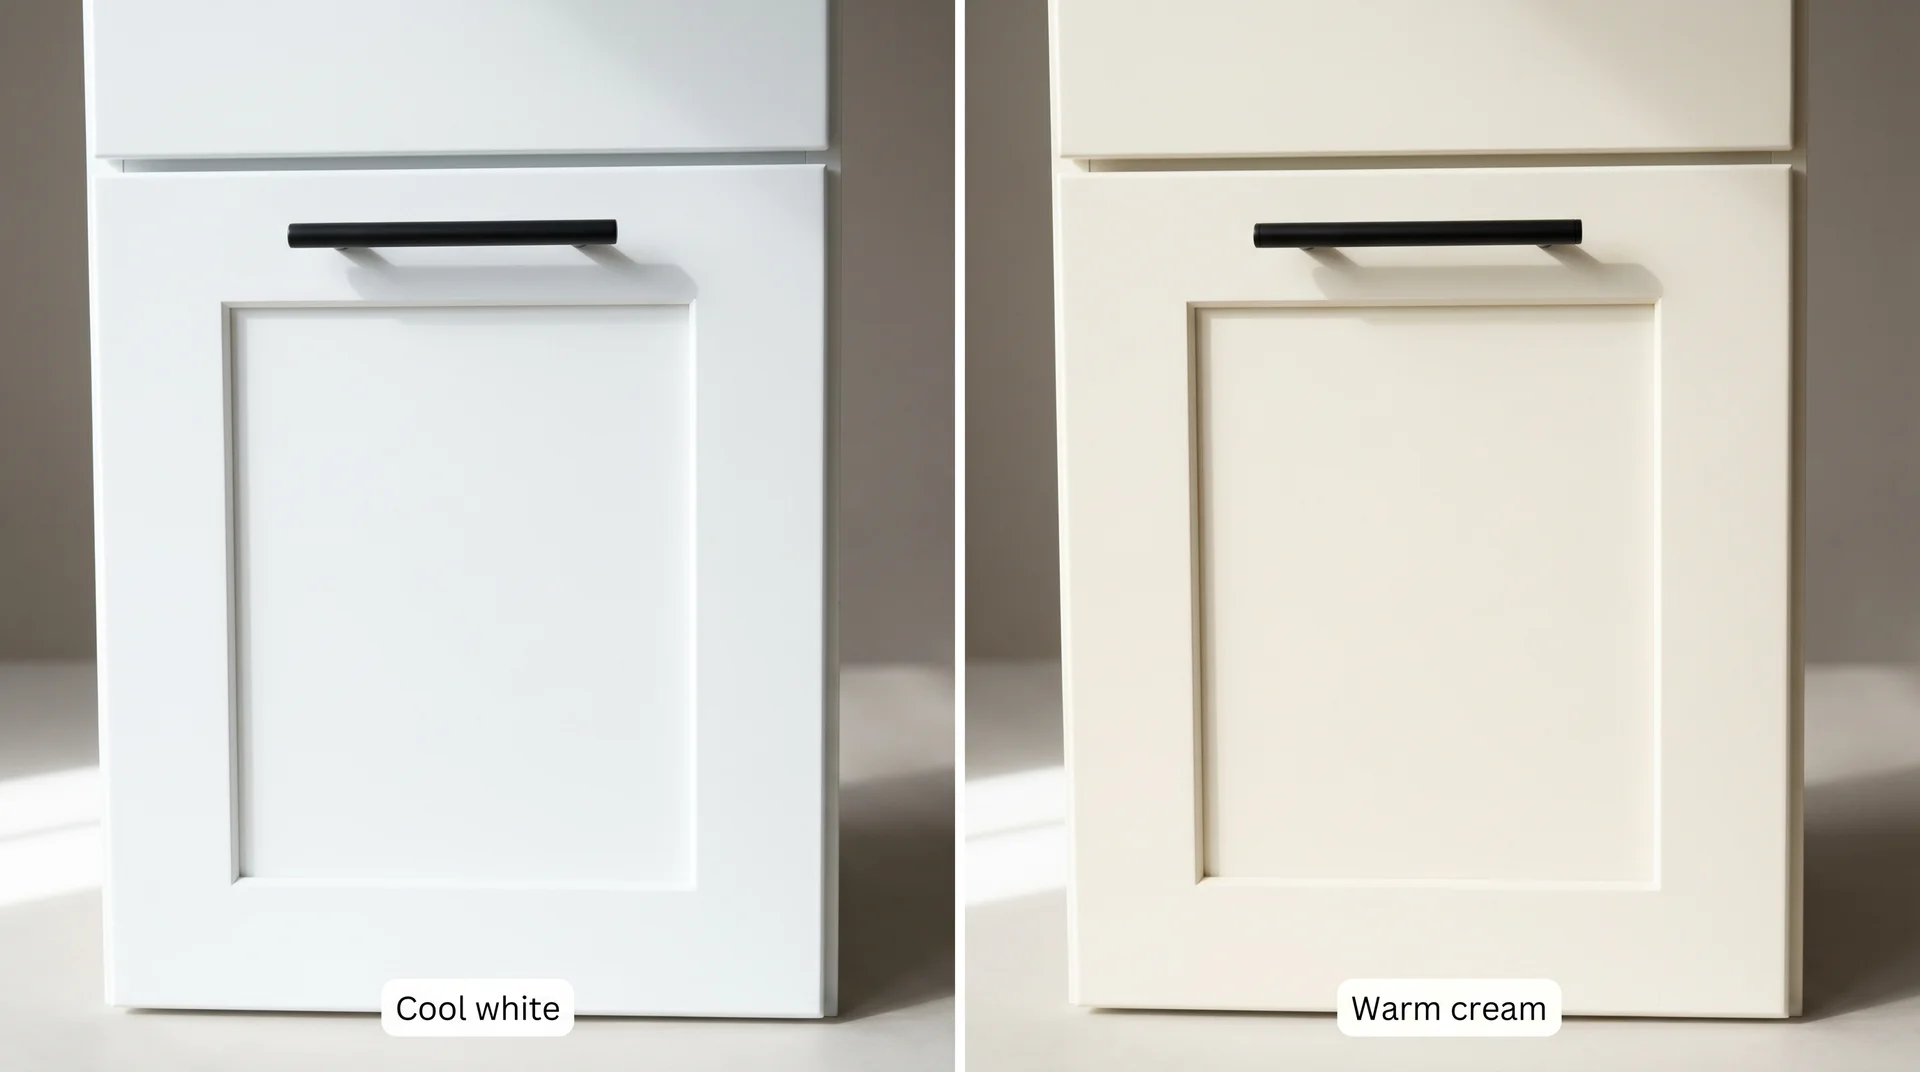
Matte black hardware on warm white or cream cabinets is the combination that looks resolved in photos and fails most often in real rooms.
The warmth of the cream cabinet and the coolness of the matte black pull in opposite directions. Neither wins. If your white has yellow, orange, or pink in its undertone, test a physical sample on the actual cabinet door before ordering the full set. This is exactly the kind of decision that looks obvious in retrospect and costs a full hardware return in practice.
My reference archive of photographed real kitchen failures comes back to this combination regularly. Homeowners see it work on Instagram in a kitchen with cooler whites and cooler light. In their kitchen, with warmer surfaces and a south-facing window, it looks like two unfinished decisions sitting next to each other.
The light in your specific kitchen does more to the hardware finish than the finish does to itself.
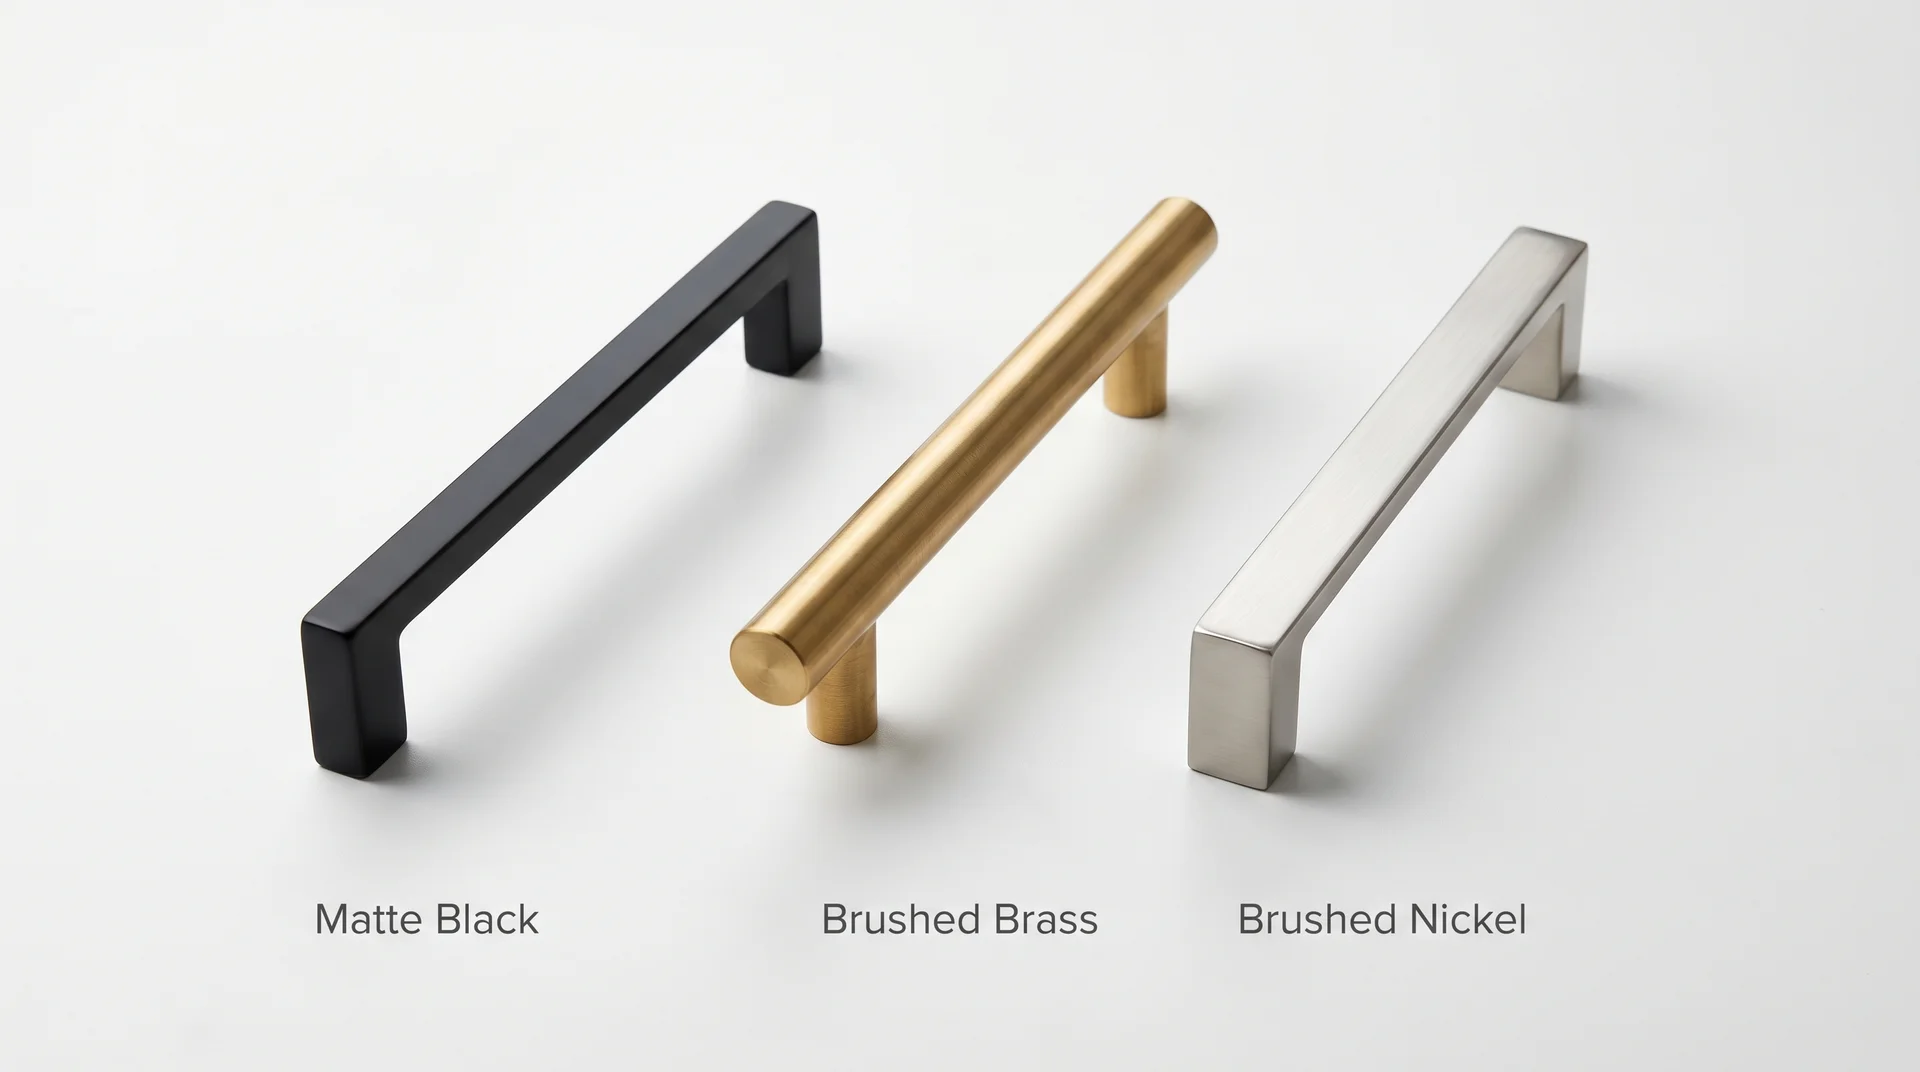
Which Finish Works With White Cabinets
Four finishes dominate white kitchen hardware decisions. The right finish depends on two things: the specific undertone of your white cabinet and the metal already fixed in the room.
What Finish to Choose for White Cabinets
Matte black, brushed brass, and brushed nickel work most reliably on white cabinets. Which one is right depends on your cabinet’s undertone and the existing metal in the room.
| Finish | Works Best With | Watch Out For |
|---|---|---|
| Matte black | Cool white, bright white | Warm white or cream cabinets with brass or bronze fixtures already installed |
| Brushed brass / satin brass | Warm white, off-white, cream | Lacquered and unlacquered brass age very differently. Know which you’re buying. |
| Brushed nickel | All white tones | The least visually interesting option. Sometimes that’s exactly the right answer. |
| Oil-rubbed bronze | Farmhouse, traditional kitchens with warm wood tones | Looks wrong in modern or transitional white kitchens |
| Polished chrome | Very modern, minimalist, all-white interiors | Shows water spots on pulls near the sink |
Stand at your kitchen sink and look at the metal already in front of you. Your faucet, the base of your light fixture, and your appliance pulls. That’s your starting point.
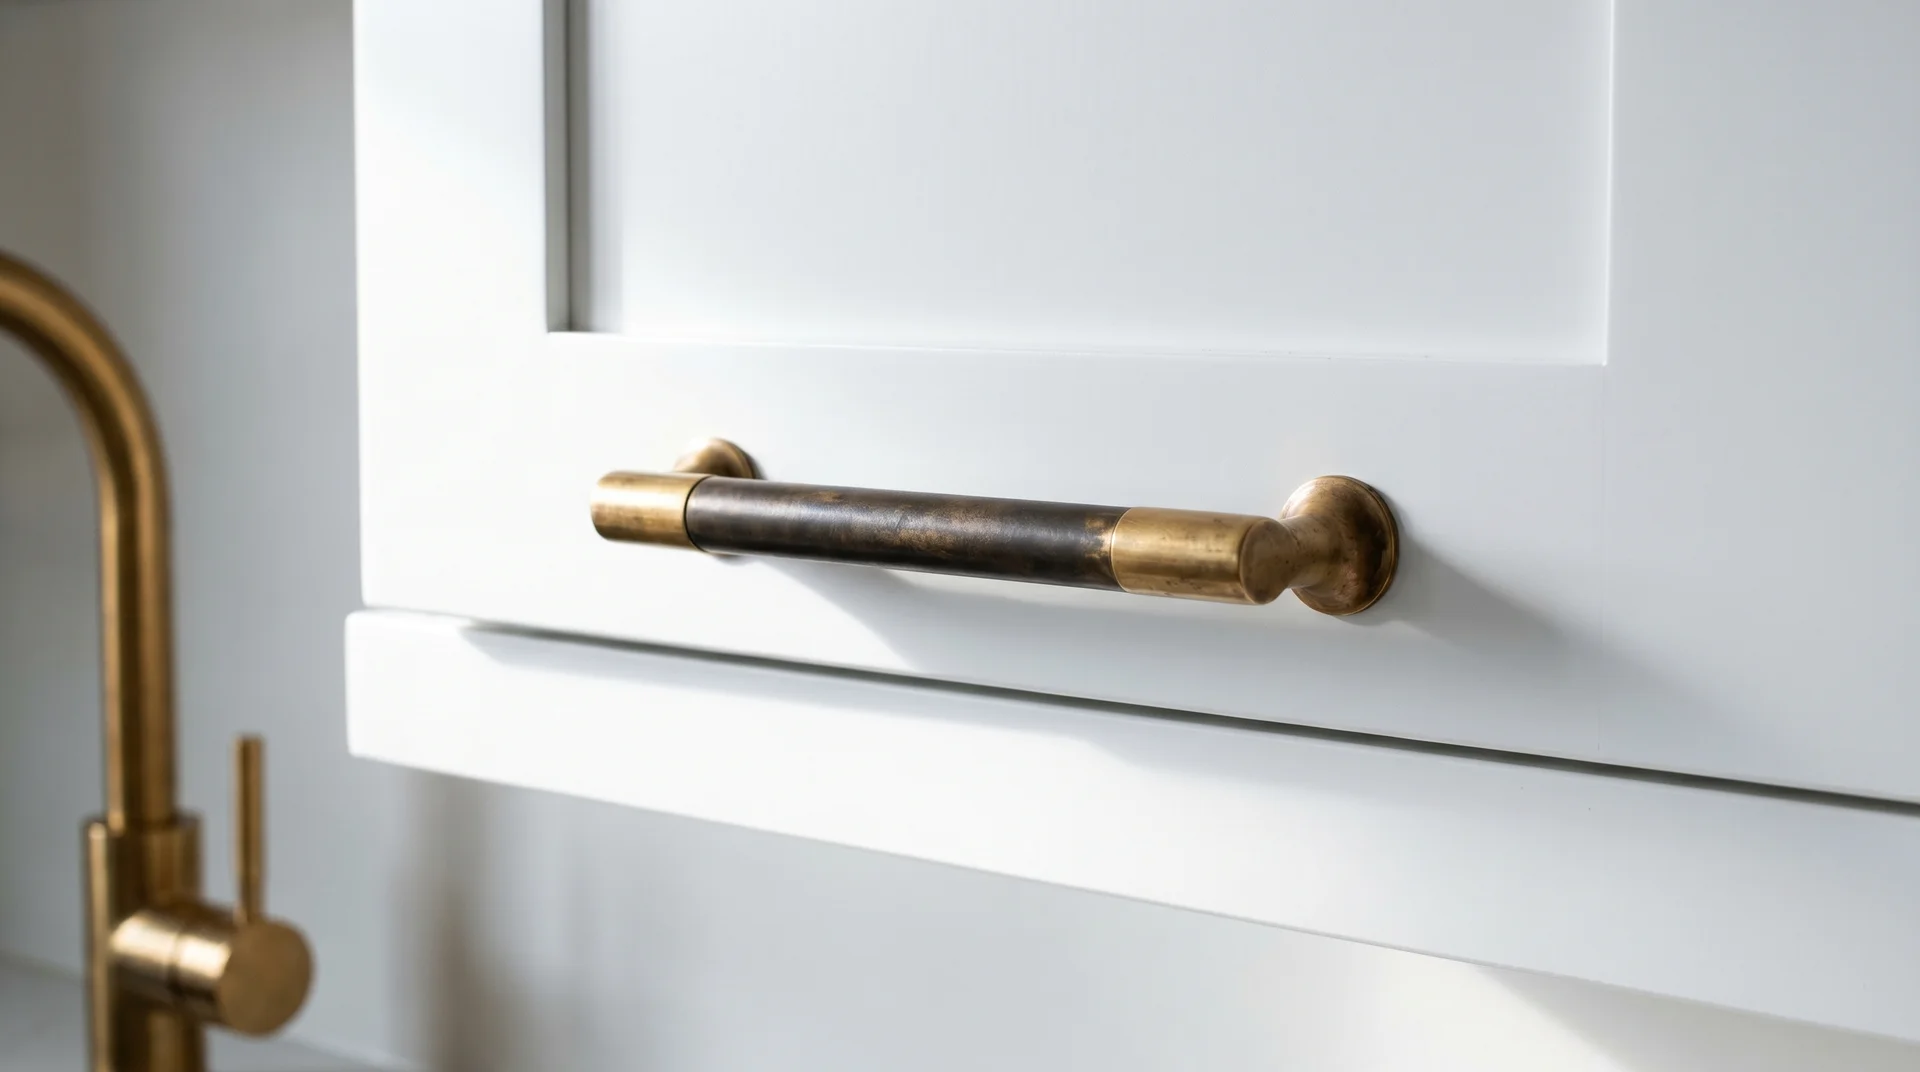
The Timeless vs. Trend Question
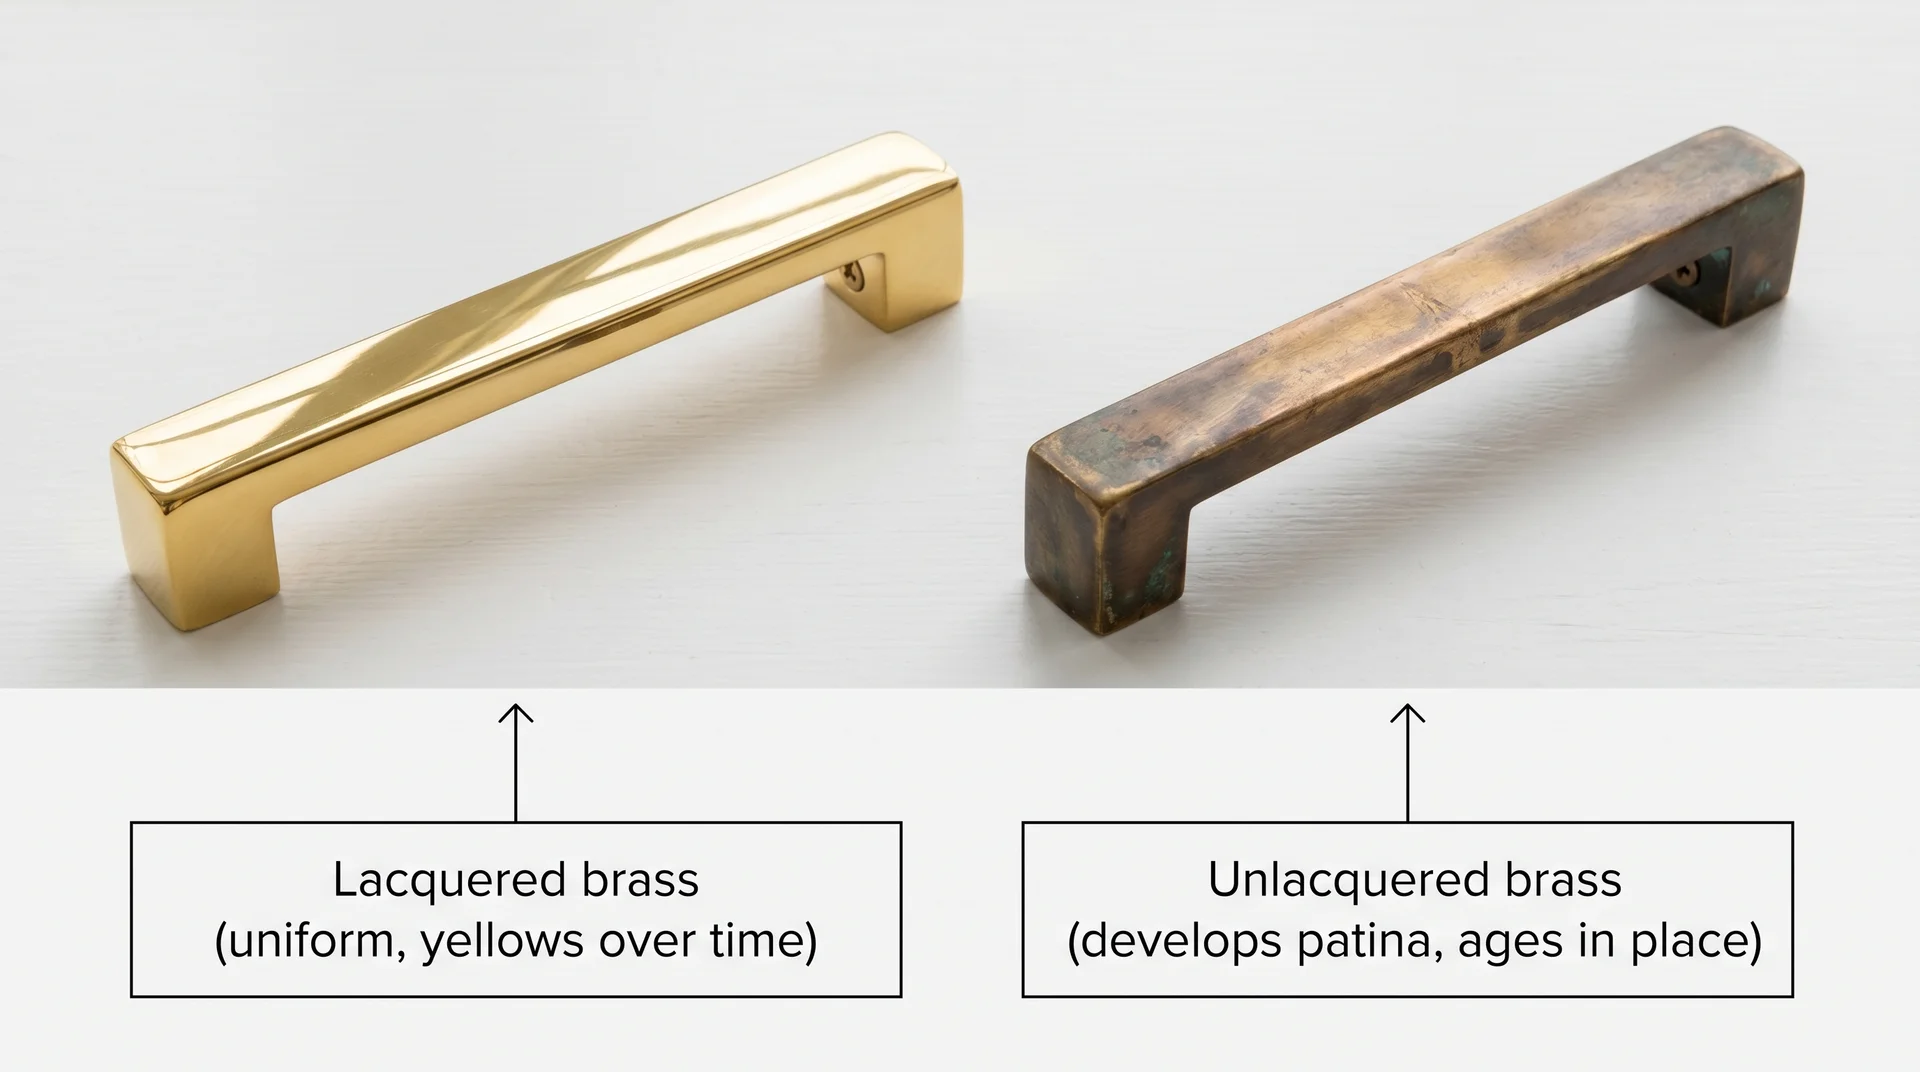
Brushed brass is not a single finish. Lacquered brass and unlacquered brass age completely differently, and that distinction is the real answer to the “will this date me” question.
Lacquered brass has a coating that gives it a uniform golden look out of the box. That coating yellows over time and wears unevenly at the high-touch points. The hardware in your parents’ kitchen wasn’t inherently tacky. It was lacquered, and the lacquer failed.
Unlacquered brass develops a patina instead. It darkens where you touch it most and lightens at the edges. It’s also more consistent across brands, which matters if you’re sourcing hardware from more than one place.
Satin brass sits in the middle: still lacquered, but with a muted surface that ages better than polished lacquered brass. I’d call it a reasonable choice if you’re not certain about the patina process. I wouldn’t call it timeless without specifying which brass we’re actually discussing.
What About Natural Material Hardware
Wood knobs, stone pulls, and leather-wrapped handles are a legitimate choice on white cabinets, but the execution should be taken care of.
Natural material hardware works on white kitchens that already have organic elements in the room, like butcher block, wood stools, and rattan light fixtures.
On a fully contemporary white kitchen with no warm materials present, a wood knob reads as a standalone design decision with nothing supporting it.
The practical consideration with natural materials is the finish durability near water.
- Stone is the most resilient.
- Wood needs a sealed finish to withstand humidity near the dishwasher and sink.
- Leather-wrapped handles look refined in a showroom and require more care in daily kitchen use than most people anticipate.
Mixing Finishes Without It Looking Chaotic
You can mix hardware finishes. The rule is one dominant finish at 60 to 70 percent of visible hardware, one accent finish for the rest.
Most kitchens already have two metals in the room before a single cabinet hardware decision is made. The faucet, the light fixtures, and the appliance pulls are already set. The constraint isn’t money. It’s the metal already fixed in the room.
Choose the finish with the most presence in the room as your dominant. Cabinet hardware either matches it or provides one other accent in a complementary finish.
Combinations that work together:
- Matte black and unlacquered brass: high contrast, reads as deliberate rather than accidental
- Brushed nickel and warm chrome: low contrast, naturally cohesive across appliances and fixtures
- Satin brass and brushed bronze: tonal, warm, works in farmhouse and transitional kitchens
Combinations that don’t:
- Polished nickel and matte black: the reflectivity clash reads as an oversight
- Oil-rubbed bronze and satin brass: two competing warm tones with no anchor between them
Knobs, Pulls, or Both
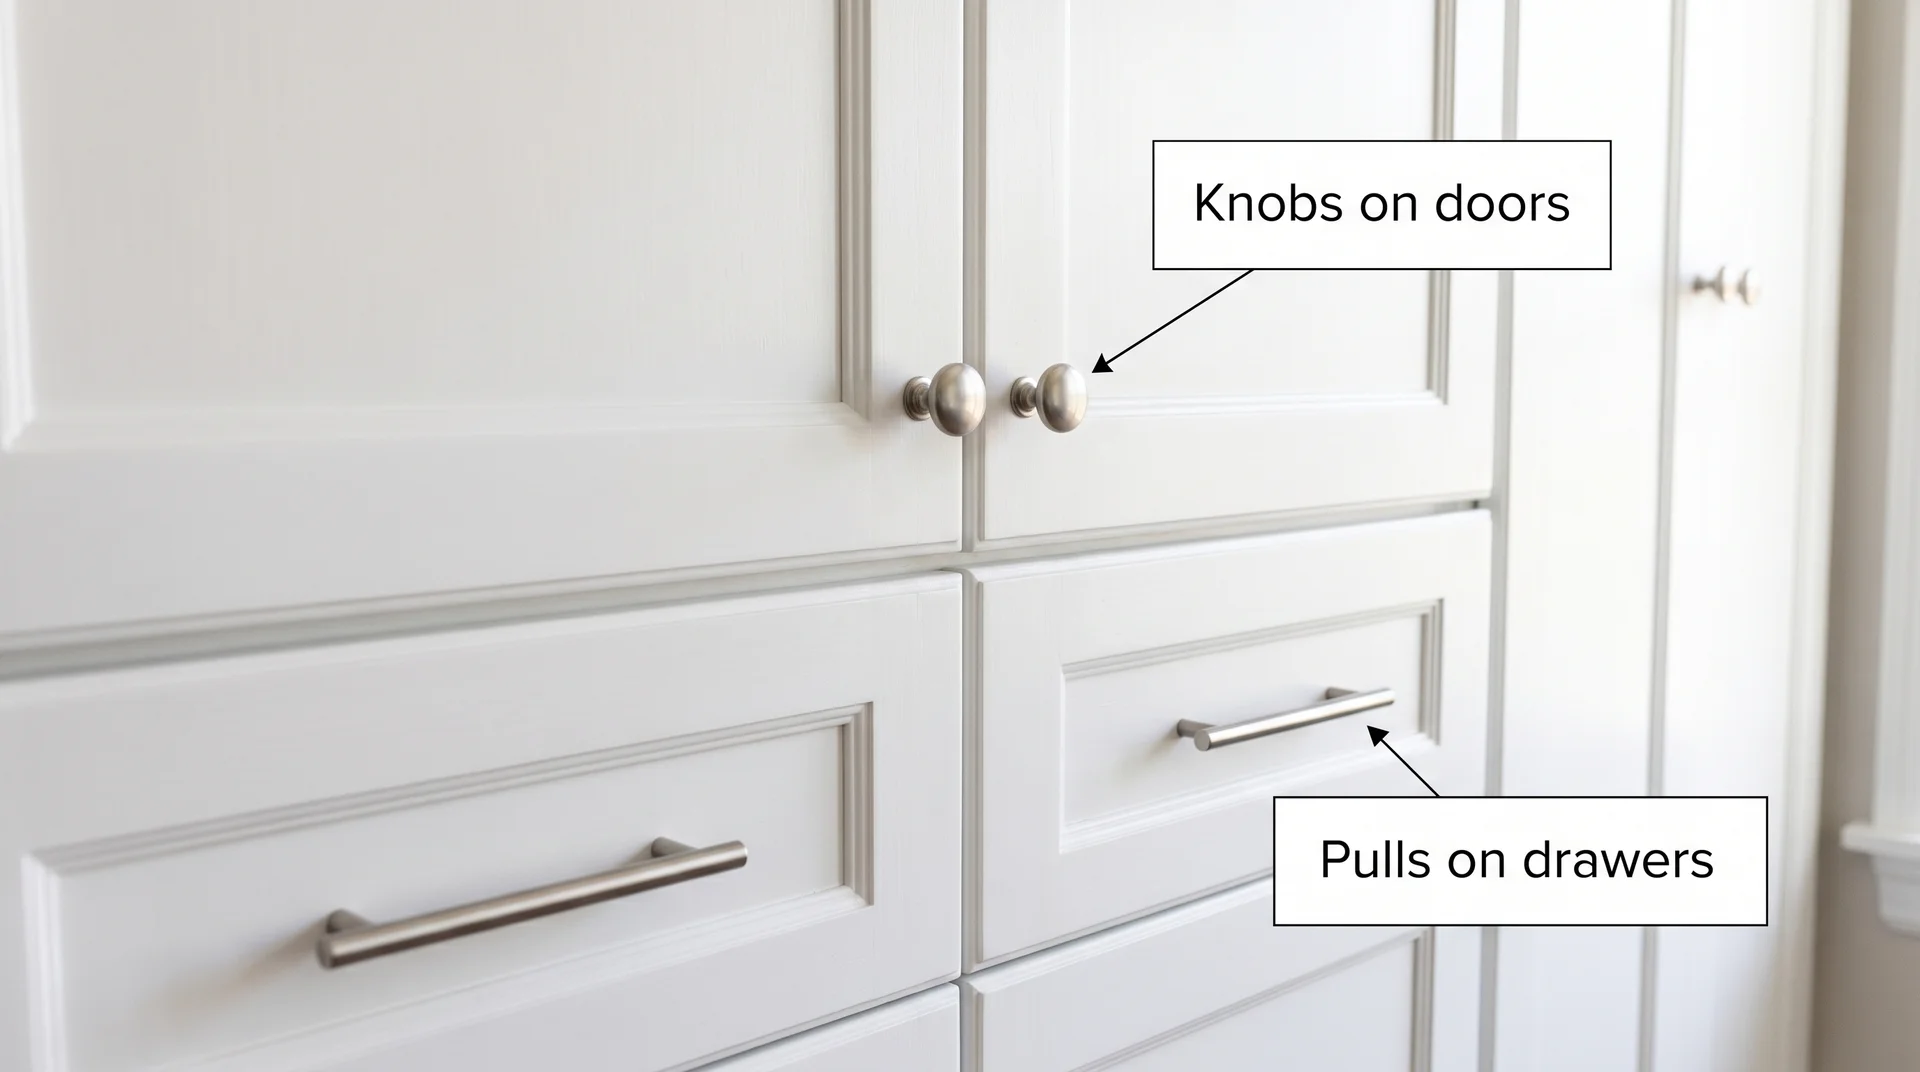
Use pulls on drawers. Use knobs or pulls on doors. That’s the practical rule. Everything else is preference.
Pulls give you grip and leverage. On a drawer loaded with pots, heavy flatware, or baking equipment, a knob makes you work harder to open it.
On cabinet doors, the choice is genuinely aesthetic. Knobs read traditional. Pulls read modern to transitional.
Both are correct on white shaker cabinets, which is the most common scenario I encounter.
When to Even Mix Knobs and Pulls?
Mixing knobs on doors and pulls on drawers works cleanly when both pieces share the same finish.
Using a brass knob on the doors and a matte black pull on the drawers, and calling it mixed metals is two competing focal points with nothing to anchor them.
Sizing and Placement of Cabinet Hardware

The center-to-center measurement on your existing pulls determines whether your hardware swap takes twenty minutes or two days.
Center-to-center (CTC) is the distance between the two screw holes on a cabinet pull.
Measure your existing screw holes before you order anything new. Say your current pulls have a 3-inch center-to-center.
The pulls you want are drilled for 5 inches. Those two measurements won’t share the same holes.
Common center-to-center measurements in the US:
| Measurement | Metric Equivalent | Where You’ll Typically See It |
|---|---|---|
| 3″ | 76mm | Older cabinets, traditional styles |
| 3-3/4″ | 96mm | Common in mid-range cabinetry |
| 5″ | 128mm | Contemporary and newer-build kitchens |
| 6-1/4″ | 160mm | Higher-end cabinetry, larger drawer fronts |
Most cabinet hardware is manufactured in metric sizes. US product listings often show the nearest inch equivalent, which is not always the same number. Measure in millimeters and match the product’s metric CTC to avoid ordering errors.
How to Measure Your Existing Hardware
Remove one pull, measure from the center of one screw hole to the center of the other in millimeters, and write that number down before you open any product listing.
- Unscrew one existing pull from a cabinet door or drawer front.
- Measure from the center of one hole to the center of the other. Use millimeters.
- Write the number down before you browse anything new.
- Filter new hardware by that measurement, or plan specifically for filling and re-drilling.
Order one sample before buying the full set. Test the fit, check the finish in your actual kitchen light, and feel the piece in your hand.
How Long Should Cabinet Pulls Be?
A pull should be roughly one-third the width of the drawer front. Undersizing is the more common mistake, particularly on wide drawers where a short pull looks stranded in the middle.
| Drawer Width | Suggested Pull Length |
|---|---|
| Under 18″ | 3″–5″ |
| 18″–24″ | 5″–6″ |
| 24″–36″ | 6″–10″ |
| 36″ and wider | 8″–12″, or two pulls at rule-of-thirds placement |
On drawers 36 inches or wider, two pulls placed at the rule-of-thirds position are often more functional and more proportional than one very long single pull. Divide the drawer into thirds and place one pull centered in each outer third.
Placement on Cabinet Doors and Drawers
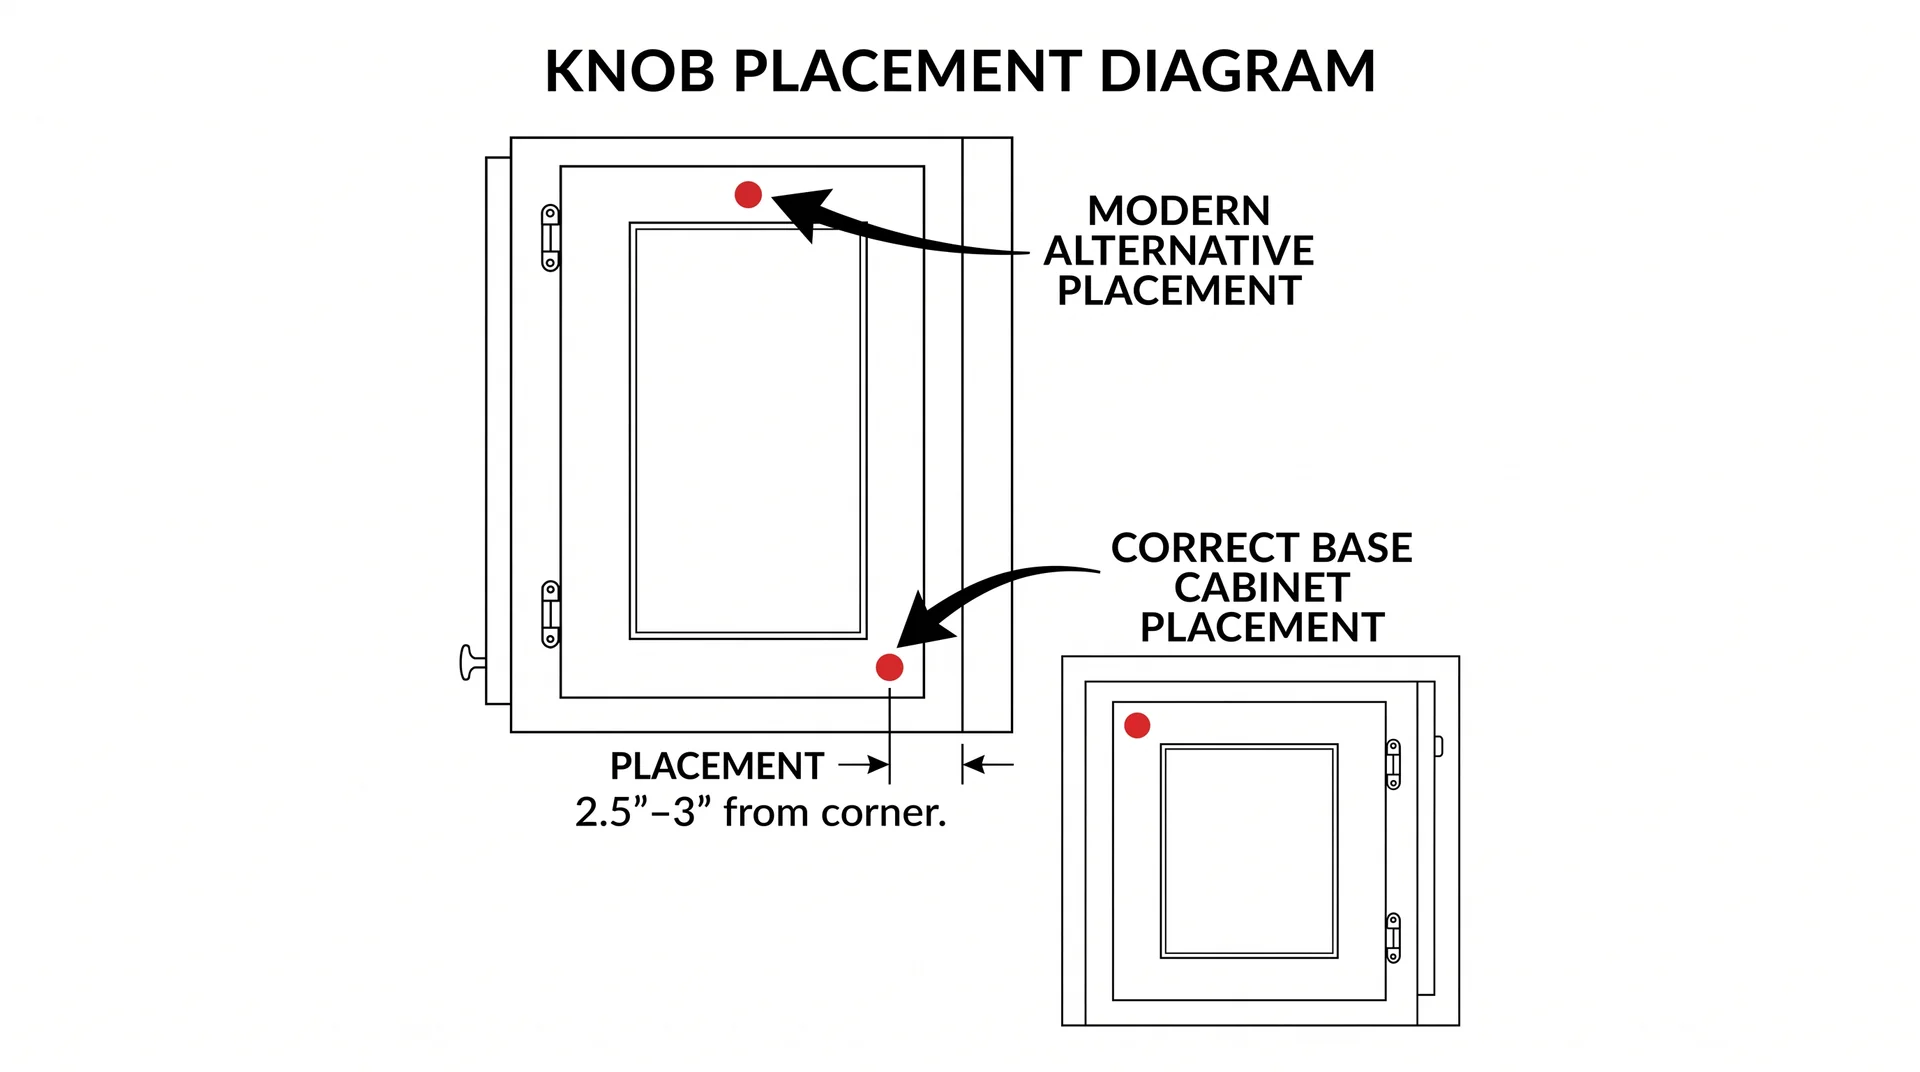
Standard placement puts a pull 2.5 to 3 inches from the corner of the door, on the side opposite the hinge. This keeps the pull at a natural grip height for opening in either direction.
For upper cabinet doors, the pull goes at the bottom corner opposite the hinge. For lower cabinet doors, it goes at the top corner.
On shaker cabinets specifically, you have a second option: center the pull horizontally on the top rail of the door. This reads as slightly more modern than corner placement and works particularly well with bar pulls.
Before you drill anything, tape the hardware to the door face in the position you’re considering. Live with it for a day. What looks right in isolation can look wrong once you step back and see all the cabinet doors at once.
When White-on-White Hardware Is the Right Answer
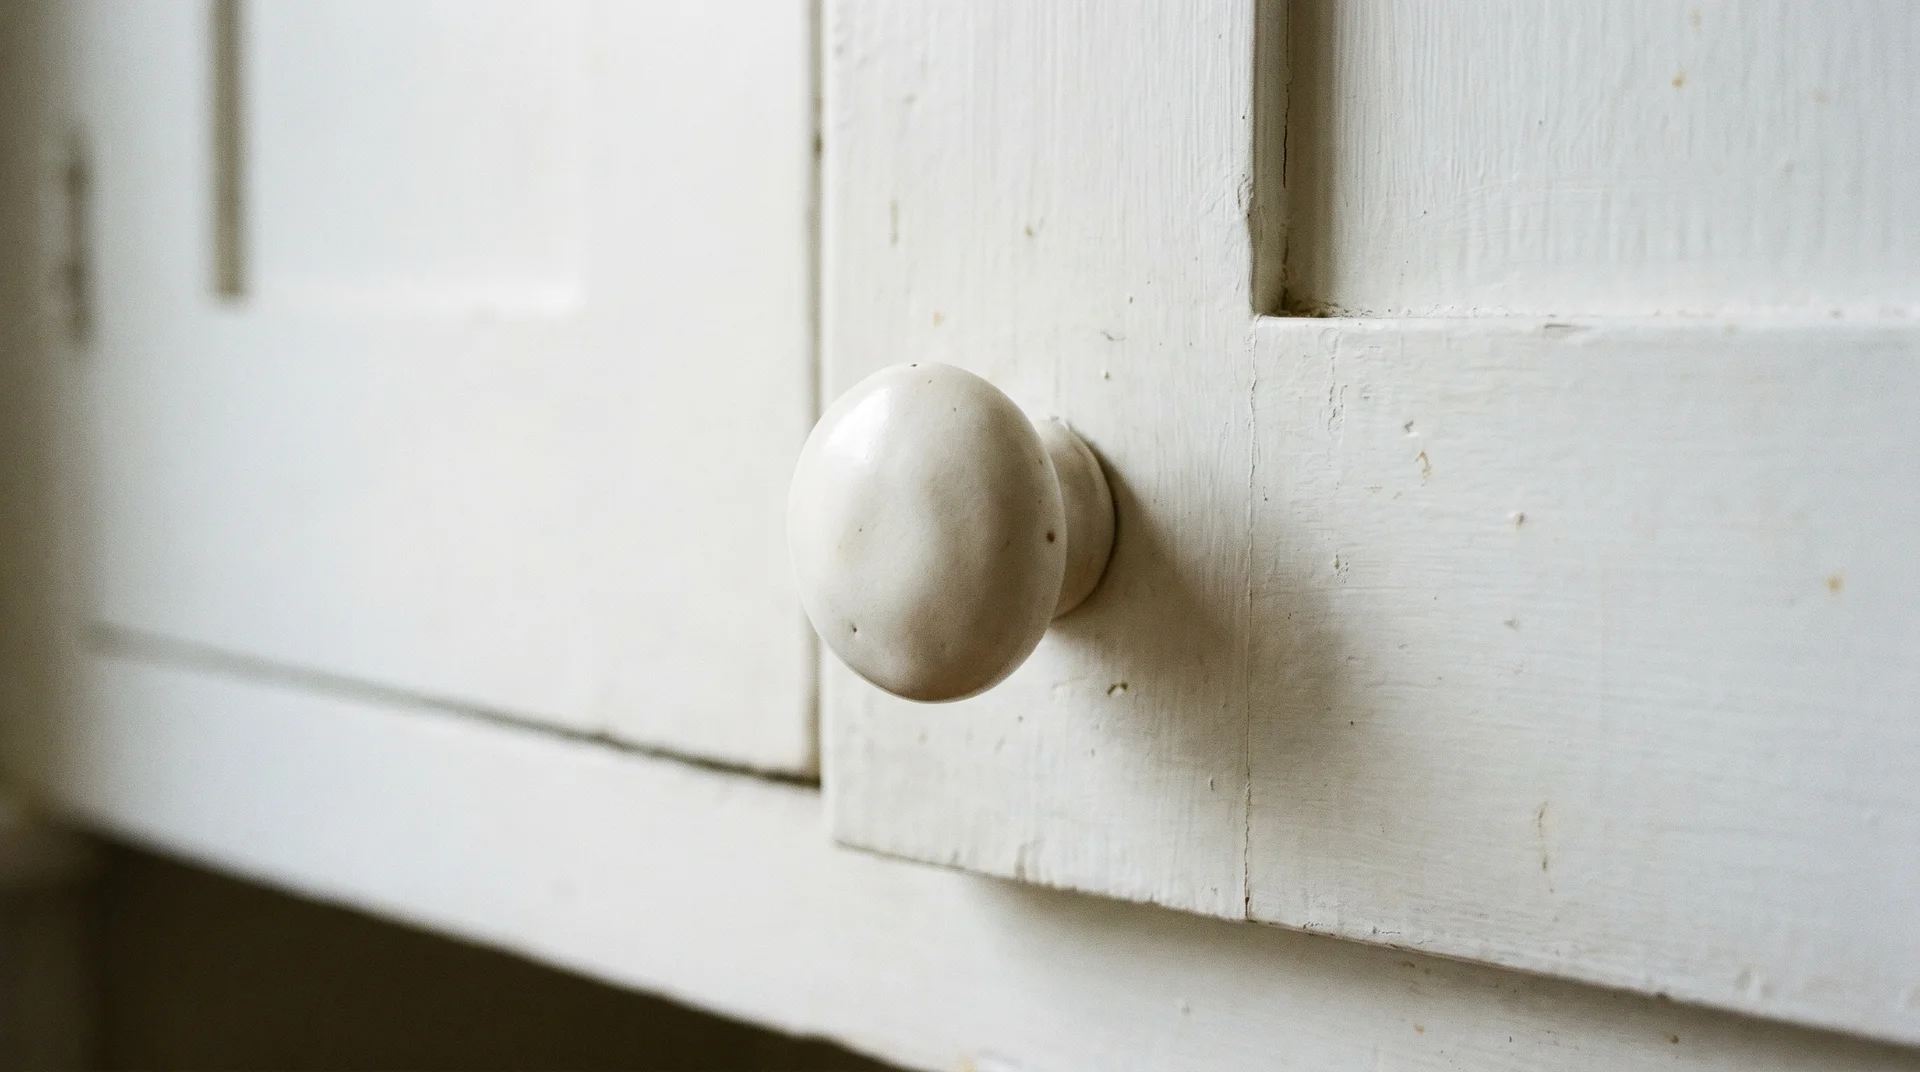
Not every white kitchen needs contrast hardware.
White or painted-to-match hardware makes the hardware visually disappear, which is occasionally exactly what the kitchen needs.
In a very small kitchen, or one where the visual priority is making the space feel larger and calmer, hardware that blends with the cabinet face can read as intentional.
Handleless upper cabinets with push-to-open mechanisms, integrated recessed pulls, or ceramic knobs painted to match are all legitimate choices.
Whether it works depends heavily on the undertone of your white and the amount of natural light in the room.
- In a north-facing kitchen with limited light, white-on-white can make the hardware hard to locate genuinely. That’s a function problem, not a style preference.
- In a bright, south-facing kitchen, the same approach can look genuinely calm and considered. I can’t give you a rule that holds across both situations.
Ceramic knobs are their own category. Production ceramic and handmade ceramic behave differently in weight, finish durability, and how they feel at the touch point.
I make my own pulls in a pottery class when I can get a slot, and the tactile difference between thrown ceramic and slip-cast ceramic is real and immediate. If you’re going the ceramic route, handle the pieces before you commit to a full kitchen’s worth.
Final Thought
The pull that catches your eye at the hardware store, the interesting hammered brass one or the sculptural ceramic knob, those are hero pieces.
One of them can anchor a white kitchen cleanly. All three at once, and the white cabinets become a backdrop for hardware noise instead of a room that holds together.
Start with the appliance pull. Build the final decision around it. Measure your existing center-to-center before you browse. Size the pulls to the drawer width.
Have something to say about your favourite idea in the comments section below? I will read them.
