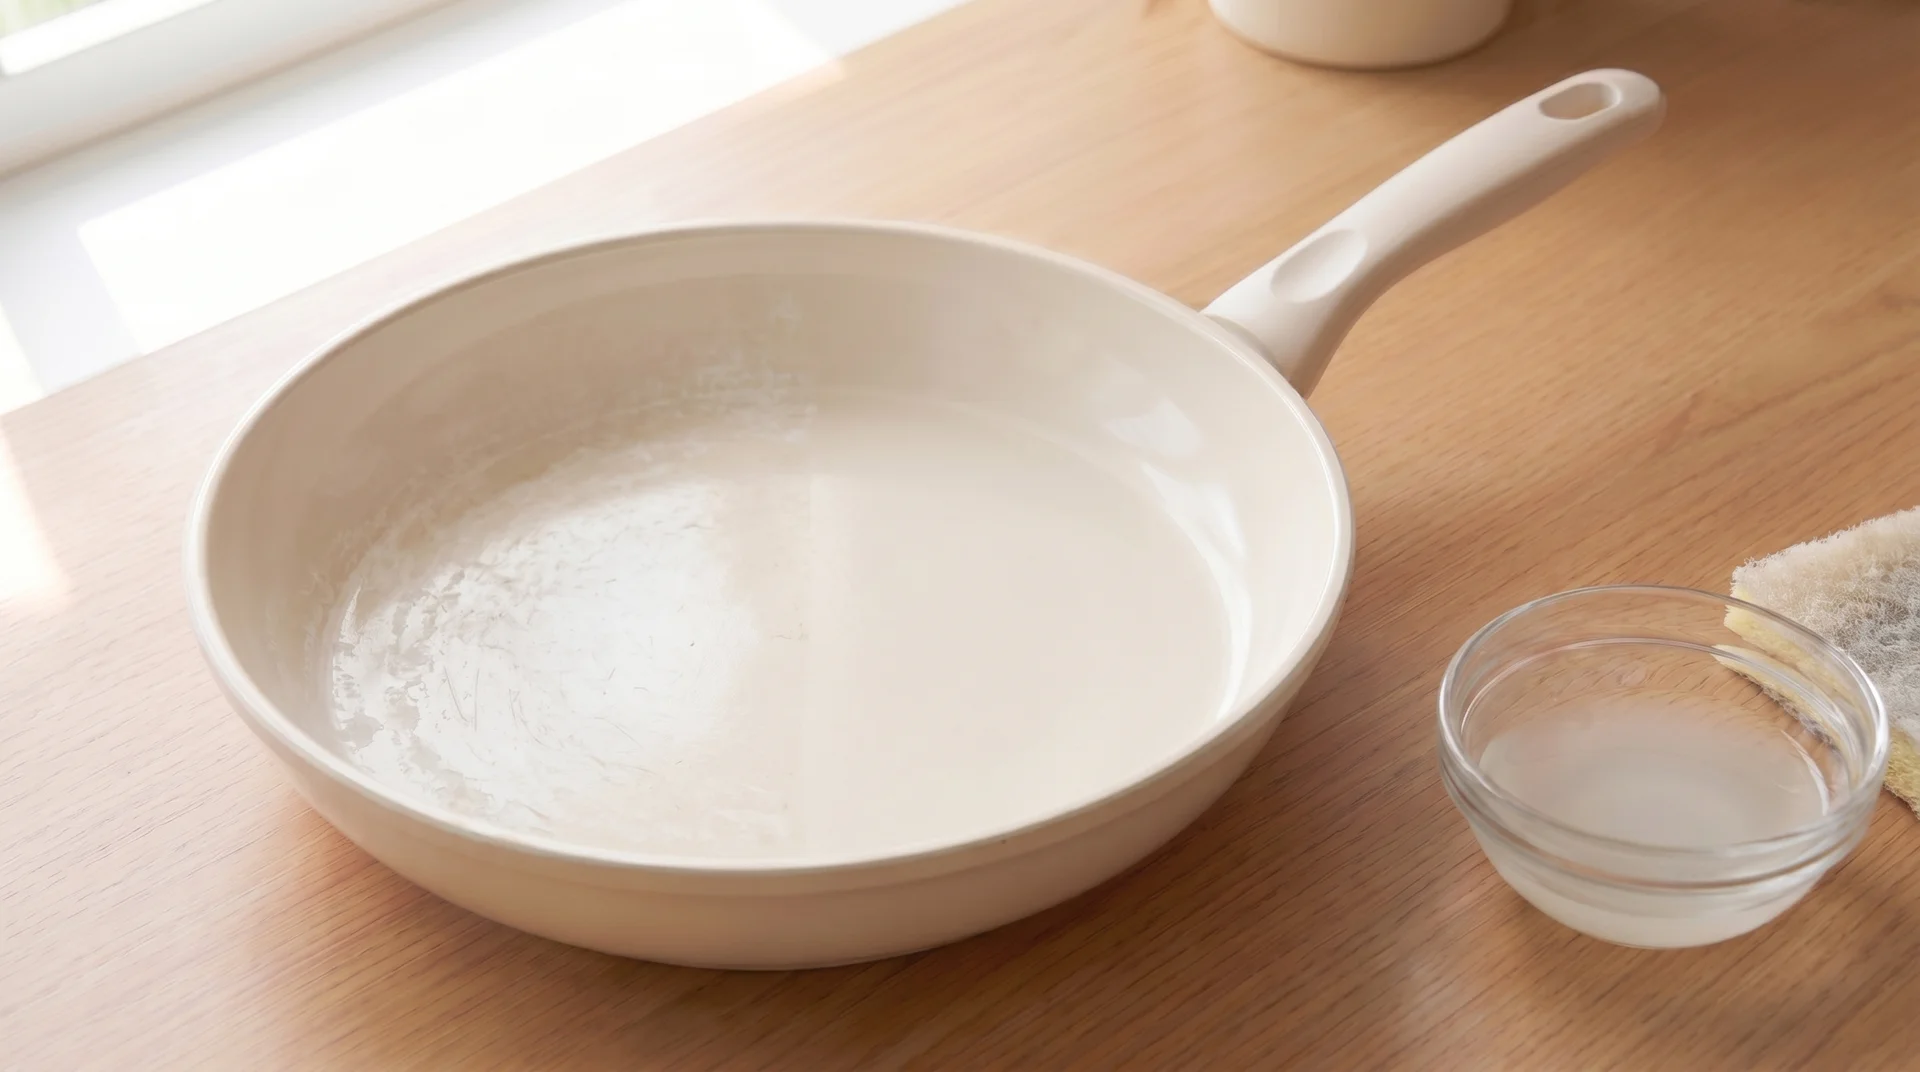
Warm water, pH-neutral dish soap, and a non-scratch sponge are the daily protocol for ceramic cookware. The pan needs to be fully cooled before it touches water.
Most people clean their ceramic pans regularly. The problem is method, not frequency.
Washing ceramics with the right sequence extends the coating’s working life. Washing it with thermal shock, a mildly abrasive sponge, or the wrong products accelerates its failure.
If the pan is already visibly scratched or flaking, cleaning won’t reverse that. That is a coating integrity question with different criteria than anything covered here.
The Mistake That Damages Ceramic Pans Most
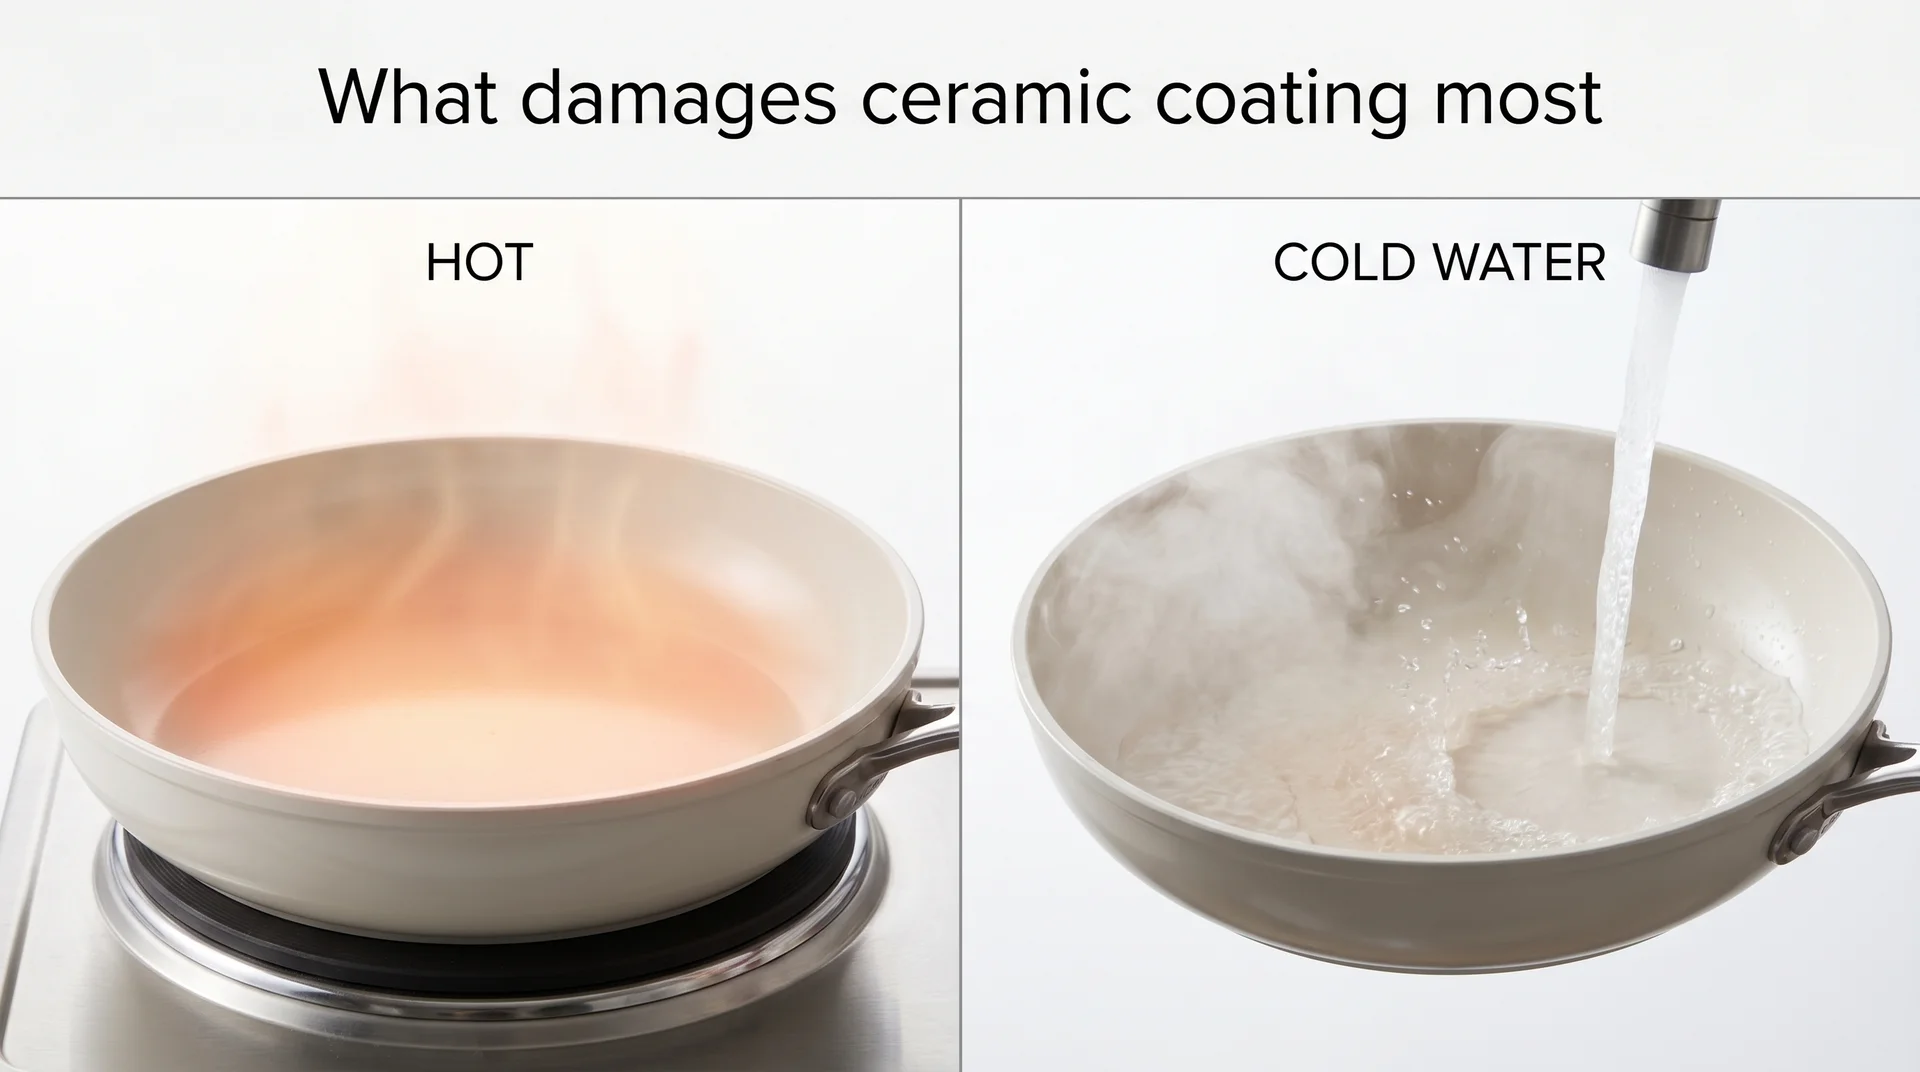
Thermal shock is the single most damaging event for a ceramic coating.
Sol-gel ceramic coatings, the mineral-derived surface layer on most ceramic pans, expand when they heat up. The aluminum base underneath expands with them. Rinse that surface with cold water while the pan is still hot.
The coating contracts faster than the metal can follow. That stress doesn’t fail the coating in one incident. Over 30 to 50 repetitions, the bond between coating and metal weakens from below.
Cool the pan completely before washing.
When the exterior is comfortable to hold with bare hands, it’s ready. The nonstick performance drop from thermal shock shows up months before any visible damage appears.
I’ve tracked this across enough pans to know the sequence reliably.
How to Clean Ceramic Cookware Every Day
Daily cleaning is where ceramic coatings are won or lost.
The steps are simple. The sequence is what determines whether a coating lasts two years or five.
Let It Cool First

The pan needs to reach room temperature before it comes near water. Press the back of your hand against the exterior. When it no longer feels warm, it’s ready to wash.
This isn’t about the water damaging the coating on contact. It’s about preventing thermal stress: what happens when a hot ceramic surface contracts faster than the metal beneath it can follow. A cooled pan accepts wash water without that stress.
What happens if you skip this: the stress accumulates invisibly. You won’t see it. You’ll feel it when the coating’s release starts to drop after months of regular use.
What “Gentle” Means for Dish Soap
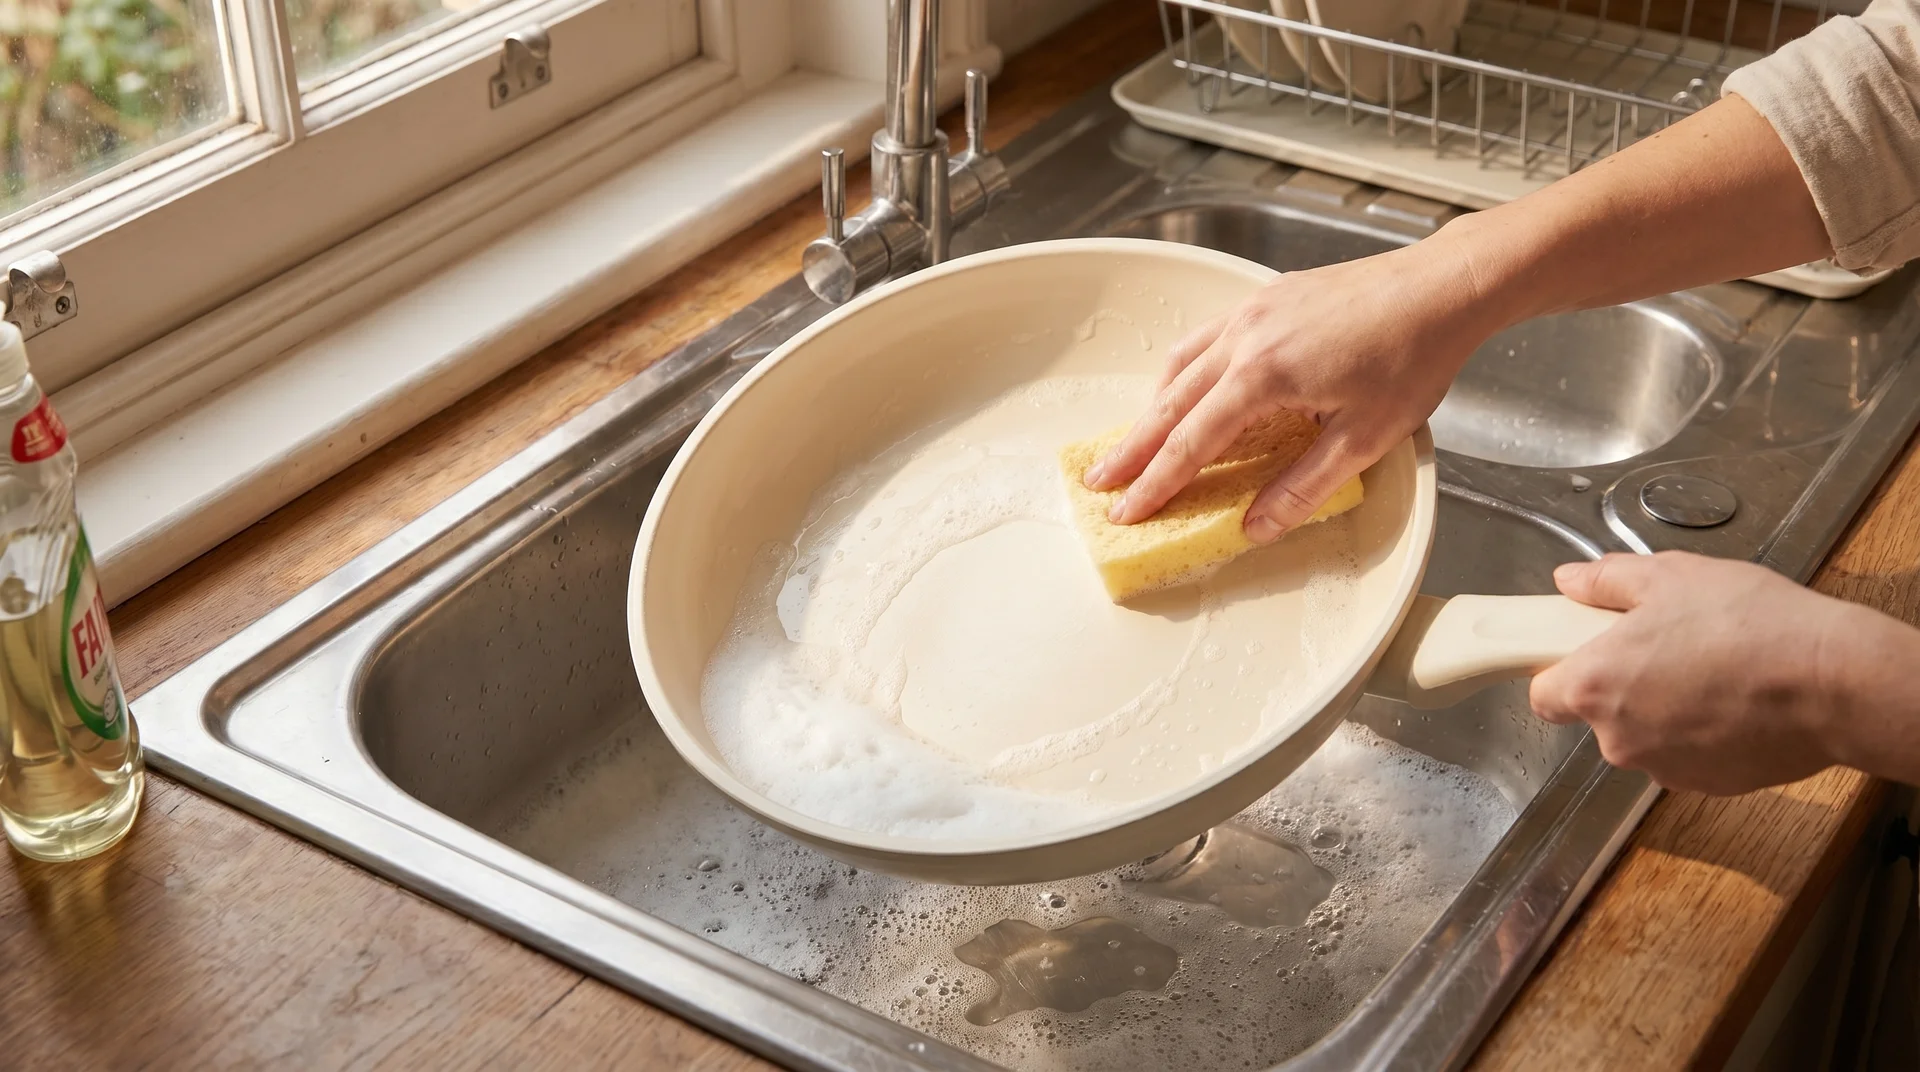
Standard pH-neutral dish soap is appropriate for ceramic cookware every time you wash it. Dawn’s original blue formula falls in this category. Most standard dish soaps do as well.
The formulas to avoid are heavy-duty degreasers and enzyme-based cleaners. Enzyme formulas break down fats at the molecular level.
They don’t discriminate between the residue on the cooking surface and the hydrophobic properties built into the coating beneath it.
The EPA Safer Choice label is a practical filter when choosing a dish soap for ceramic surfaces. The label on a product says it’s safe for non-stick surfaces. What the EPA Safer Choice registration data actually screens for is enzyme content and pH range.
It isn’t a compatibility guarantee, but it removes the formulas most likely to degrade the coating over time.
Drying and Storage
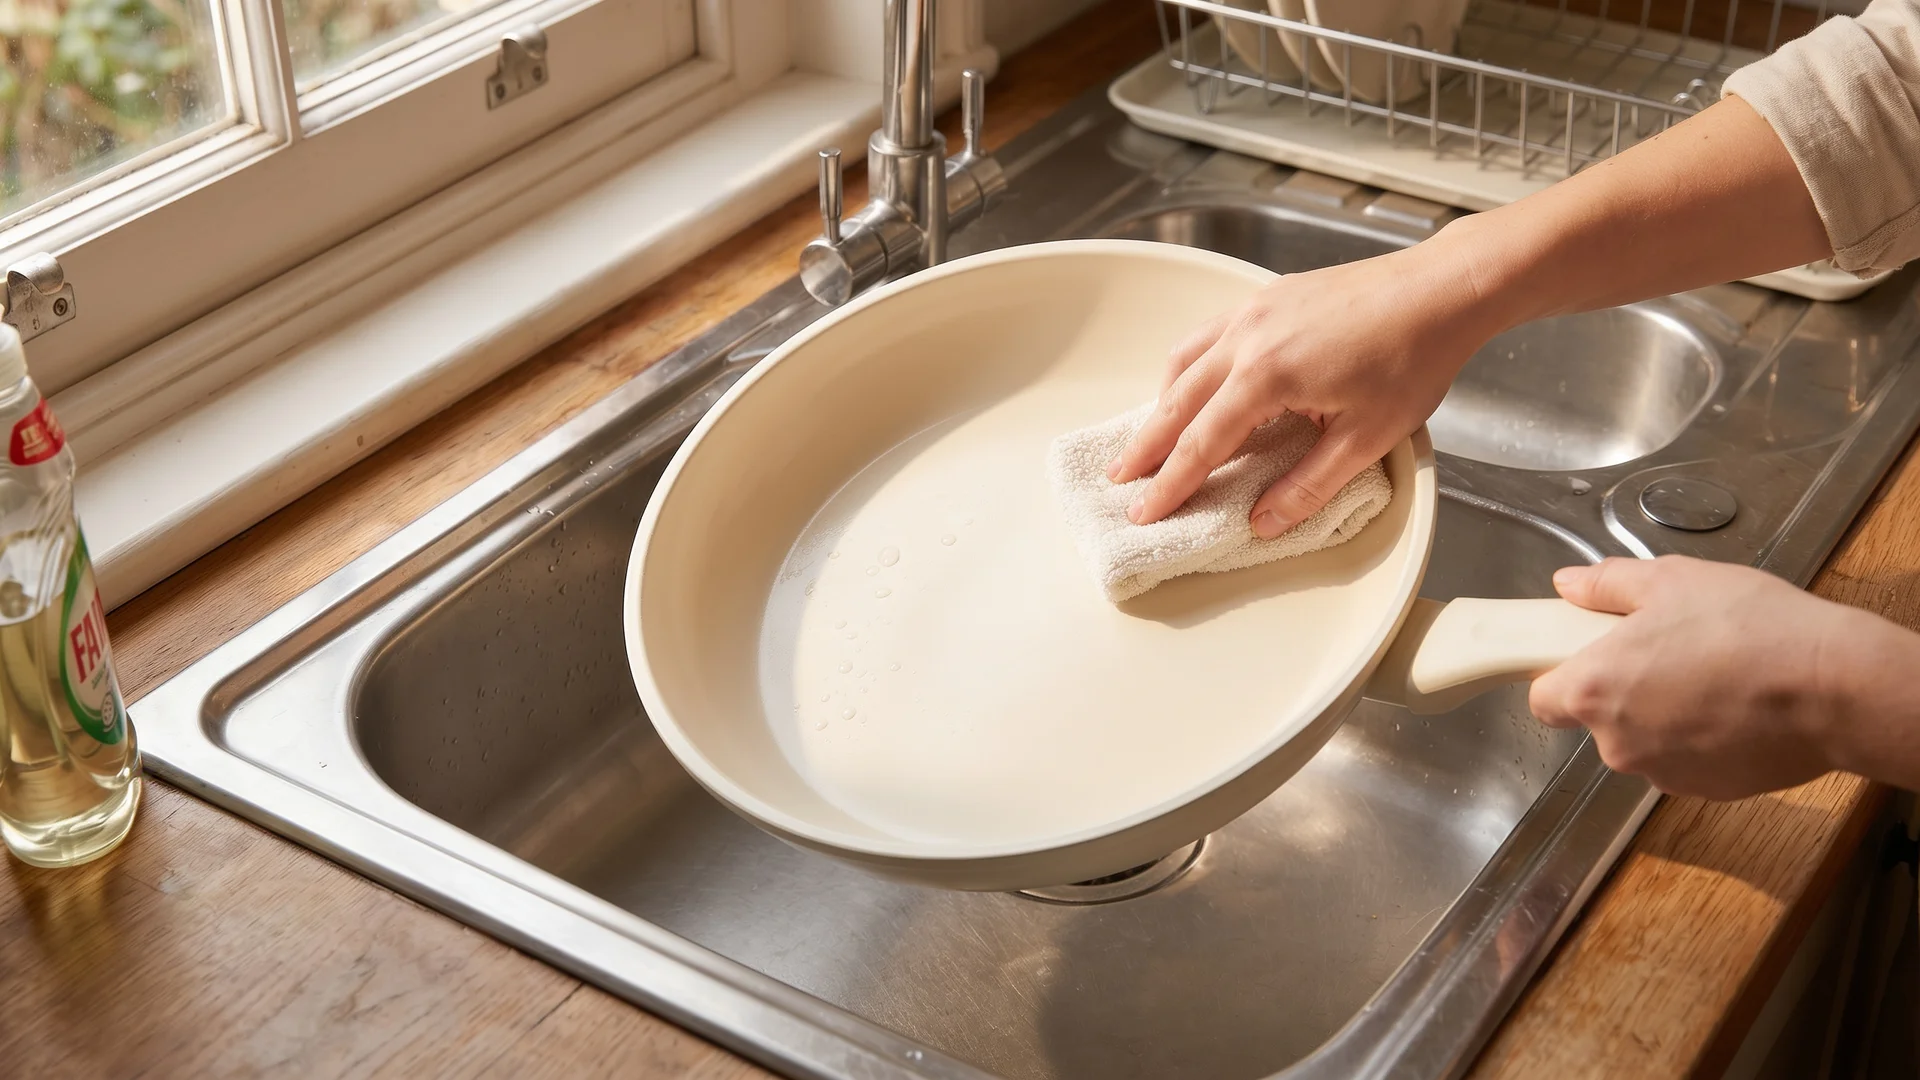
Hand-dry a ceramic pan before storage to prevent mineral deposit build-up on the cooking surface.
Air-drying leaves trace minerals from tap water on the surface as the water evaporates.
In my experience, a 10-second hand-dry removes a variable that compounds significantly over hundreds of wash cycles.
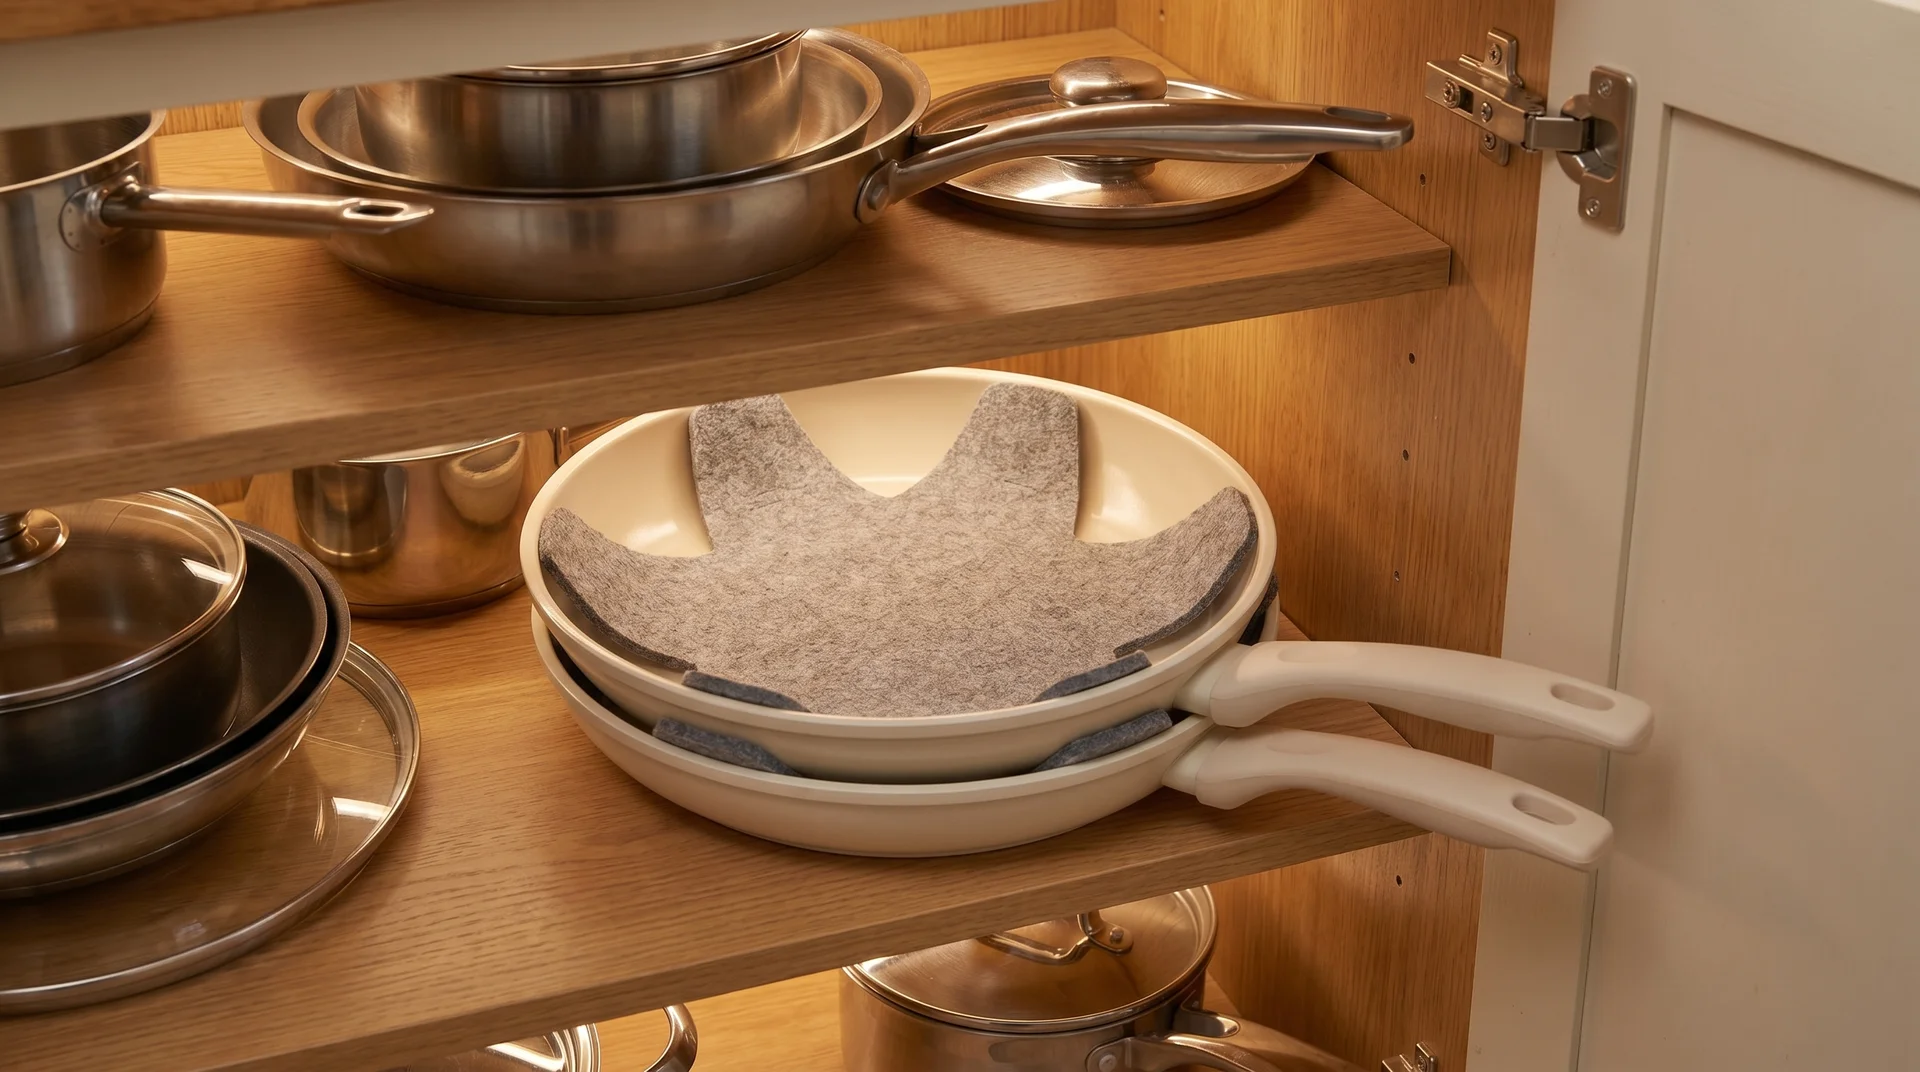
Stack ceramic pans only with a cloth or pan protector between them. The rim of one pan resting against the interior coating of another causes micro-abrasion.
That damage accumulates the same way as regular use of a rough-side sponge.
How to Clean Stuck-On Food From a Ceramic Pan
Stuck food on ceramic responds to two methods, applied in the right order.
Use the simmer method first. If residue remains, baking soda alone is the follow-up tool.
The Simmer Method
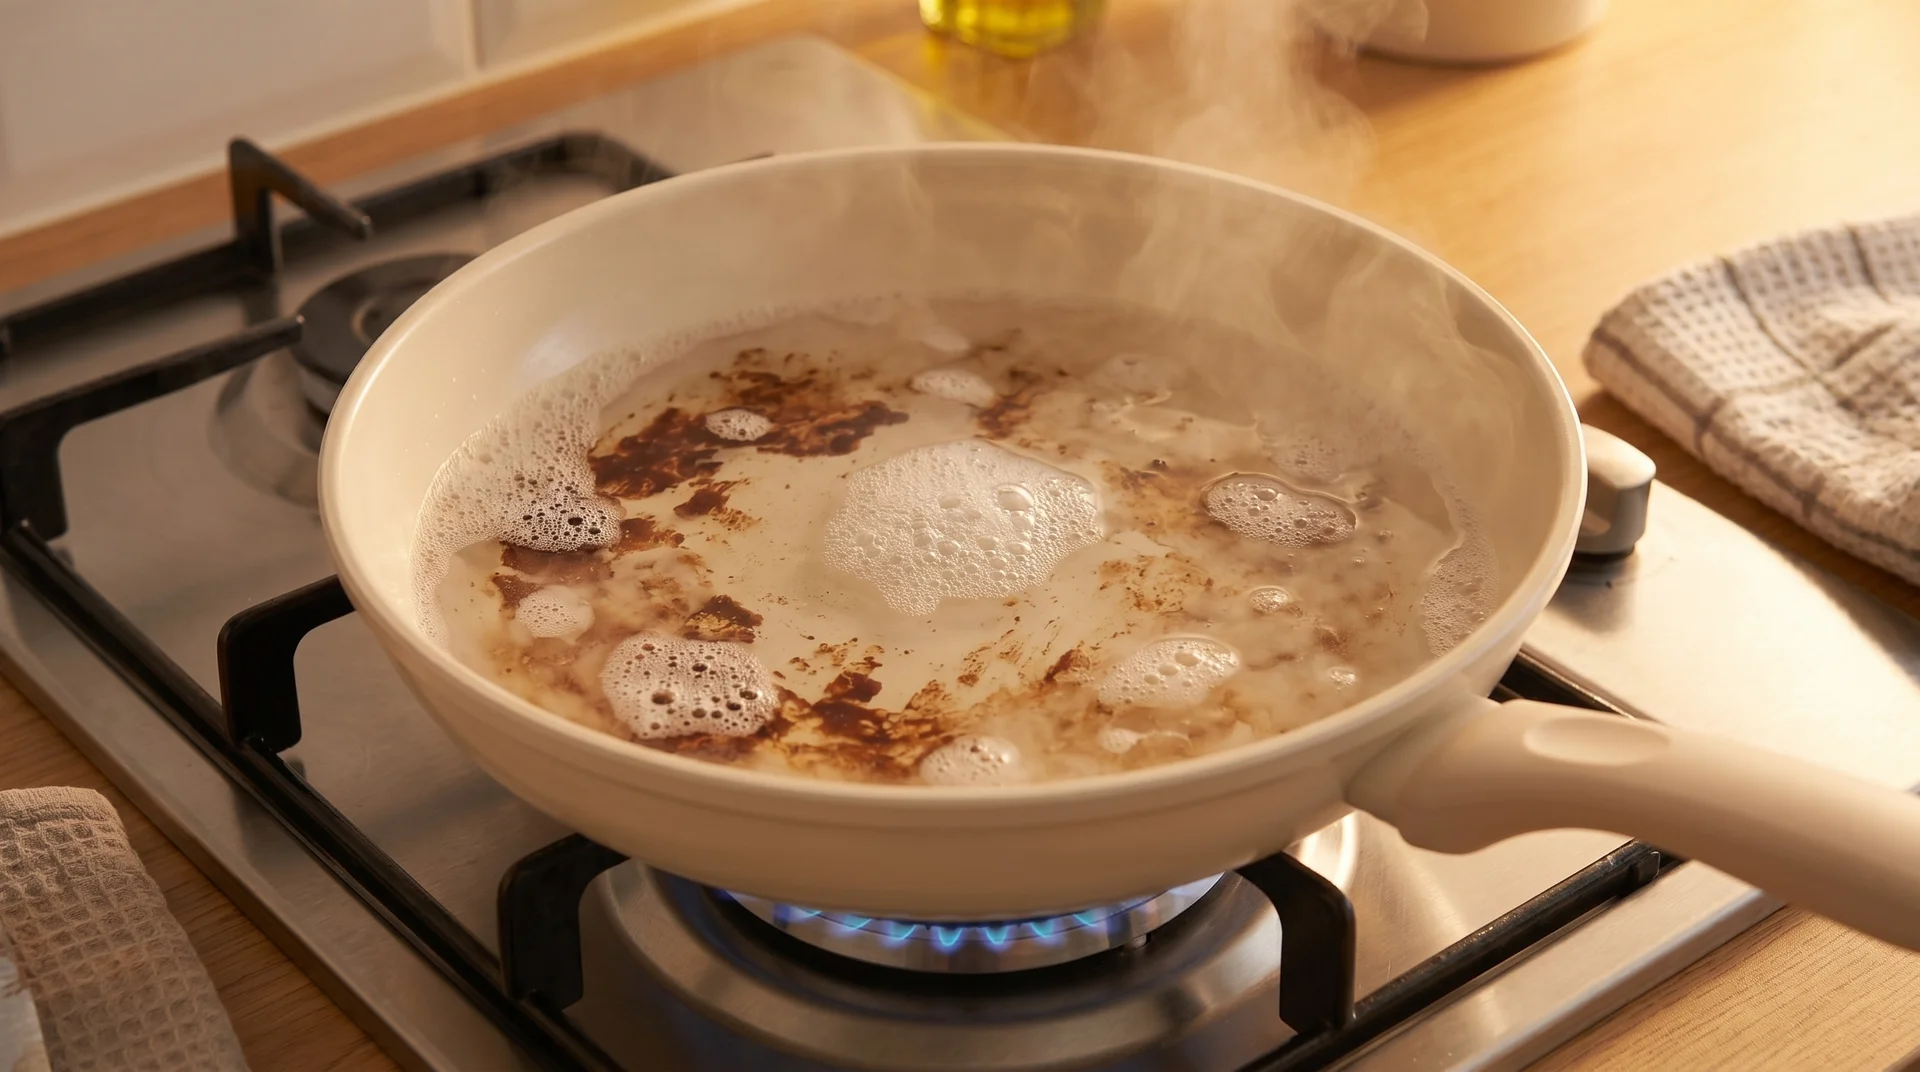
Warm water, one drop of dish soap, and five minutes on medium-low heat loosen stuck food from the ceramic reliably. Fill the pan with enough warm water to cover the residue. Place it on medium-low heat.
Contact time matters more than heat level. Five minutes at gentle heat rehydrates carbonized food residue.
Below four minutes, the food typically hasn’t softened enough to release without mechanical force.

After simmering, use a silicone or wooden spatula to loosen the residue. The flat edge of a wooden spatula applies controlled pressure on stubborn spots. Metal utensils are not appropriate here.
Scrubbing before the contact time is complete is the most common mistake in this method.
Residue that hasn’t softened is harder than the sol-gel coating beneath it. Mechanical force at that point removes the coating rather than the food.
Give it the full five minutes.
Baking Soda, Used Alone
Baking soda works on ceramic. The baking soda and vinegar paste that every brand recommends does not work the way it’s described.
Baking soda is a base, with a pH of 9. White vinegar is an acid, with a pH of 2.5. Combine them, and they neutralize each other on contact.
The reaction produces water, carbon dioxide, and a weak salt. That’s the fizzing you see. By the time the paste touches the pan, neither ingredient is acting as a cleaning agent.
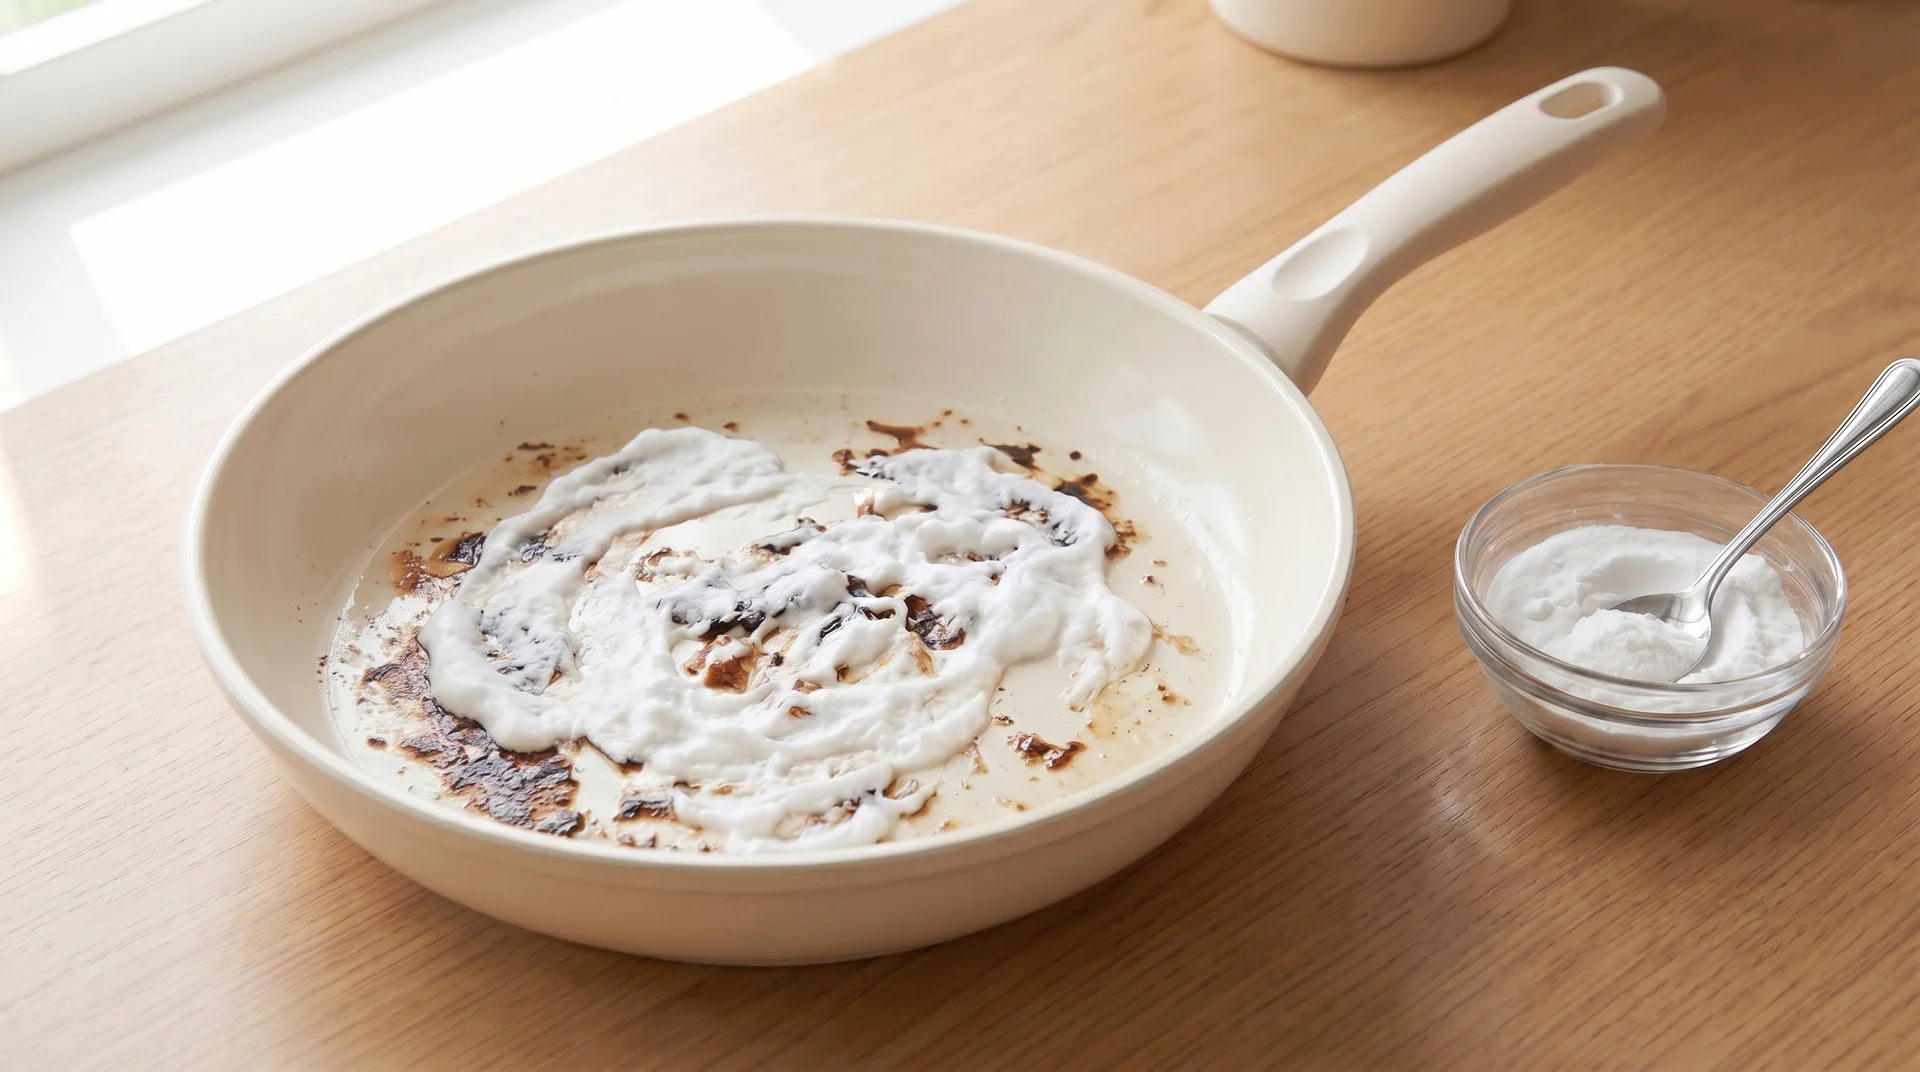
Baking soda used alone is the correct tool for stuck residue and staining on ceramic.
Mix it with enough water to form a thick paste. Apply it to the residue. Leave it for 15 to 20 minutes.
The alkaline pH softens fatty residue. The abrasive particles do the mechanical work. I confirmed this by checking the chemistry directly, because the combined paste kept falling short of what the method was supposed to do.
The same chemistry explains why the combination underperforms in oven cleaning, too.
We cover the full breakdown in our non-toxic oven cleaner guide.
Contact time is the variable most protocols skip specifying.
Both baking soda and white vinegar are useful on ceramic. Each handles a different type of problem.
- Baking soda paste (water only, no vinegar): carbonized food and fatty residue. Apply, leave 15 to 20 minutes, then rinse or follow with the simmer method.
- White vinegar diluted 1:1 with water handles hard water mineral deposits and limescale, a different problem that baking soda doesn’t address. Leave two to three minutes, then rinse.
Using them together neutralizes both. Pick the one that matches the problem in front of you.
Stubborn Stains and Polymerized Oil
Not all residue on a ceramic pan is the same material.
Identifying what you’re dealing with determines which method to use. The method that works on a food stain won’t touch polymerized oil, and scrubbing before you know which you have wastes time and risks the coating.
Stain or Polymerized Oil?
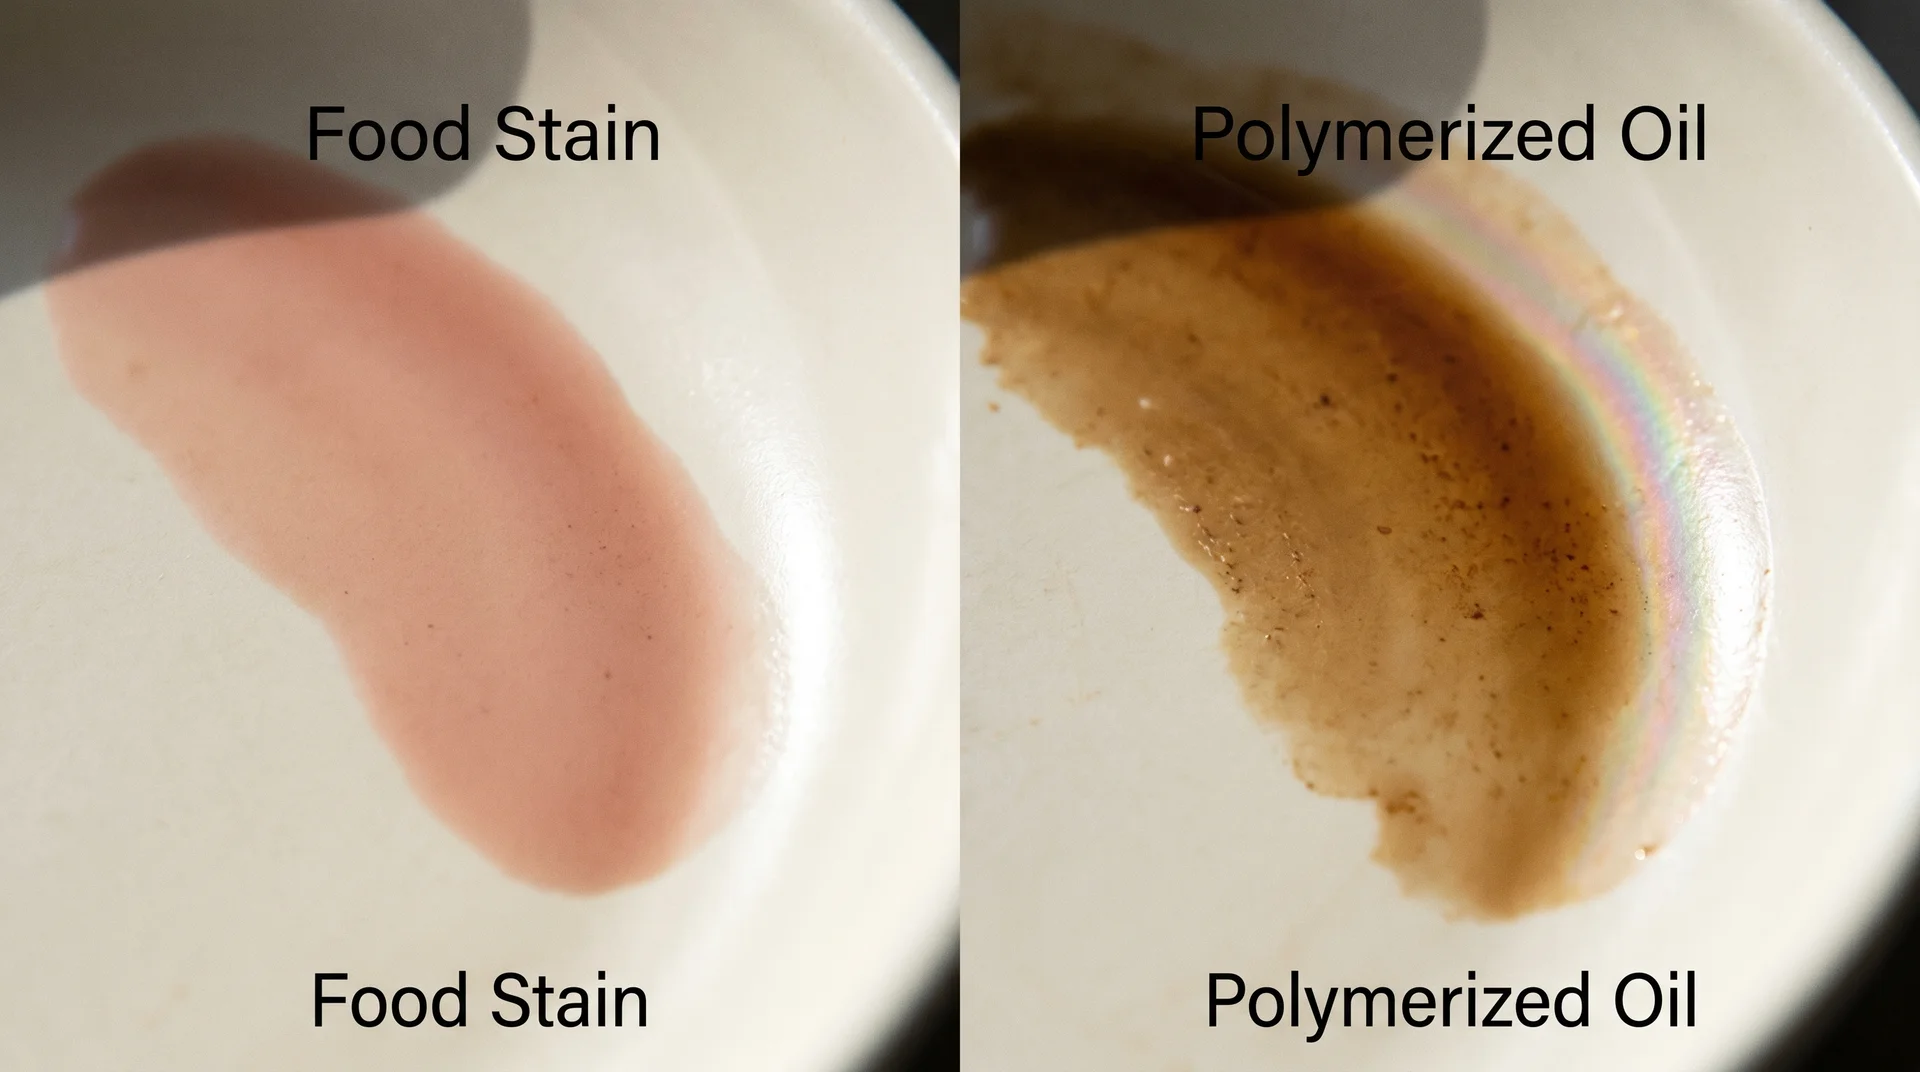
These two residue types look similar and require different treatments.
A stain from food pigment, tomato, turmeric, or dark sauce, is surface-level discoloration. Run your finger across the area on a cooled, dry pan. If the surface feels smooth and even, it’s a stain.
Polymerized oil is a different type of residue entirely. It forms when cooking oil passes its smoke point and the fatty acids bond chemically to the sol-gel surface. That is not the same thing as a stain.
Identifying which one you have takes about ten seconds.
Polymerized oil usually appears brown, sometimes with a faint rainbow sheen at the edges. It feels slightly tacky to the touch on a dry, clean pan. If the texture feels identical to the surrounding coating, you’re dealing with a stain.
Removing Polymerized Oil
Baking soda paste applied for 20 to 30 minutes, followed by the simmer method, is the correct sequence for polymerized oil. Do not reverse it.
Polymerized oil is a carbon layer bonded chemically to the surface. The simmer method alone won’t break that bond. Baking soda paste at an extended contact time softens it first. That makes the simmer method effective.
Apply the paste and leave it for 20 to 30 minutes. Then run the simmer method. Running the simmer method first without the paste is the most common mistake in the order.
For heavy build-up, two shorter rounds outperform one longer application.
I’ve found ceramic responds better to two 20-minute applications than one extended soak. The second round reaches what the first softened but didn’t release.
Ceramic is harder to show clearly at this stage than most surfaces. The before and after look nearly identical to a camera. The tactile difference is what actually matters, which is part of why I’ve had trouble photographing it for the surface guide I have in progress.
How many rounds you’ll need depends on the pan, the oil type, and how often it was overheated.
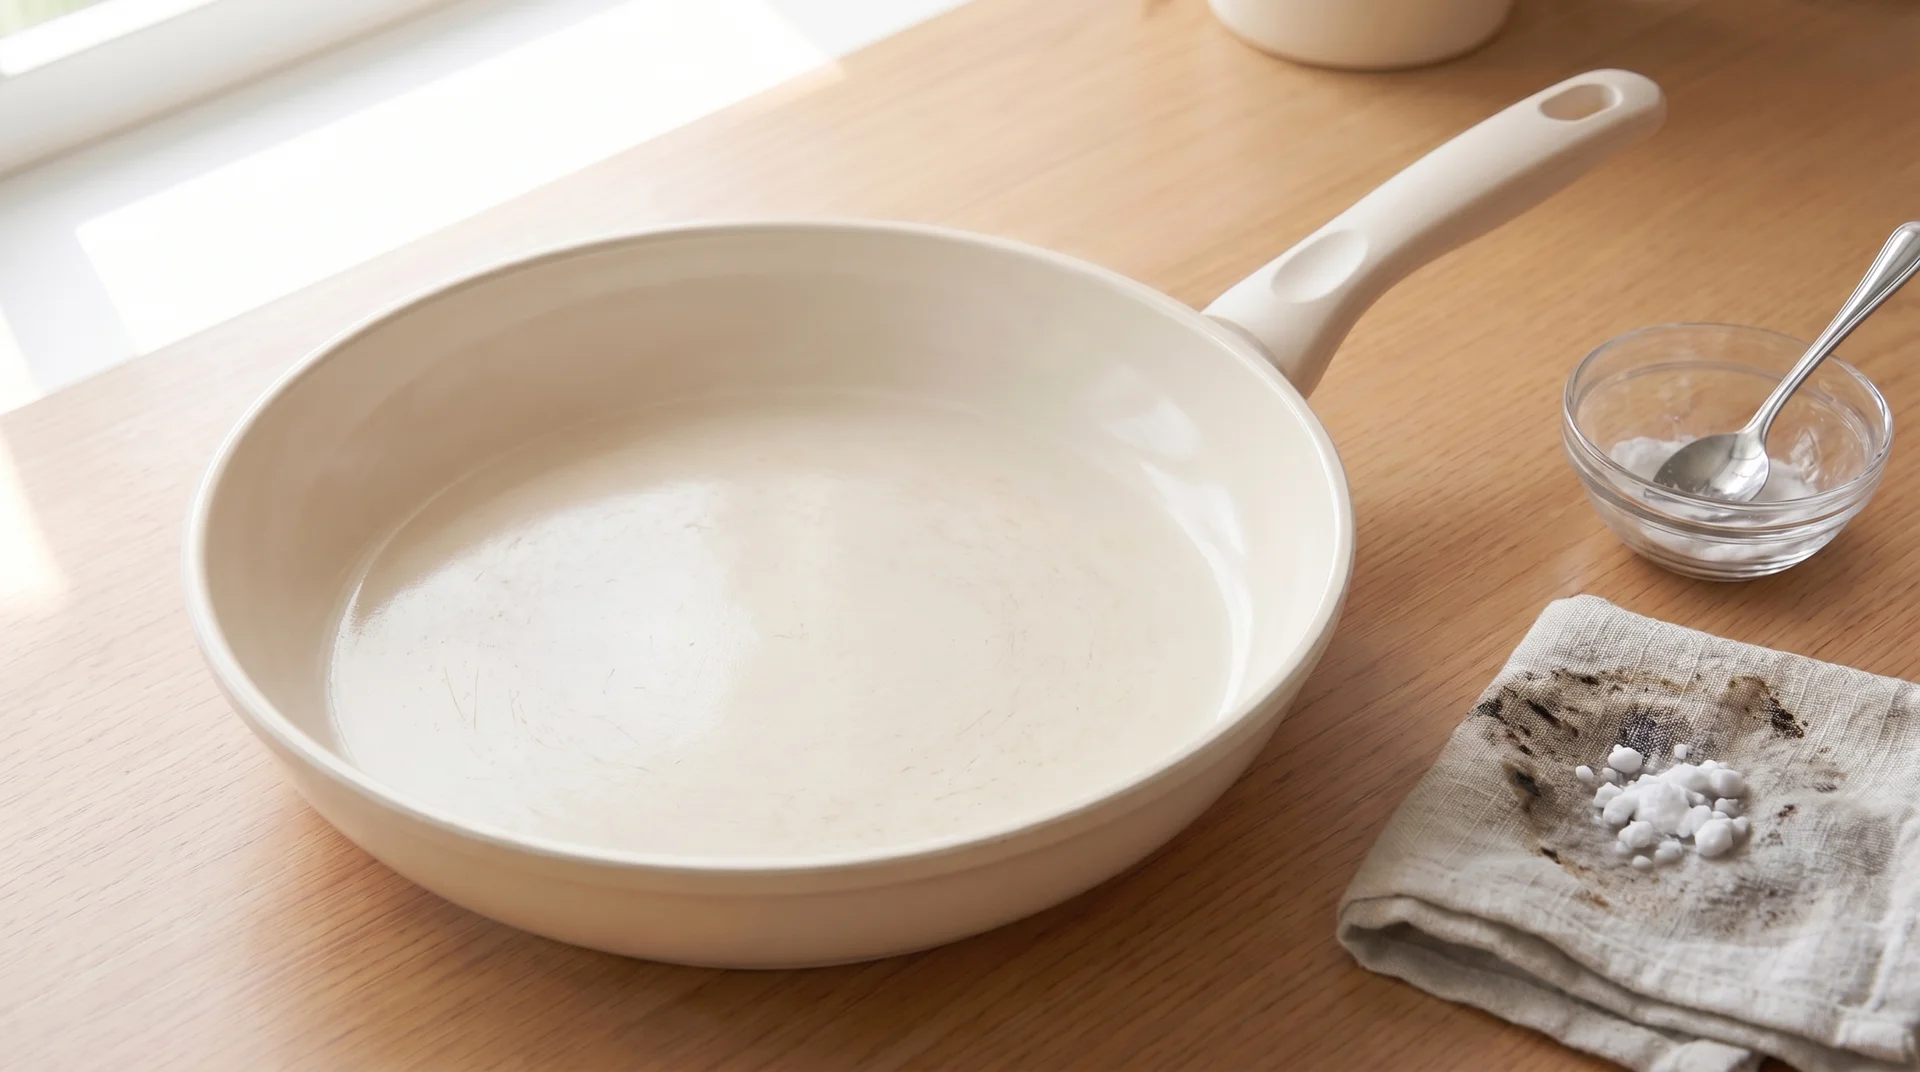
Deep Discoloration That Won’t Come Off
If discoloration survives two rounds of the baking soda method, the coating is most likely physically degraded, not surface-stained.
Cleaning won’t resolve that. The surface that the cleaning would restore no longer exists structurally. That is a coating integrity question, and it requires different criteria than anything a cleaning method can address.
How to Clean the Outside of a Ceramic Pan
The exterior of a ceramic pan is a different surface from the interior cooking coating.
Most ceramic-coated pans have an exterior of anodized aluminum, a hardened aluminum surface, stainless steel, or a painted enameled finish. None of these is the sol-gel surface. The restrictions protecting the interior don’t all apply here.
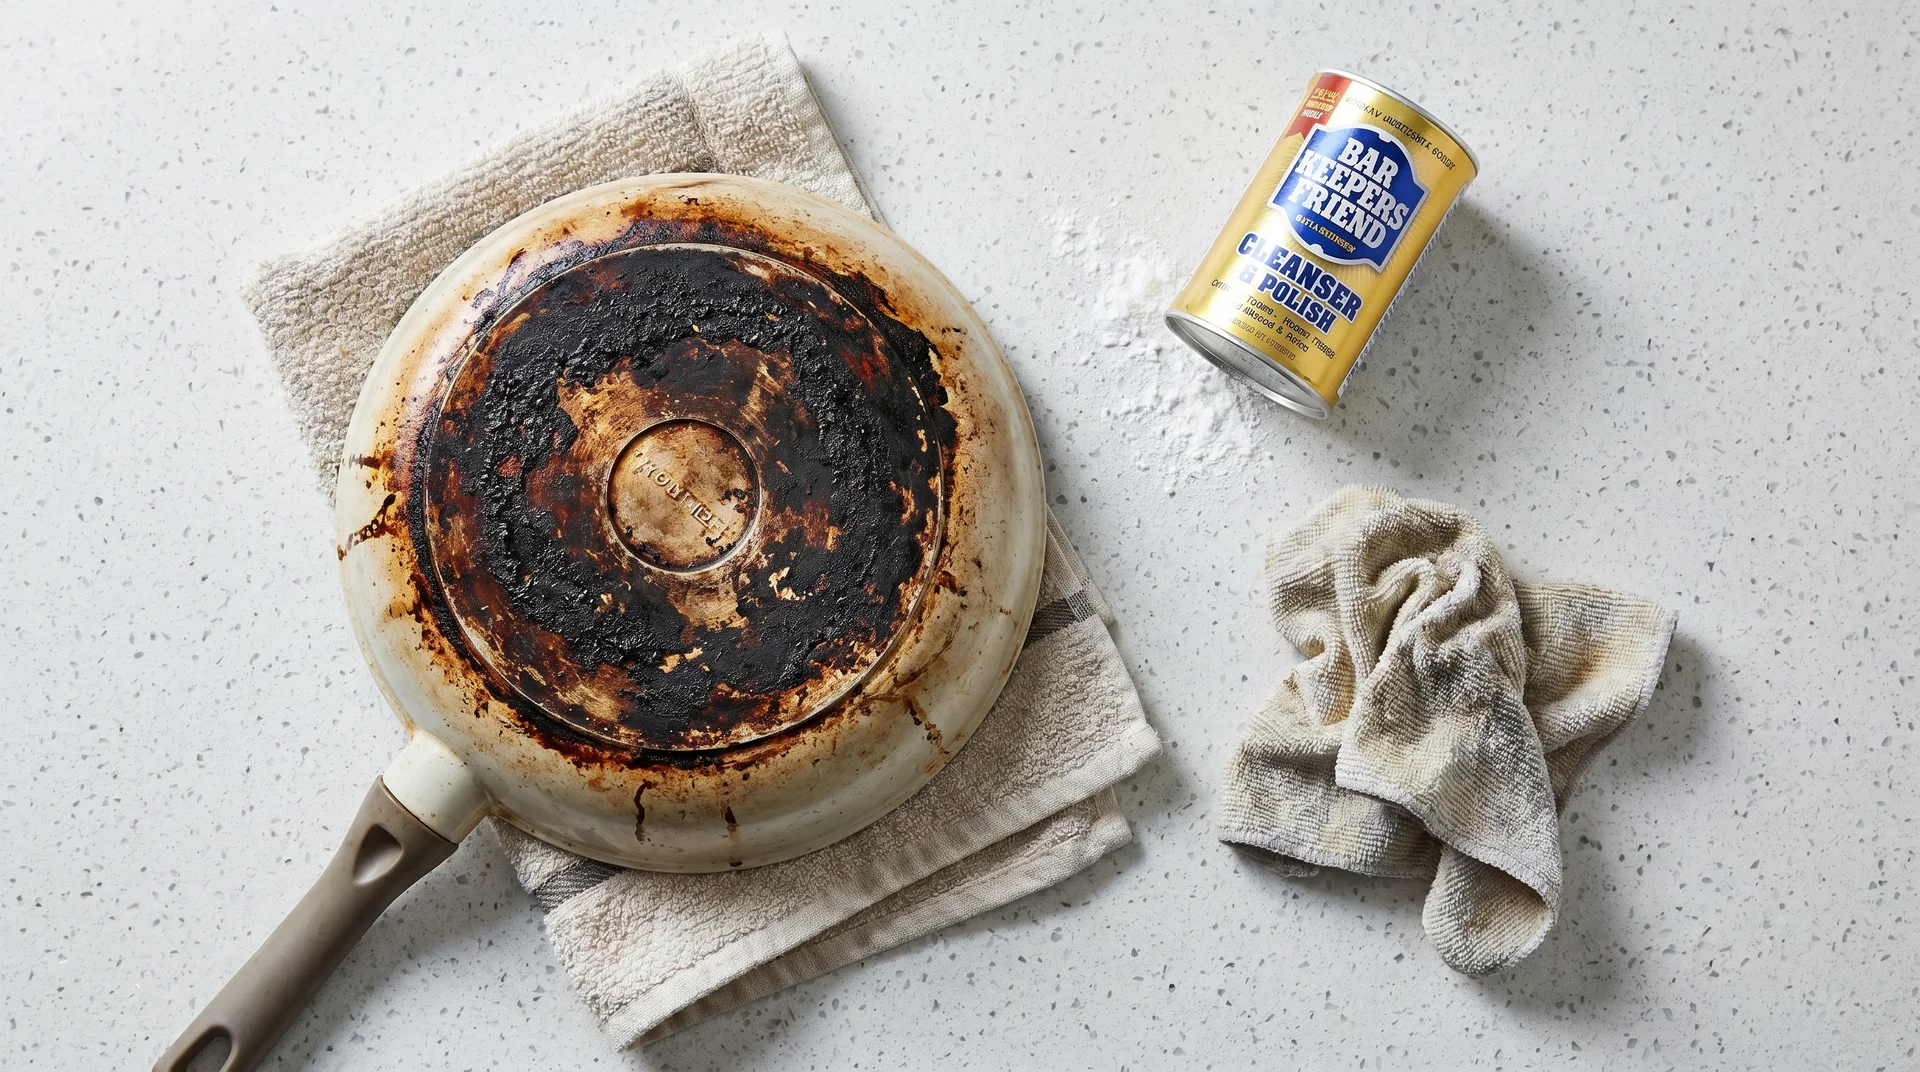
Carbonized grease on the exterior base affects heat distribution over time. It builds up faster than most people notice. These steps address the exterior without touching the interior coating.
- Apply Bar Keepers Friend to the base and exterior sides. It is appropriate for stainless steel and anodized aluminum exteriors.
- Leave for two to three minutes.
- Scrub with a non-scratch pad used only for exterior work. Never use this pad on the interior cooking surface.
- Rinse the exterior thoroughly before cooking. Bar Keepers Friend contains oxalic acid and should not contact the interior surface or food.
The same product would damage the sol-gel interior coating. Keep separate tools for exterior and interior work. Cross-contamination is the one risk worth naming explicitly here.
The seam where the exterior meets the interior at the rim accumulates residue that a flat sponge can’t reach. This is the spot most people skip. It’s also where the worst build-up tends to hide.
A soft-bristled brush and warm, soapy water handle it cleanly. Address it before the residue carbonizes and becomes harder to remove.
What Not to Use on Ceramic Cookware
A short list of products damages ceramic coating faster than anything else.
Some carry “safe for non-stick” on the packaging. The EPA registration data for certain formulas tells a different story about sol-gel ceramic specifically. Enzyme content and abrasive rating matter more than the non-stick claim on the label.
| Tool or Product | Why Avoid It | What to Use Instead |
|---|---|---|
| Dishwasher | Thermal cycling and enzyme-heavy detergents degrade the sol-gel surface over time | Hand-wash with warm water and pH-neutral dish soap |
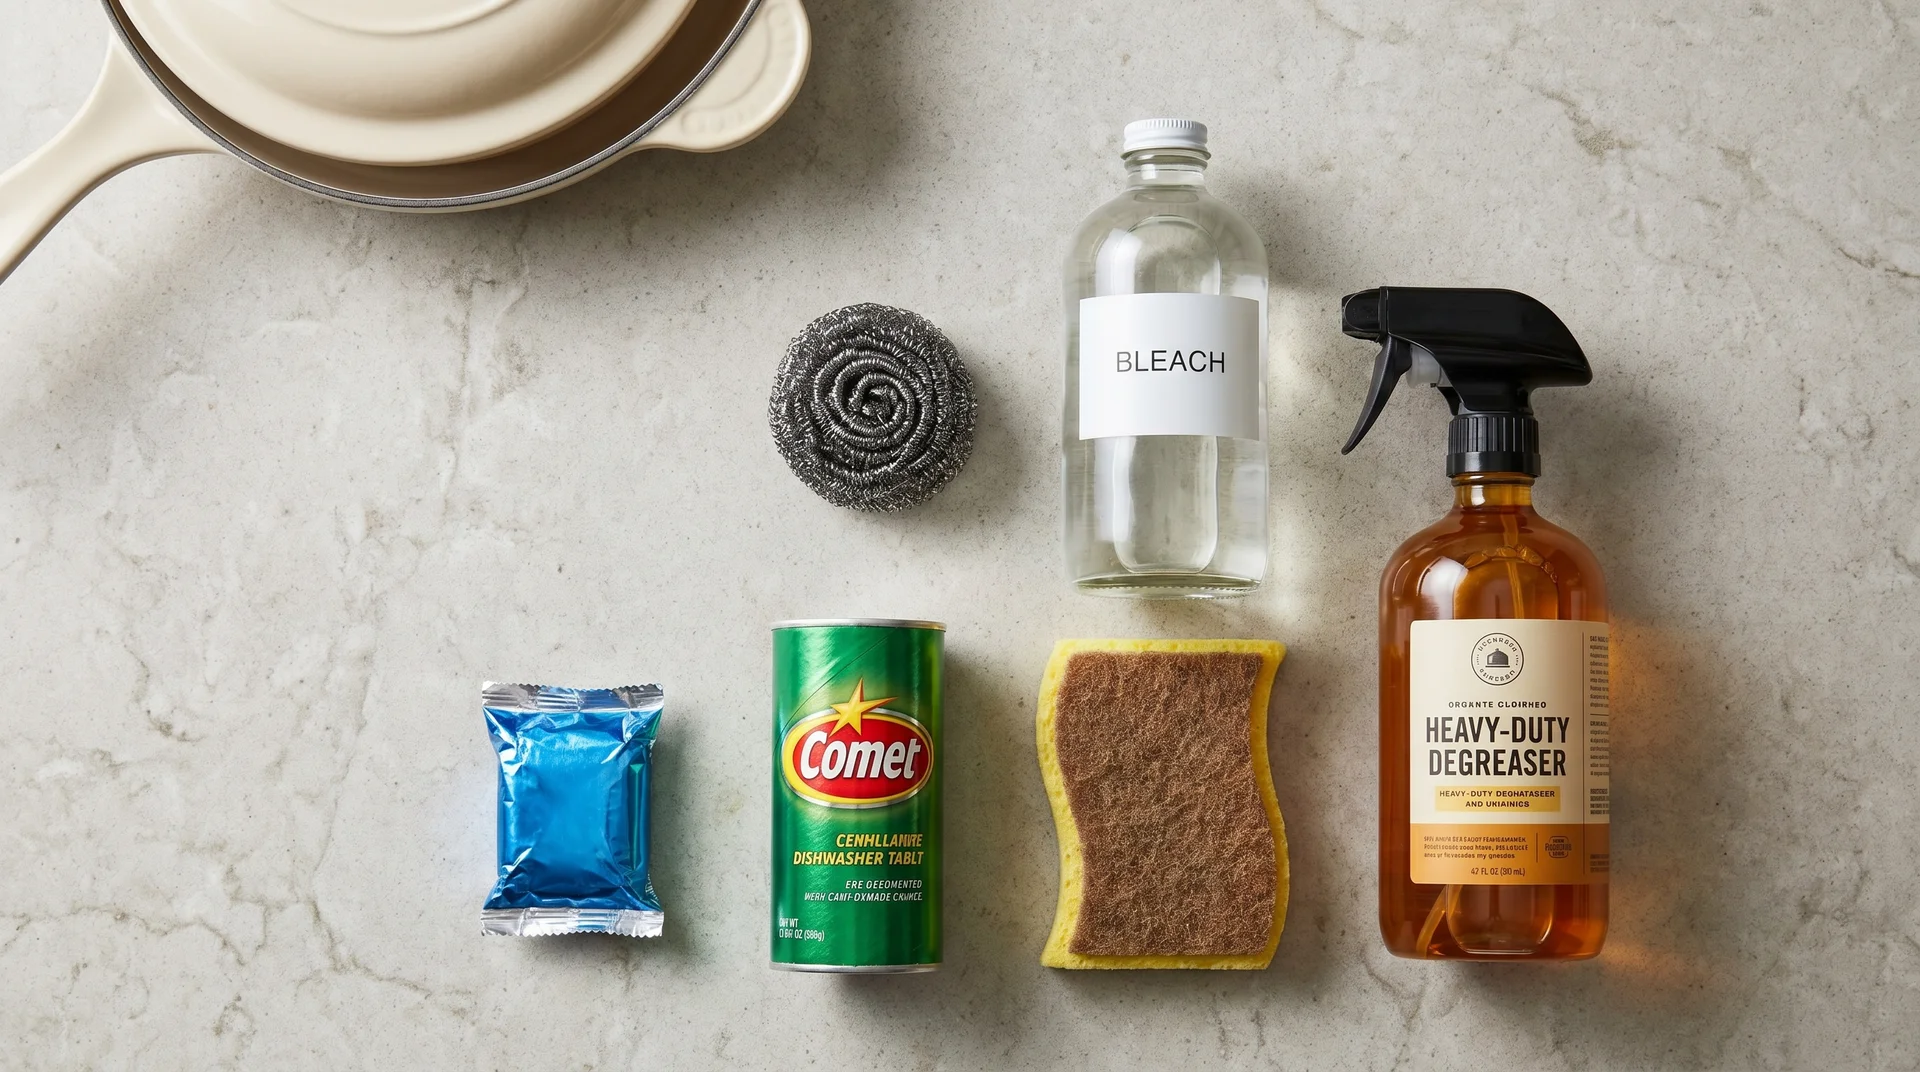
| Steel wool or metal scourers | Physical abrasion removes the coating layer directly | Non-scratch sponge or microfibre cloth only |
| Bleach | Degrades the coating’s hydrophobic properties with repeated use | pH-neutral dish soap handles food residue without that cost |
| Heavy-duty degreasers and enzyme cleaners | Enzyme activity degrades the coating’s surface chemistry with each application | pH-neutral dish soap |
| Abrasive powders (Comet, Ajax) | Scratches the sol-gel layer and accelerates wear | Baking soda paste, no vinegar added, for tough spots |
| Rough-side or “lightly abrasive” sponges | “Lightly abrasive” on the packaging is still abrasive on the sol-gel ceramic | Soft sponge or microfibre cloth |
My father and I argue about the bleach entry at Sunday dinner. He spent thirty years as a commercial kitchen inspector. He defaults to bleach on most food-contact surfaces.
He is not entirely wrong about a lot of surfaces. He is also not entirely right about this one.
Bleach and ceramic coating address different problems.
A cooking surface used at cooking temperatures doesn’t need the type of disinfection bleach provides.
Repeated bleach contact degrades the coating’s hydrophobic properties. Dish soap handles food residue without that cost.
The rough-side sponge entry deserves a separate note.
Tools marketed as “lightly abrasive” or “safe for non-stick” tend to look fine on ceramic for the first 20 or so uses.
I’ve tested several that showed cumulative surface effects on the sol-gel coating before the 30-use mark. The damage shows up as stickiness that the user attributes to cooking rather than to cleaning.
Why Food Is Sticking to Your Ceramic Pan
Stickiness in a ceramic pan is almost never about what you cooked most recently.
It’s about what has happened to the coating over the previous 12 to 18 months of cleaning.
The Cleaning Habits That Cause Stickiness
Three cleaning habits accelerate nonstick performance loss in ceramic faster than anything else: thermal shock, borderline-abrasive sponge use, and dishwasher cycling.
None of these causes visible damage in a single session. Thermal shock, which happens when a hot ceramic surface meets cooler water too quickly, creates micro-stress fractures in the coating bond over time. A slightly-too-rough sponge leaves micro-abrasions in the sol-gel surface that compound with each use.
Dishwasher use does both at once. The enzyme detergent attacks the coating chemistry. The wash cycle’s heat creates the same thermal stress that hand-washing avoids.
By the time a ceramic pan is noticeably sticky, the damage has been accumulating for a year or more.
Most people want one event to blame. The answer is a pattern that played out across 12 to 18 months of small decisions. I understand why that’s frustrating to hear.
That estimate varies. Pan brand, coating thickness, water hardness, and overheating frequency all affect the timeline. There isn’t a universal number for this type of degradation.
When Cleaning Won’t Restore Nonstick Performance
If the surface is visibly scratched, flaking, or discolored in ways that survive two rounds of baking soda, the coating is physically degraded.
Cleaning won’t reverse that. The surface that the cleaning would restore no longer exists. What degraded coating looks like, and when it becomes a safety question, requires different criteria than anything this article covers.
Every cleaning method in this article depends on the same underlying variable: contact time. How long the cleaning agent stays on the surface determines whether the method works. That’s the variable most protocols underspecify. It’s also the easiest one to improve.
Apply baking soda paste to a stubborn spot. Leave it for 15 minutes instead of one minute. The difference is more apparent than any product comparison.