

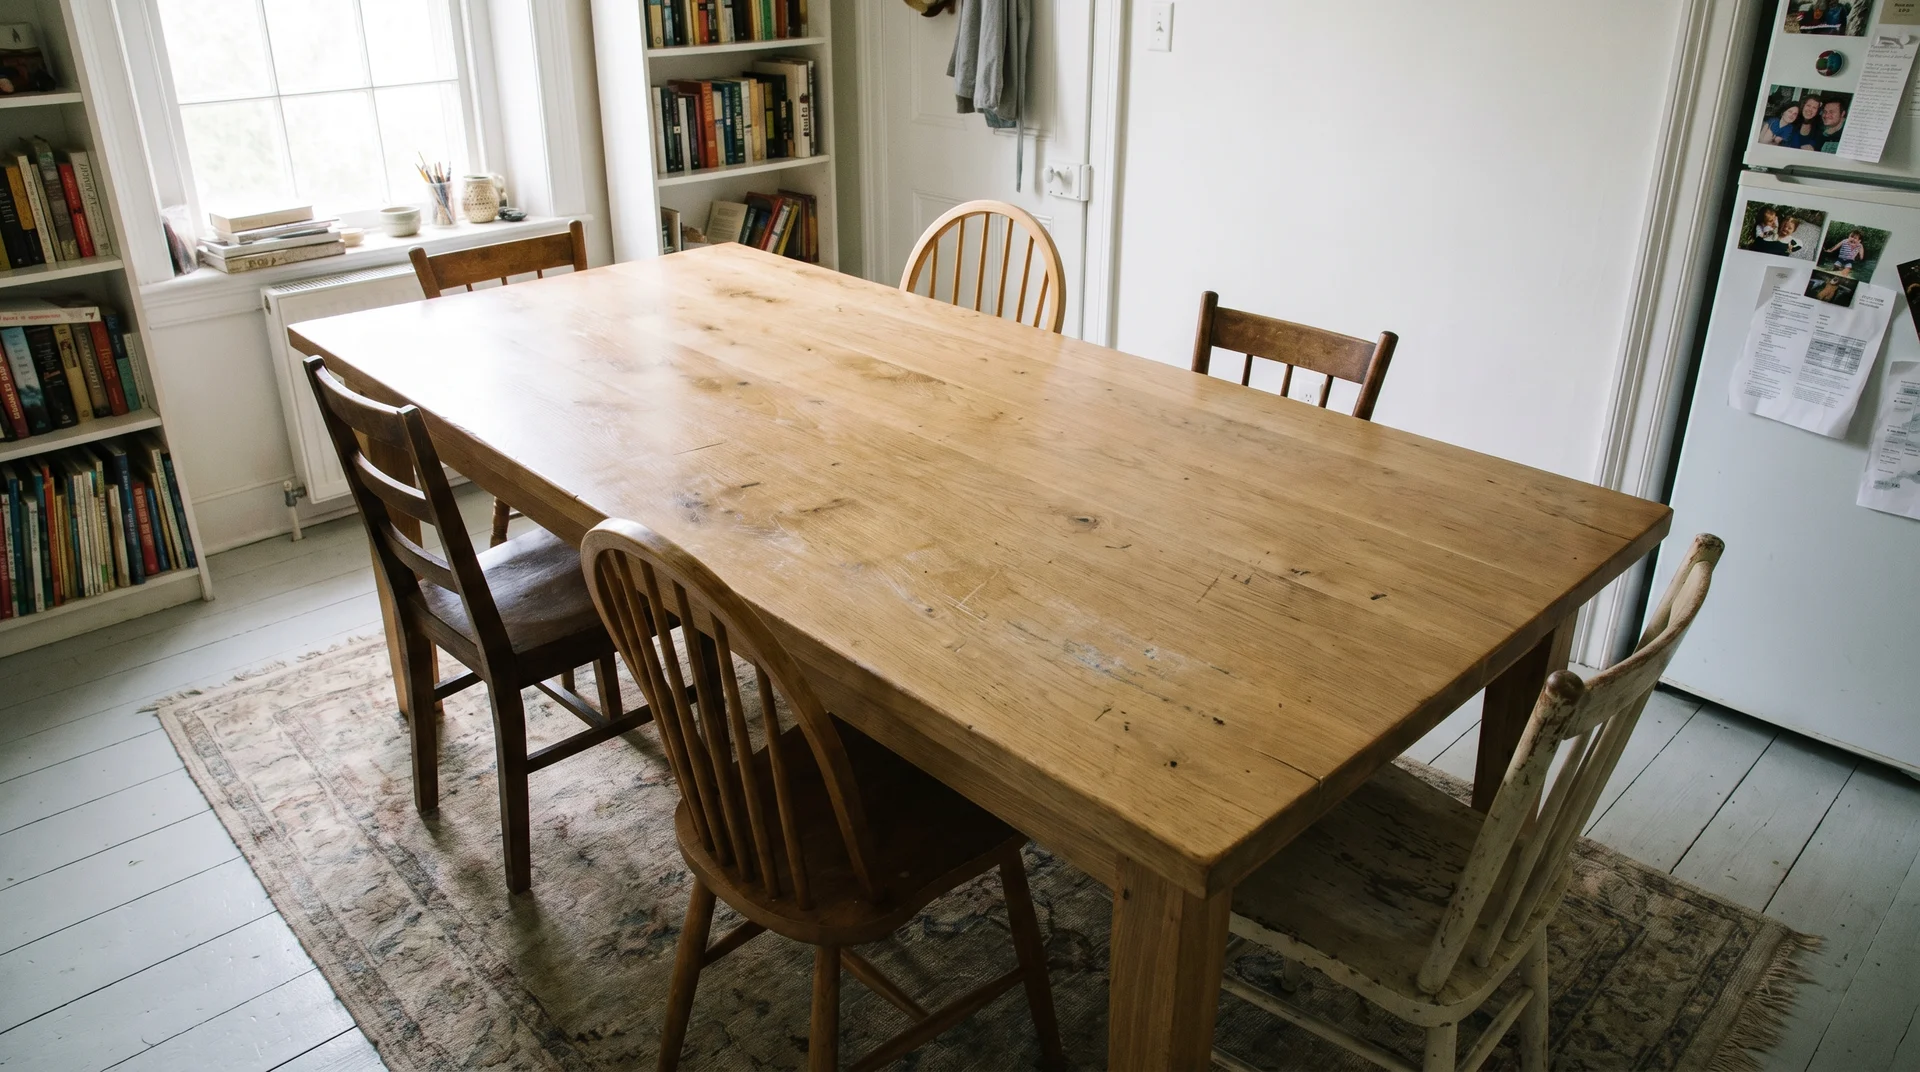
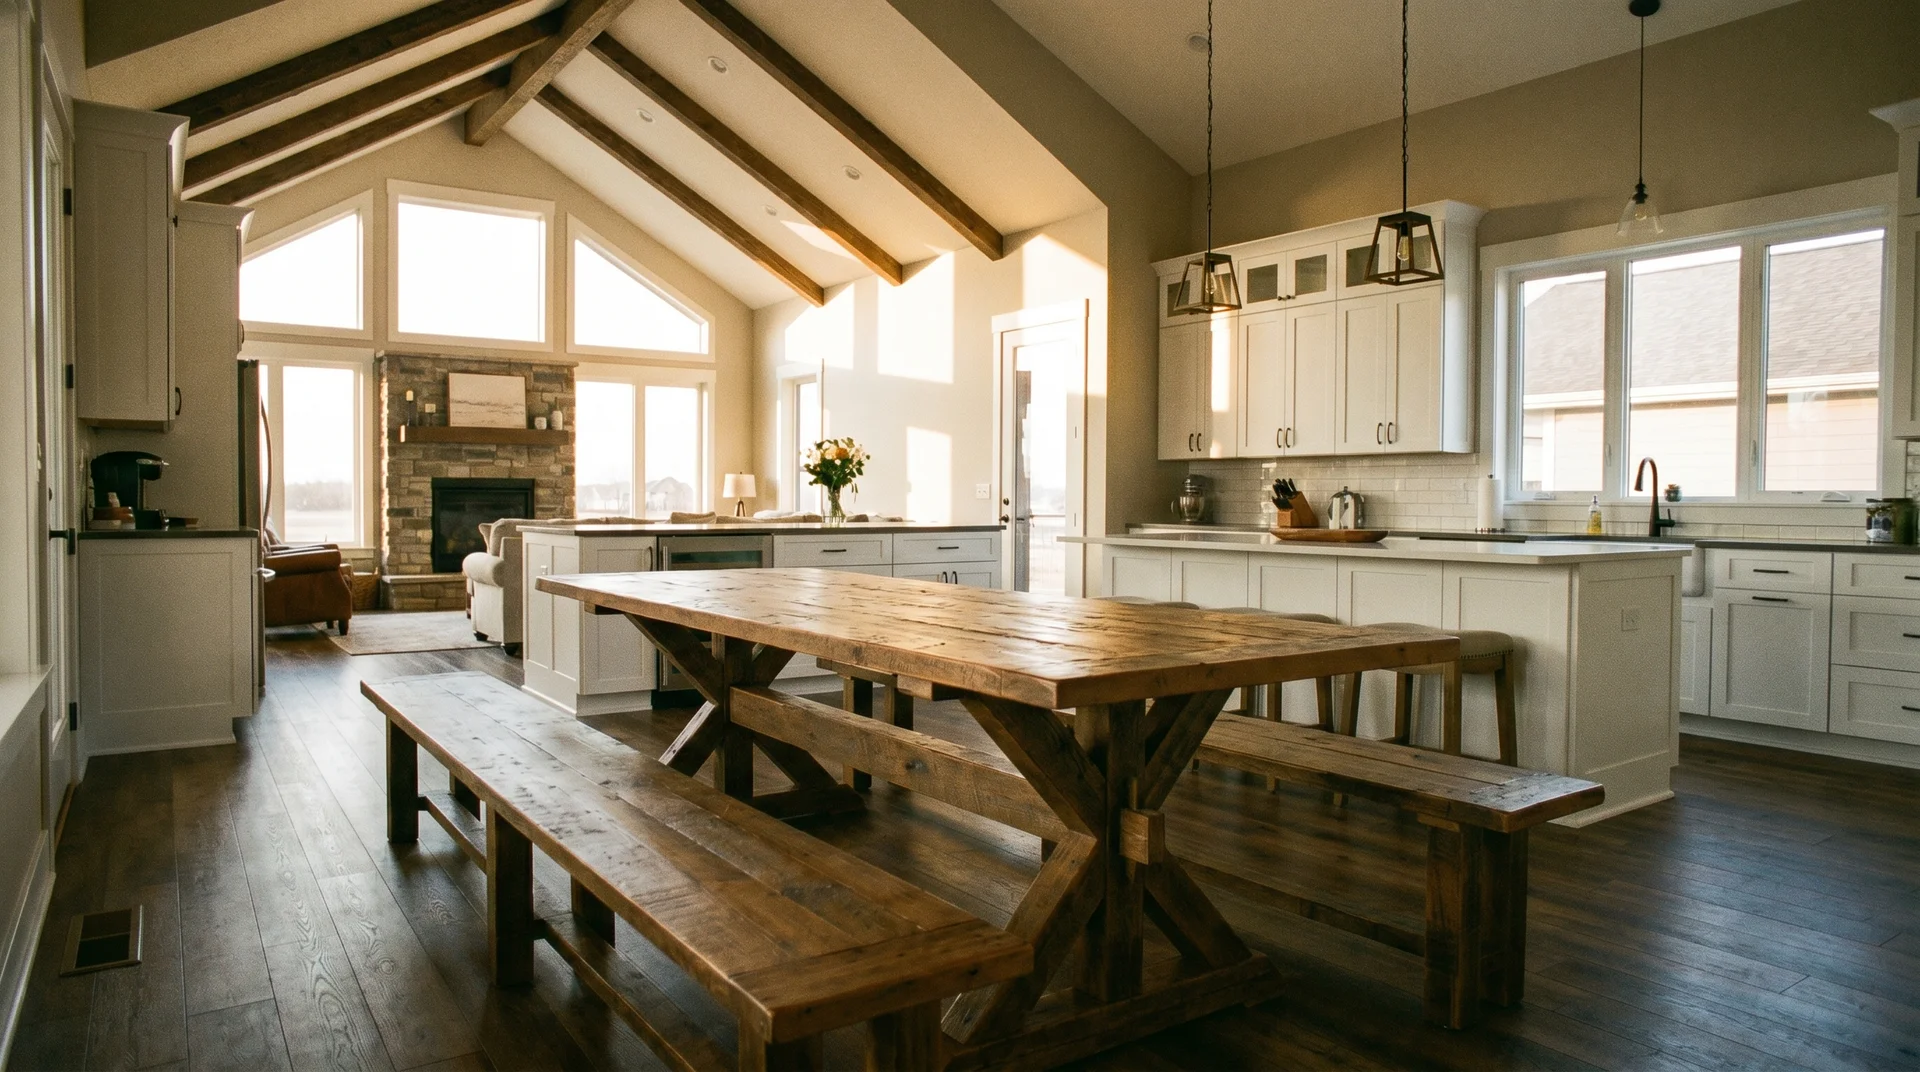
Walk into a dining room with a farmhouse table, and you know in five seconds whether someone thought it through. The table either anchors the room or crowds it.
That difference rarely comes down to build quality. It comes down to decisions made before the first board was cut.
Does a Farmhouse Table Fit in Your Room?
The cut list and the wood choice matter. But the question most plans never ask is the one that determines everything: Does this table fit this room?
Can a beginner build a farmhouse table? Yes, with basic tools and one full weekend. A straight-leg design from construction-grade lumber is the right starting point.
The house doesn’t care what plan you downloaded. It only cares whether the table fits.
I’ve walked into rooms where a homeowner built a beautiful table, and the result still felt wrong. The table dominated the space. It pinched the walkway on both sides.
The build was clean. The planning that preceded it was wrong.
Measure the Room Before You Choose Any Plan
This step is not optional.
Every plan you find online lists the finished table dimensions. Almost none explain what those dimensions do to the room around them.
That’s where most decisions go wrong.
The Clearance Numbers
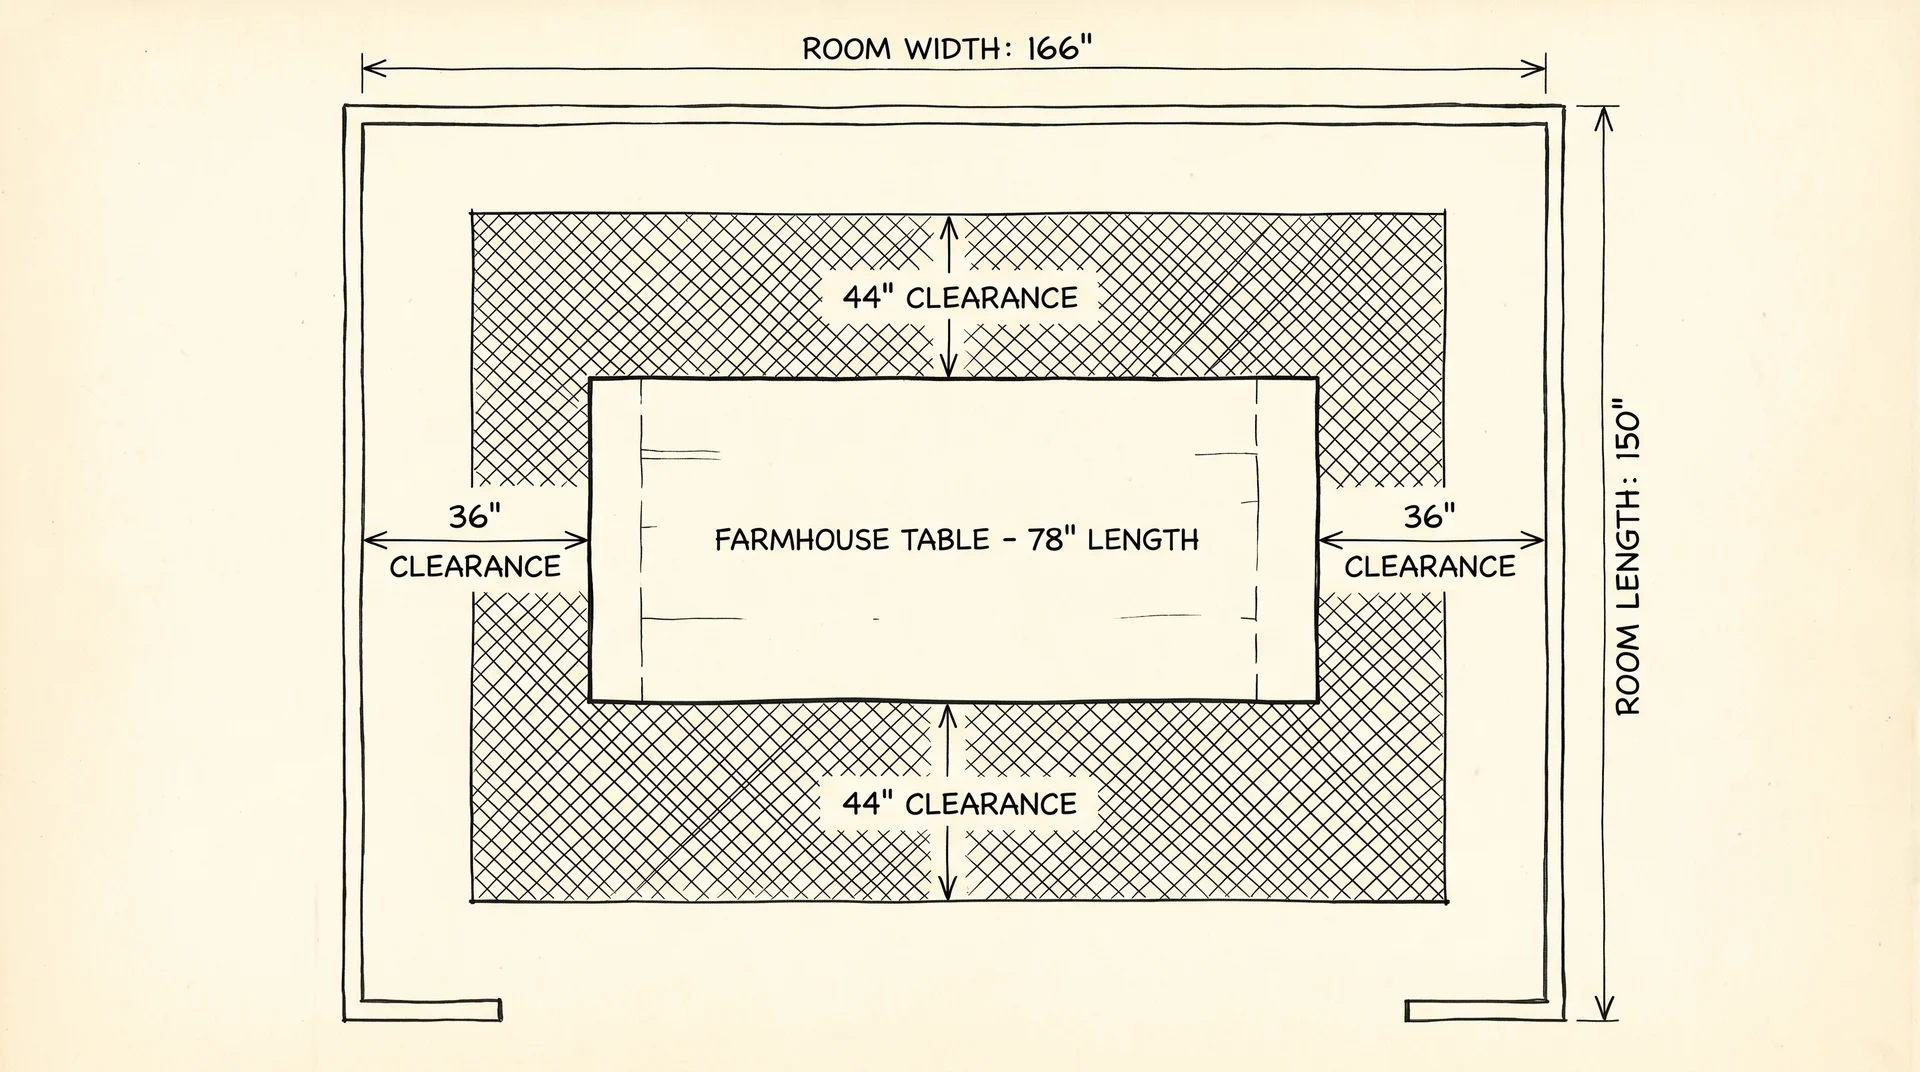
You need 36 inches of clear space on every side where someone walks past or pulls out a chair. The National Kitchen and Bath Association calls that the minimum. They recommend 44 inches in any primary traffic lane.
Here’s what that means in practice.
- Take a standard 78-inch-long table, the kind most eight-seater plans produce.
- Add 36 inches on each short end for chair clearance.
- You need a room at least 12.5 feet long to meet the minimum on those ends alone.
- Add 44 inches to both long sides. That leaves you needing 8.6 feet of room width.
- Most dining rooms are 11 by 13 feet. Measure yours before you commit to an eight-seater plan.
Before committing to 78 inches, confirm that the length works for how you’re actually seating those 8 people.
Standard dining table height is 30 inches. That holds across nearly every farmhouse plan you’ll find. Standard dining chairs seat at 17 to 19 inches.
If you’re planning bench seating, build the bench to 17 or 18 inches. That gives comfortable thigh clearance under a 30-inch table, and it matters most if you’re building the bench yourself.
The Door Test
Measure every doorway and hallway between your build space and the dining room before you purchase any lumber. This is the most avoidable problem in DIY furniture. It comes up constantly in woodworking forums: a completed table that can’t make the turn from the garage.
Standard interior doorways are 32 to 36 inches wide.
A 38-inch-wide tabletop won’t pass through a 32-inch door as a single assembled piece. Plan for the top to attach in the room after the base is moved in. Or walk the route first.
I tell every client to do this before the first board is purchased. The cost of finding out afterward is either a disassembled table or a wider doorway.
Which Farmhouse Table Style Fits Your Space
Style is a spatial decision.
Stand in the room where the table will live before you pick a leg style. Think about traffic flow, sightlines, and what else is competing for visual weight in the space.
The plan that looks right in an open-plan kitchen can feel crushing in a narrow dining room.
Straight-Leg and Turned-Leg Tables
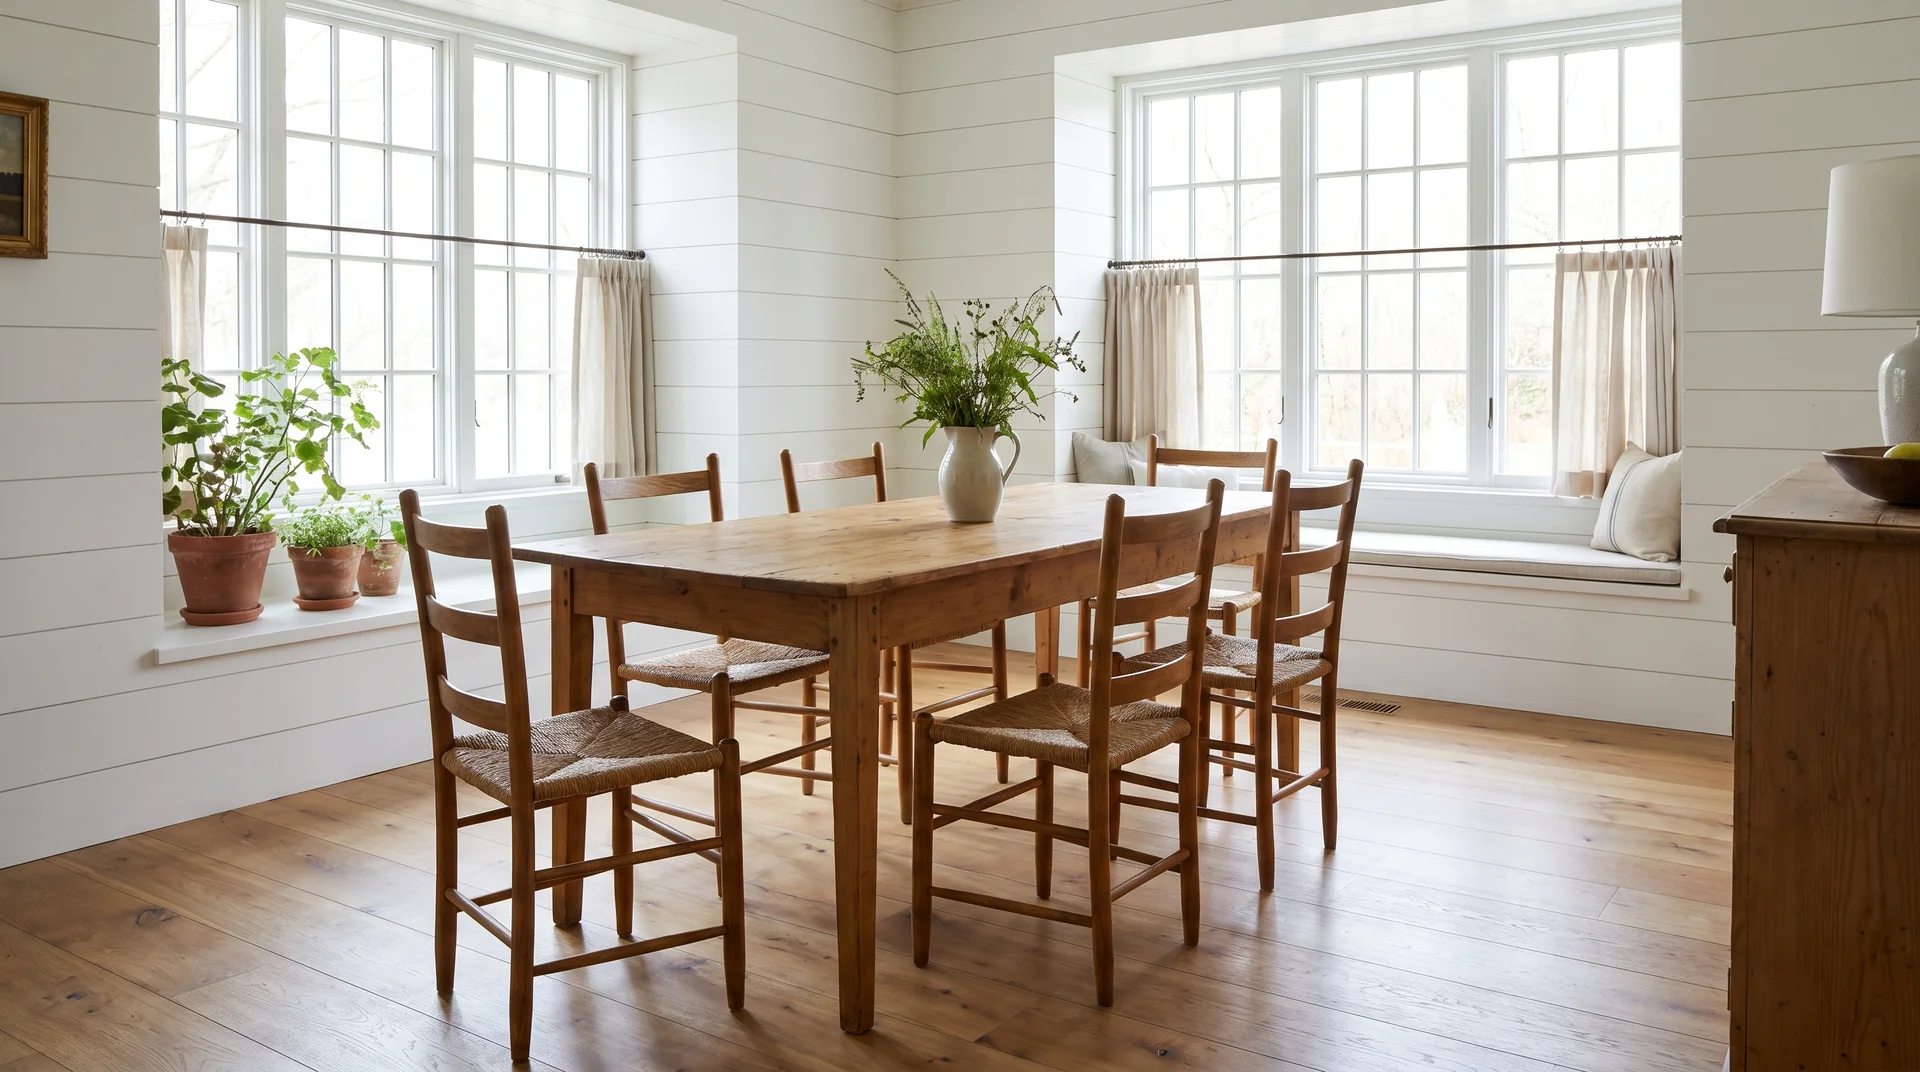
Straight-leg and turned-leg plans are the most versatile options for most rooms. They’re also the most forgiving first build. They read lighter than trestle or X-leg designs.
They work with both chairs and benches. The joinery is the most accessible for someone who hasn’t built furniture before.
One detail to check before committing to a plan: stretchers.
Some plans include a lower horizontal bar connecting the legs for rigidity. Stretchers reduce foot clearance and make seating awkward on the long sides with chairs.
If you’re planning chair seating on all four sides, choose a plan without a low stretcher. That detail is easy to overlook in a plan photo and hard to fix after the base is assembled.
Trestle Tables
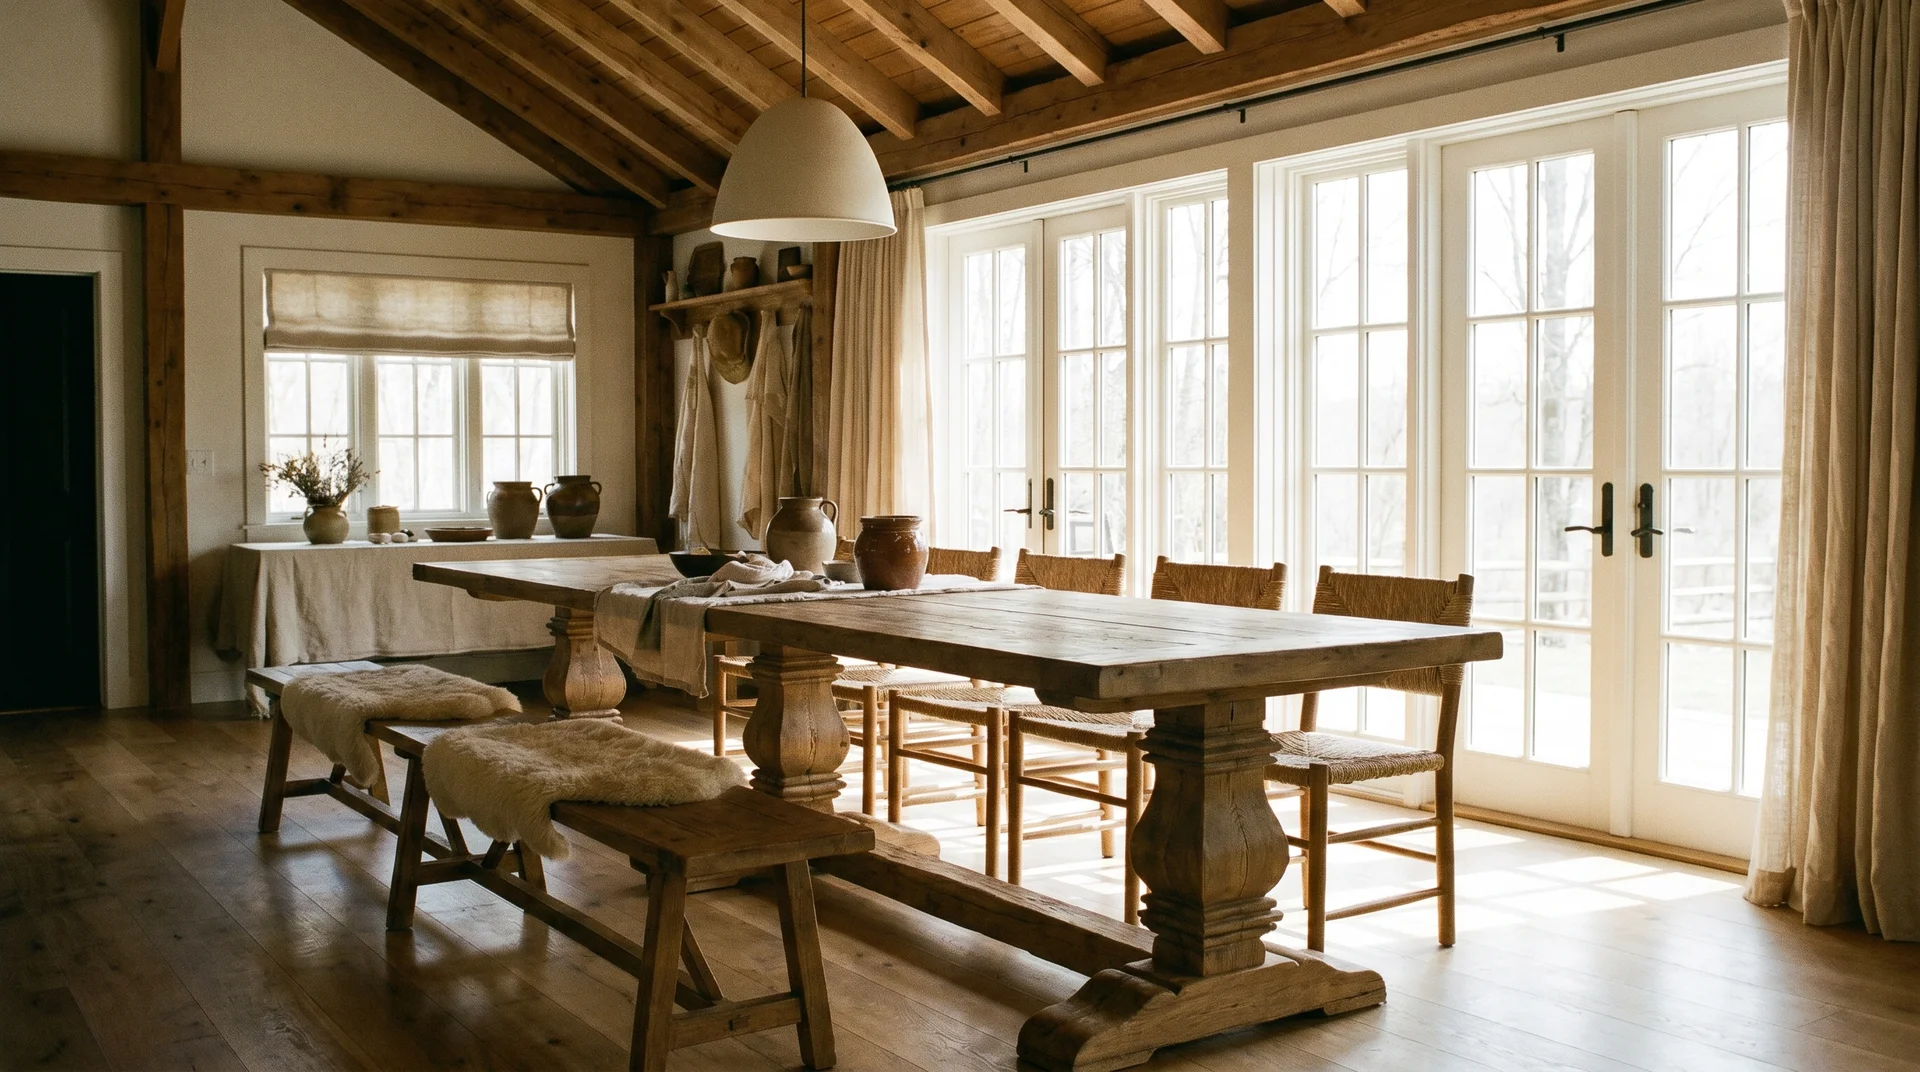
Trestle tables suit longer, narrower rooms. They work best when at least one long side uses bench seating. The base uses two pedestal-style legs connected by a center beam.
No corner legs occupy the seating zone.
The trade-off is visual weight. A trestle base reads heavier than a straight-leg design. In a room with low ceilings or limited natural light, that extra visual weight makes the space feel smaller.
In a room with good ceiling height and strong light, the trestle is often the most compelling option in this category.
Trestle builds are also more complex than straight-leg designs. The joinery at the beam-to-pedestal connection requires more precision than a basic apron build. If this is your first furniture project, understand that before you commit.
X-Leg Tables
X-leg tables work best in open-plan spaces where the table is visible from across the room. They pair most naturally with bench seating on the long sides. The X crosses at floor level, which reads as visually interesting from a distance.
Up close, in a smaller dining area, that floor structure can feel busy. I find these work well when benches handle at least one long side of the table.
That arrangement opens up the floor and reduces the congestion individual chairs create around an X base.
Pedestal Base Tables
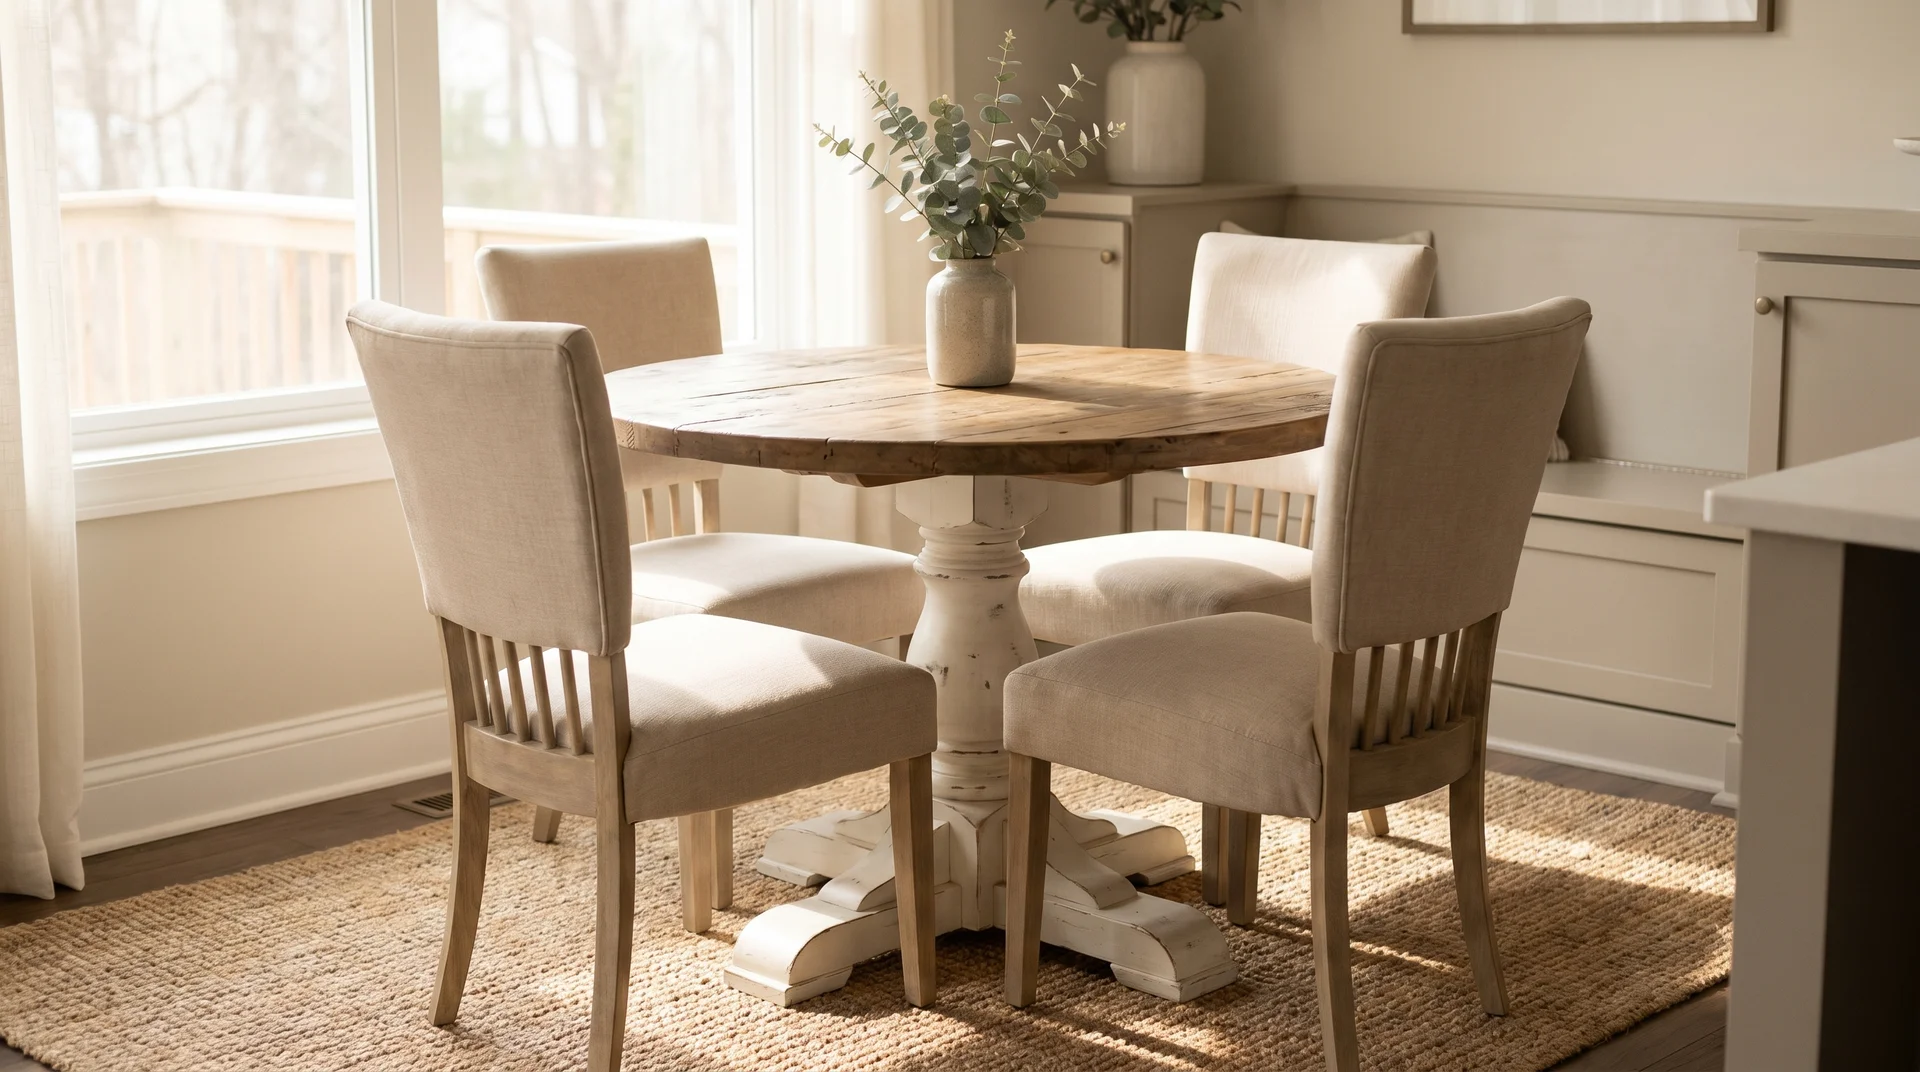
Pedestal tables offer the smallest structural footprint. They suit tighter dining spaces where corner legs would limit seating. With no corner legs, every seat has full knee clearance, including the end seats.
The build complexity is the catch. A structurally sound DIY pedestal requires more careful joinery than any of the other styles here.
I’d recommend one completed furniture project behind you before attempting a pedestal as your first farmhouse table.
Choosing Your Wood: Pine, Oak, Poplar, & Maple
Wood selection shapes every decision that follows.
Most articles treat this as a preference question. The real question is what this table needs to survive your kitchen, and what you’re willing to pay for that. Budget, daily wear, room humidity, and your finishing plans all feed into the answer.
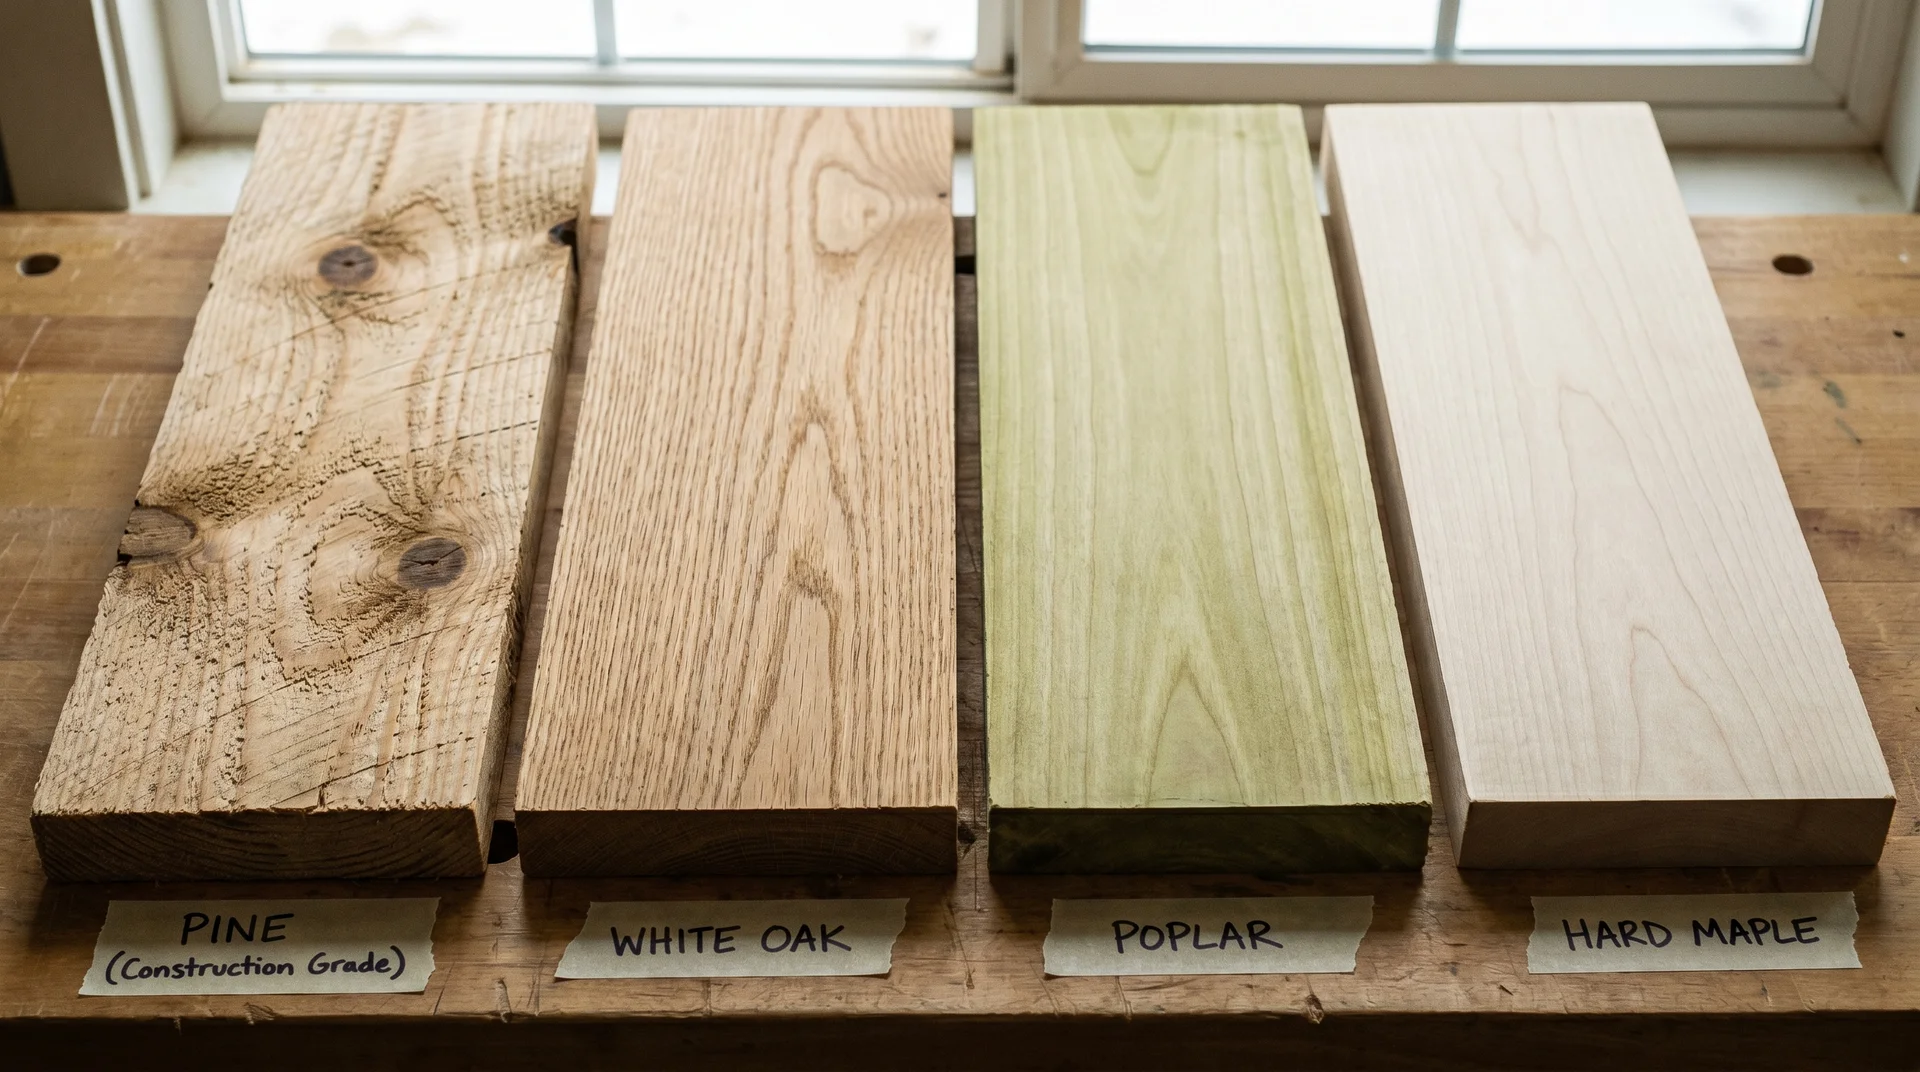
Construction-Grade Pine
Construction-grade pine is the right choice if budget and ease of build are the priority. It’s available at every home improvement store. A full table’s worth of lumber costs $50 to $150, and it cuts and joins easily with basic tools.
But also remember that pine is a softwood. It dents from impact and shows scratches from daily use. Chair legs drag across it and leave marks over time.
It’s a design reality you need to decide about before you build, not after. Pine also stains unevenly without preparation.
Other Options and What They Actually Cost
White oak is the best wood for a farmhouse table that will live in a kitchen. It’s hard enough to resist daily use, takes stain predictably, and costs less than hard maple. Here’s how all four options compare:
| Wood | Hardness | Stain Behavior | Est. Cost / Board-Foot | Best Use Case |
|---|---|---|---|---|
| Construction-grade pine | Soft | Uneven without conditioner | $1–$3 | Budget builds; painted finishes |
| White oak | Hard | Even and predictable | $5–$9 | Stained surfaces; daily-use tables |
| Poplar | Medium | Takes paint well; flat with stain | $3–$5 | Painted bases; cost-conscious builds |
| Hard maple | Very hard | Resists stain (tight grain) | $6–$10 | Oil or hardwax finishes only |
White oak is the most practical hardwood upgrade for most farmhouse table builds. I’ve watched it hold up in kitchens where pine would have shown wear within the first year. Its open grain takes stain predictably and produces a genuinely rustic look.
Poplar for the base with white oak or pine for the top makes economic sense at mid-budget. Hard maple is the most durable option. Reserve it for oil or hard wax finishes only.
Hard maple’s tight grain resists stains. The result with pigment-based finishes never looks like the warm tone most people are after.
The USDA Wood Handbook documents hardness and seasonal movement for all four species. White oak moves somewhat more seasonally than hard maple. That difference becomes a practical problem when you attach the tabletop.
The Materials List and Cut List for the DIY Farmhouse Table
First-time builders get this wrong regularly, and it costs them extra trips to the lumber yard. A cut list gives you the final dimensions of each piece after cutting. A shopping list tells you what to buy before cutting.
Here’s how to read a cut list entry before you go to the store.
A list might say “2 pieces, 1×6 @ 67 inches.” That means two boards, each cut to 67 inches long. At the store, you buy 1×6 boards in 8-foot lengths. Sixty-seven inches fits within 96 inches with room to spare.
Buy the longer stock, then cut to the list. Always add 10 to 15 percent to your lumber quantity. Construction lumber is not perfect, and warped boards or bad knots will force cuts around them.
A basic tool list for this build: a drill, a circular saw, an orbital sander, and clamps for the tabletop glue-up. If you need pocket hole joinery, add a Kreg Jig to that list.
Here’s a realistic cost range for a six-to-eight-person rectangular farmhouse table:
| Material Choice | Est. Lumber Cost | Hardware | Finish | Total Range |
|---|---|---|---|---|
| Construction-grade pine | $50–$120 | $15–$30 | $25–$60 | $90–$210 |
| White oak | $200–$400 | $15–$30 | $30–$70 | $245–$500 |
| Poplar base + pine or oak top | $100–$250 | $15–$30 | $25–$60 | $140–$340 |
These numbers don’t include tools. A pocket hole jig (Kreg makes the most accessible version, $40 to $130 depending on model) is the one purchase specific to this project.
Decide on your material budget before you choose a plan. Discover that the lumber is $300 over budget after committing to a plan, and you’ve created a sequencing problem.
Two steps precede the attachment work covered below: gluing up the tabletop from individual boards, and assembling the apron-and-leg base.
Read: How to glue up a solid wood tabletop
Read: How to build a farmhouse table base
Attaching the Top: The Part Every Beginner Gets Wrong
The glue-up is done, and the base is assembled. Now comes the step where most builds fail.
Most mistakes show up immediately. This one shows up six to eighteen months later. By then, most people don’t connect the problem to its cause.
Why Wood Moves
Solid wood expands and contracts seasonally. Solid wood is built to move this way. No finish or sealant stops it. Every species does it.
In winter, indoor heating drops humidity levels. Wood releases moisture and shrinks slightly across its width. In summer, or in humid climates year-round, wood absorbs moisture from the air and expands.
A 36-inch pine tabletop can move up to half an inch over the course of a year. Driest in winter, widest in summer.
Here is where that physical behavior becomes a building problem.
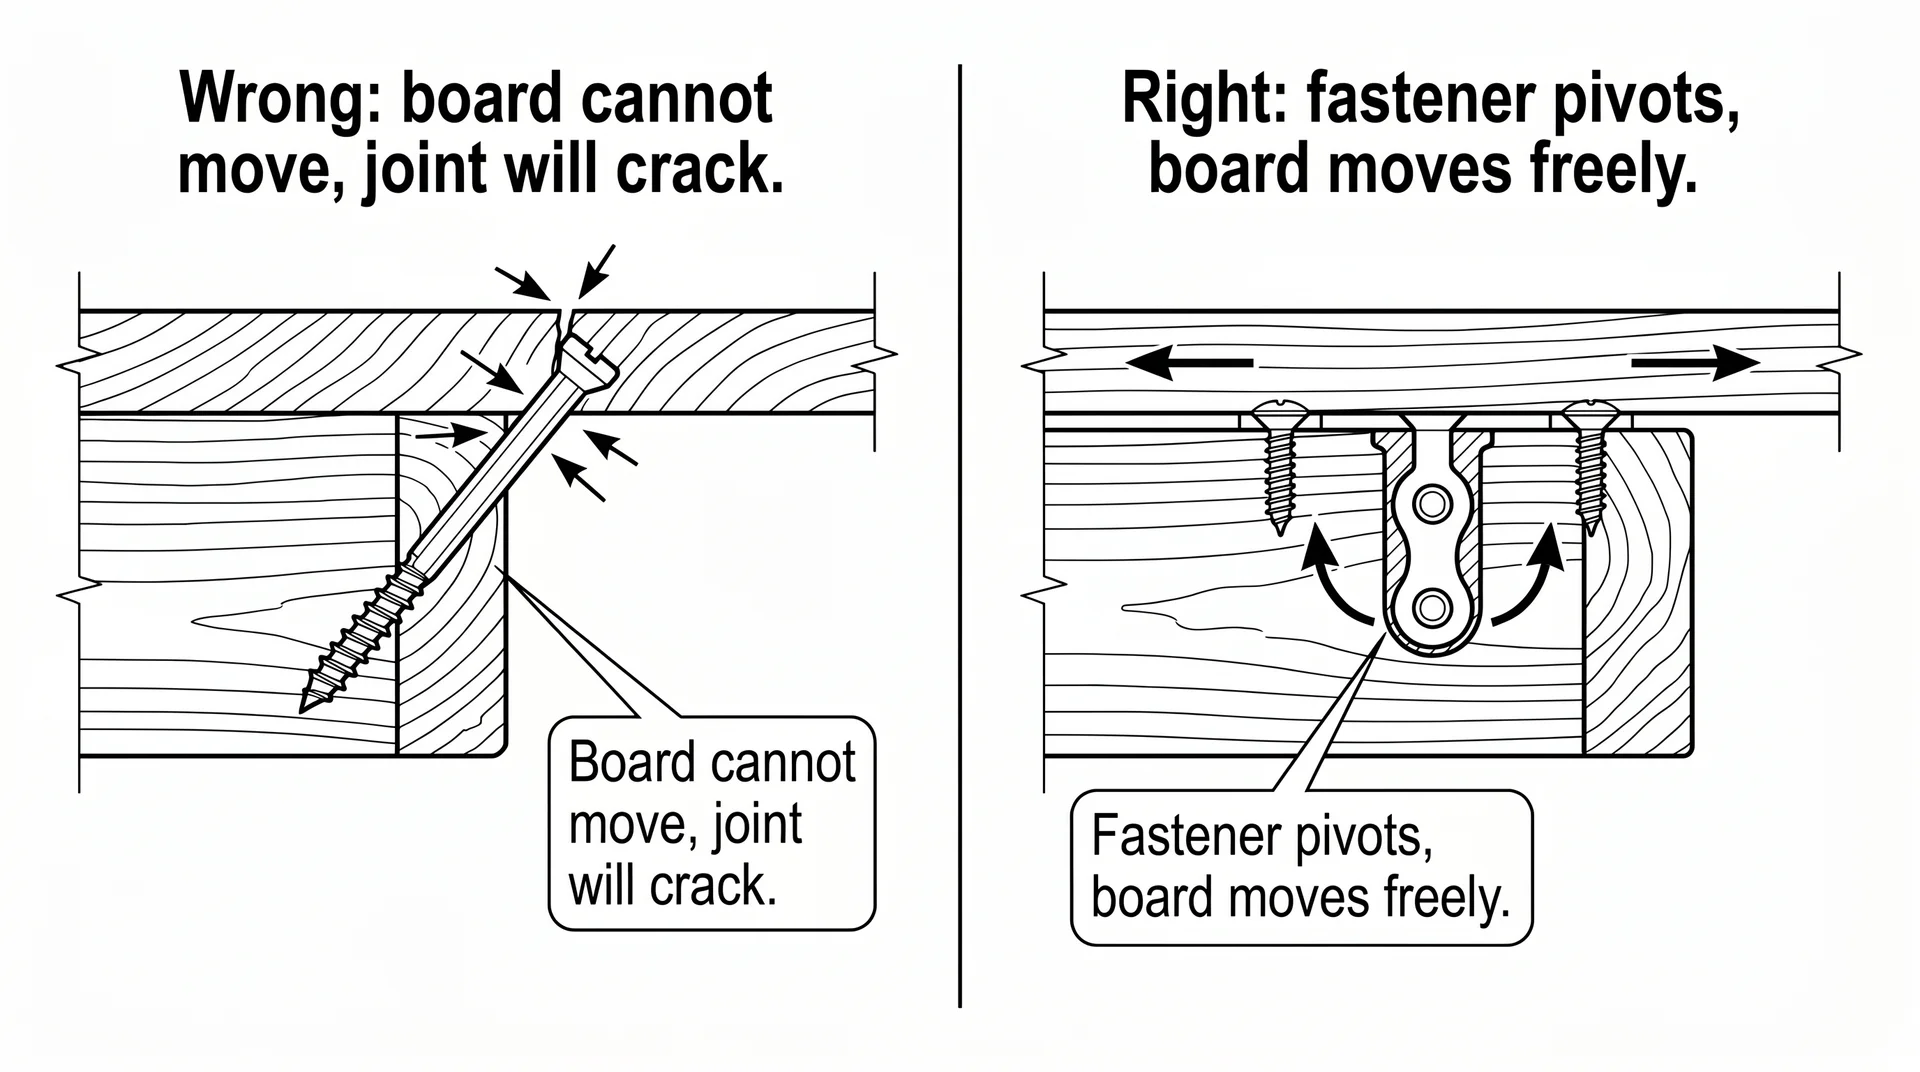
Most beginner plans show pocket screws driven through the apron (the frame under the tabletop) directly into the underside of the top boards. That connection is rigid. The apron doesn’t move.
The top boards try to. They can’t. Over time, the wood either cracks a glue joint between boards or pulls a pocket screw loose. Either way, a visible gap opens down the length of the table.
The failure shows up months after the build, not during it.
I’ve walked into this exact problem during renovation consults. The homeowner built a beautiful table. A year later, there was a gap running down the center.
They assumed the build was wrong. It was, just not during the week they thought.
Three Ways to Attach a Tabletop Without Cracking It
Use a fastener that holds the top down while letting it move sideways as the wood expands. Do not use rigid pocket screws driven straight through the apron into the top boards.
Each of the three options that work has a different tool requirement. Here’s what each involves:
- Z-clips (tabletop fasteners): A small metal clip that hooks into a groove cut into the inside top edge of the apron. It screws up into the underside of the tabletop. The clip holds the top down and allows it to slide sideways. Around $8 to $12 for a pack of 20. Cutting the groove requires a router or table saw.
- Figure-8 fasteners: A figure-eight-shaped washer that sits in a countersunk recess on the top face of the apron. One lobe screws into the apron. The other screws into the tabletop. The fastener pivots slightly as the wood moves. Around $10 for a pack of 12. A drill and a chisel handle the countersink. No router needed.
- Slotted pocket screws: Pocket screws through elongated slots in the apron, installed snug rather than tight. The top board slides within the slot. This works but requires precise slot sizing. It’s the easiest of the three to get wrong.
For a first build, use figure-8 fasteners. Space one every 12 to 16 inches along each long apron rail.
Some plans include breadboard ends. These are short boards capping each end of the tabletop, running perpendicular to the main planks. The center attachment point for a breadboard end is glued. Every other attachment point uses a slotted or elongated hole only.
That slotted attachment lets the main top expand and contract without fighting the breadboard.
A plan that glues all breadboard attachment points will cause the top to buckle or crack within one to three years.
That’s wood movement. It’s predictable and preventable.
Read: How to attach a tabletop to the base?
Finishing: What Holds Up in a Real Kitchen
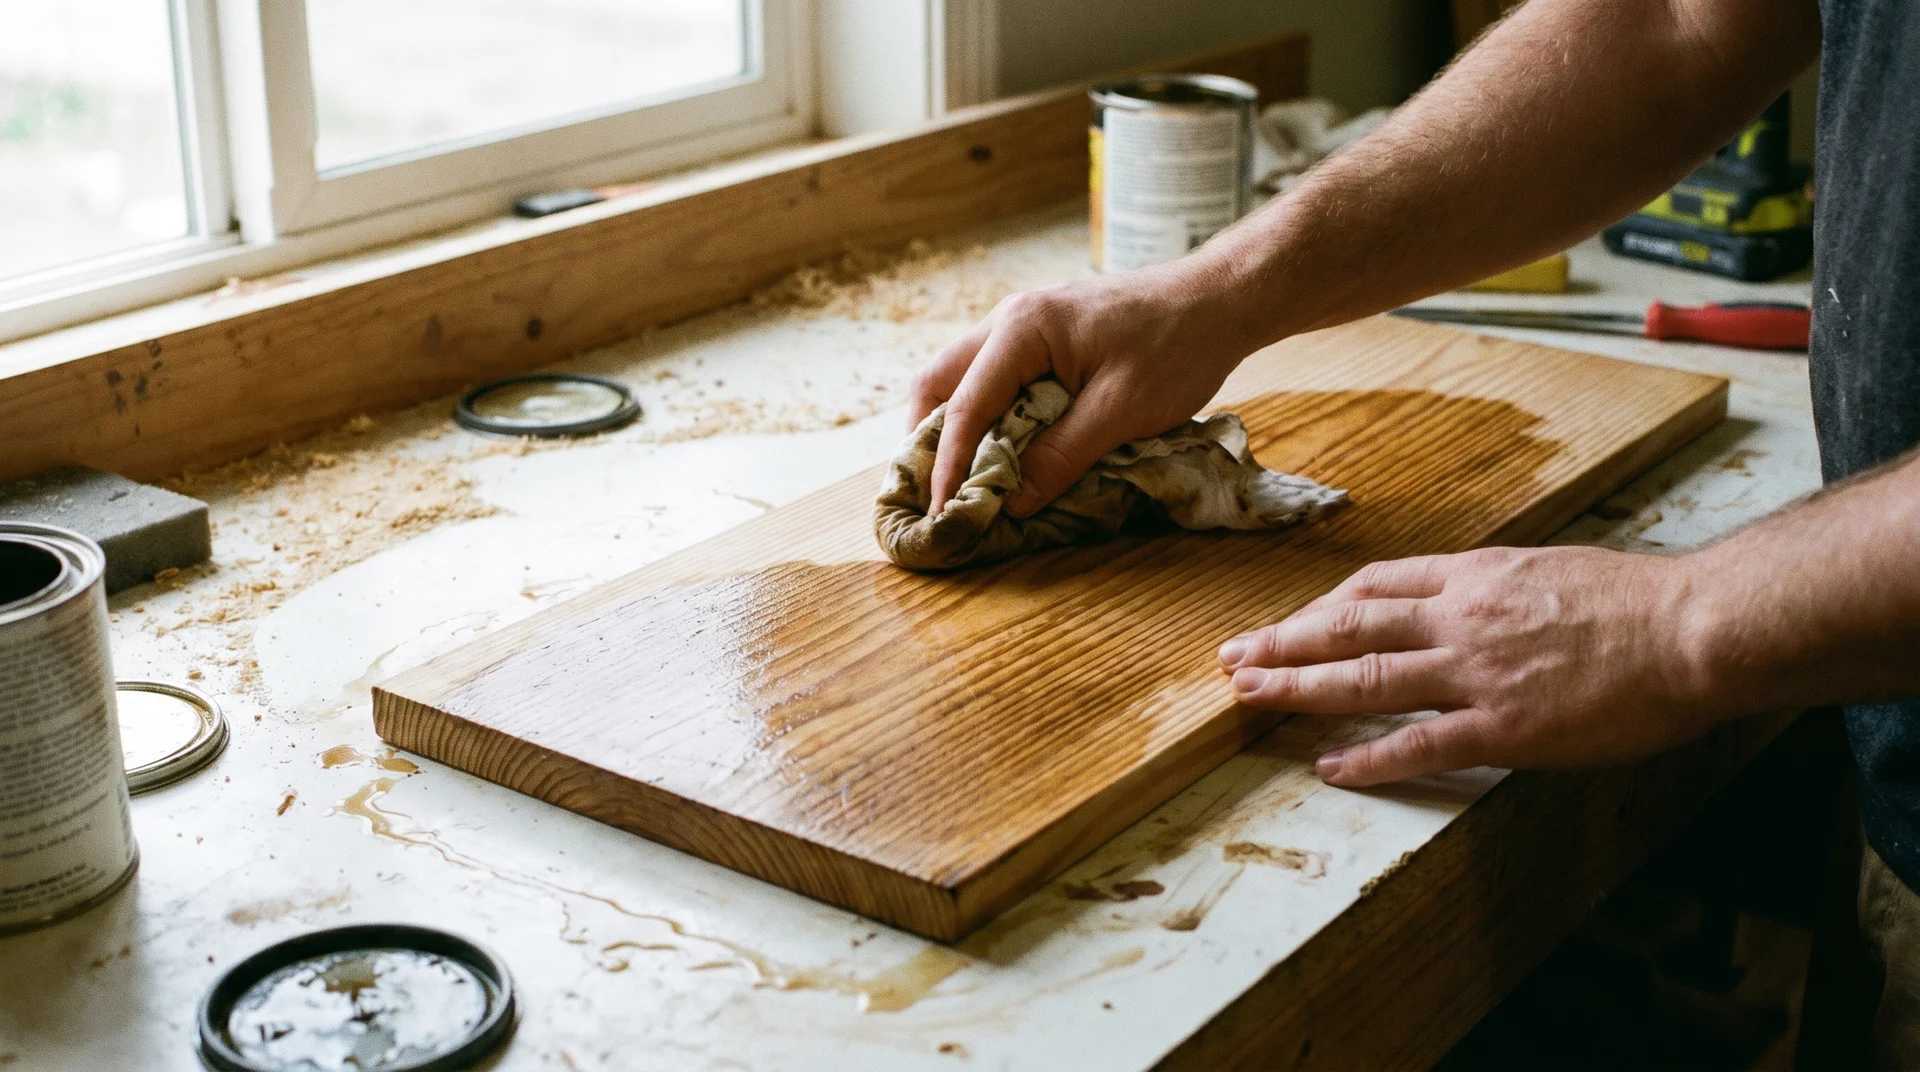
Choose your finish based on how the table will actually be used.
A dining table in a kitchen takes daily punishment: water, food contact, cleaning cloths, and chairs being dragged back. The finish that photographs best on a freshly built table is often the one that shows wear fastest under real conditions.
Pine and Stain: Why It Goes Wrong
Pine stains unevenly because its grain varies dramatically between growth rings. The dense latewood (the darker bands) resists stain. The softer earlywood (the lighter bands) absorbs it fast.
The result is a blotchy, streaked surface that looks nothing like the even, warm finish in the plan photos.
The fix is simple, costs about $8, and takes 15 minutes before you open the stain.
Wood conditioner, a thin penetrating sealer, partially fills the earlywood pores and evens out absorption across the board. Apply it 15 minutes before staining, then stain while the surface is still slightly tacky.
Minwax Pre-Stain Wood Conditioner is the most available option; Varathane makes a comparable product.
Blotching is the finishing equivalent of tabletop cracking: unfixable after the stain is on. I’ll be honest: even with conditioner, pine won’t stain as cleanly as oak.
If you want a genuinely even stained finish, oak is the better starting point. If you’re painting the base and can accept some variation in the top, pine is workable.
Polyurethane, Oil Finish, and Hardwax Oil: The Real Trade-Offs
For a kitchen dining table, hardwax oil outperforms polyurethane. Most beginner guides recommend polyurethane, but the real-world durability gap is significant. Here’s the full comparison:
| Finish | Kitchen Durability | Repairability | Application Difficulty | Relative Cost |
|---|---|---|---|---|
| Oil-based polyurethane | Moderate (chips at edges) | Poor (full strip required) | Moderate | Low (~$15–$30) |
| Water-based polyurethane | Moderate | Poor (full strip required) | Easy | Low (~$20–$35) |
| Hardwax oil (Rubio Monocoat, Osmo) | Good (penetrates; no film to chip) | Excellent (spot repair only) | Easy (wipe-on) | Higher (~$60–$90) |
| Pure oil (tung, danish) | Low for heavy use | Excellent | Very easy | Low (~$15–$25) |
Polyurethane forms a film on the surface of the wood. When that film chips or scratches at the corners and edges, you see white marks or peeling. Repairing it means sanding back to bare wood and refinishing the whole surface.
Hardwax oil penetrates the wood rather than sitting on top. When it wears in a spot, you apply more oil to that area. You don’t sand back. The worn spot blends with the surrounding finish.
Apply all finishes in a well-ventilated space. Polyurethane in particular releases fumes during curing that require open windows and ideally a fan running throughout the process.
Rubio Monocoat is the benchmark in this category.
Osmo Polyx-Oil is the more widely stocked alternative. Both cost more upfront than polyurethane. The repairability is worth the premium for a table that lives in a kitchen.
I genuinely can’t tell you which direction to go without knowing your household. If the table is low-traffic and your family is careful with it, polyurethane is a reasonable choice. If you have young children, high daily use, or a table that doubles as a work surface, hardwax oil is the right call. That’s a real variable in this decision.
Read: How to finish a wood dining table
The Room After the Build
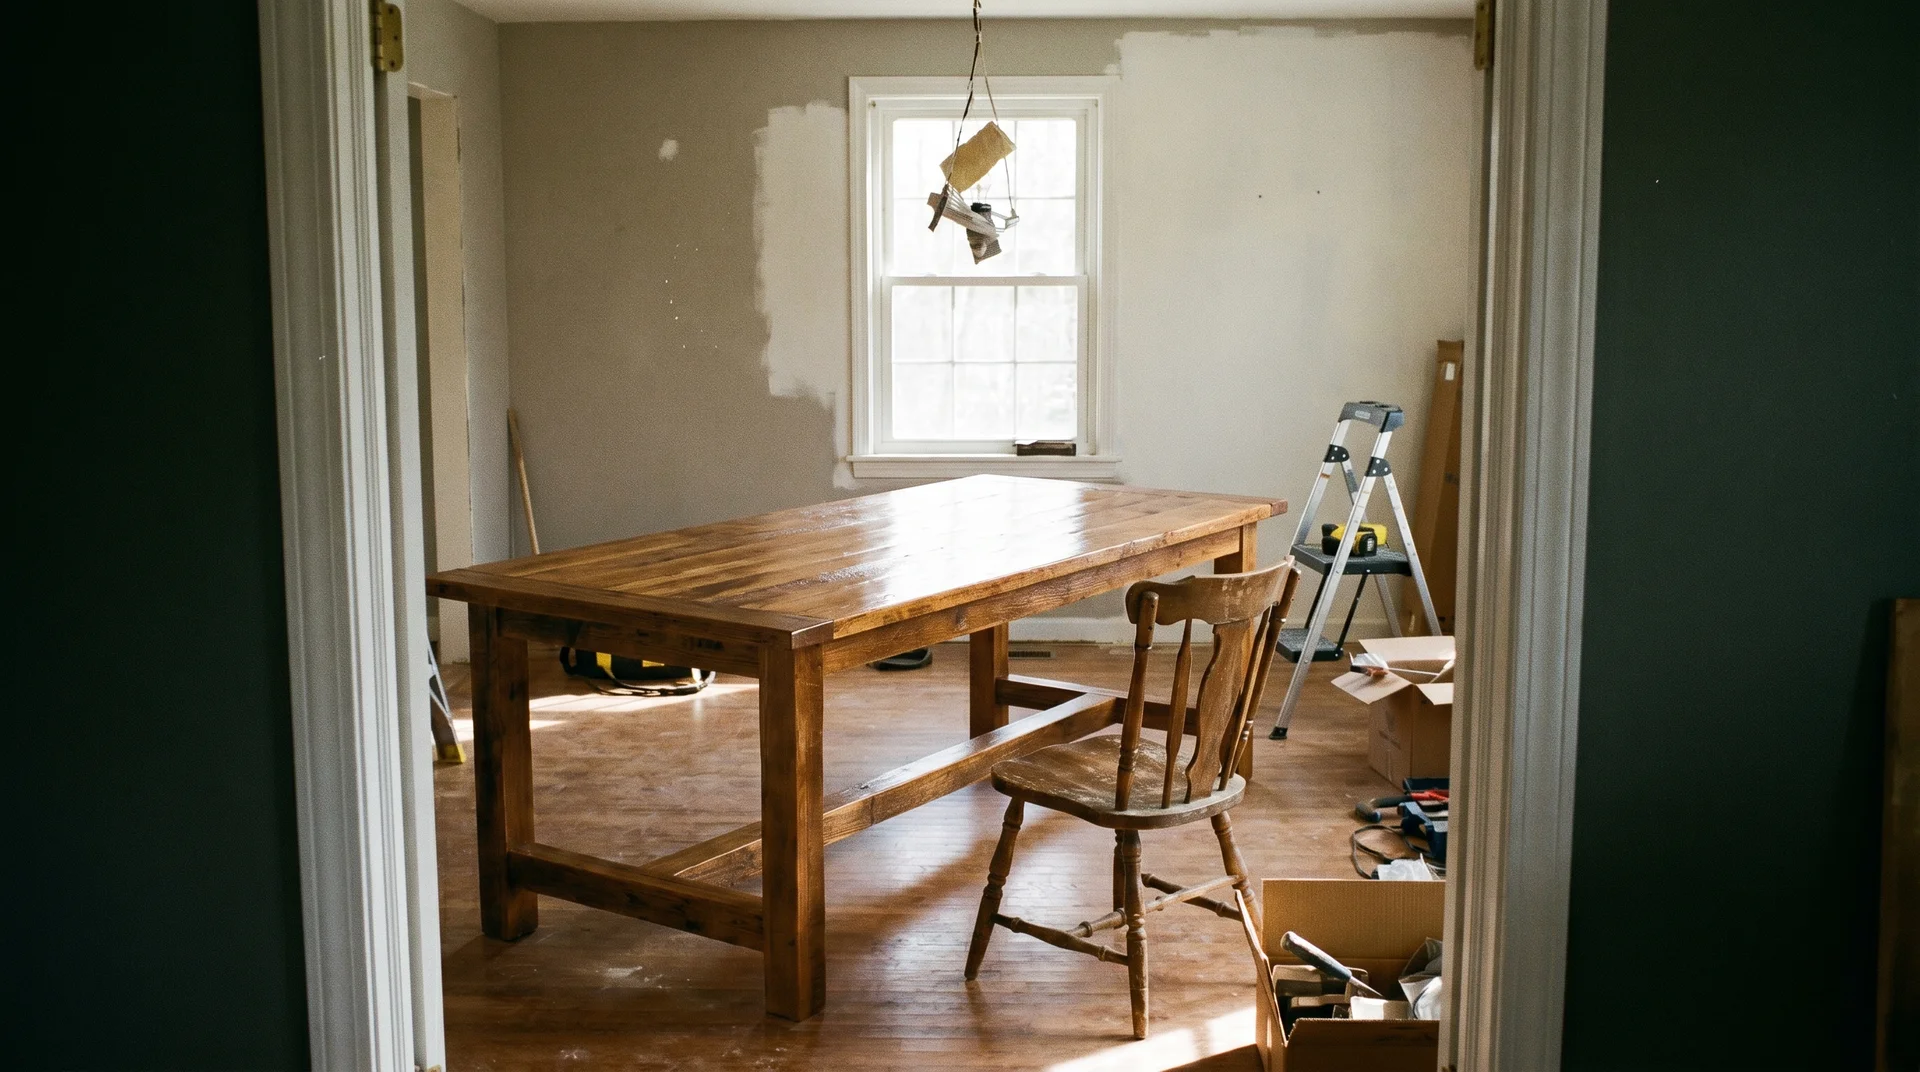
The build is done. Now step back.
Stand at the entrance to the dining space. Look at the table the way a first-time visitor would. Ask whether it anchors the room or competes with something else in it.
A farmhouse table tends to become the dominant statement the moment it enters a room. The scale and visual weight of solid wood make that happen.
That’s the one-hero rule in practice.
A farmhouse table earns that position. Chairs, lighting, and wall treatments all need to work with it. Any one of them competing with the table creates a visual problem.
The clearance numbers worked when you measured the room. The table should feel right. If it doesn’t, the issue is usually visual weight rather than physical space.
Build it right once. That table will outlast most of the other decisions in the room.
